Disclaimer: Stencil Revolution provided the stencil for this project. All opinions are 100% mine.
Halloween is my all-time favorite holiday.
*shocker I know*
Maybe it’s the mystery in the air, the freaks that come out at night, or the excuse to drink vodka and eat gummy bears that makes my black heart go pitter patter.
Regardless, I dig this day and am ready to celebrate with a DIY Halloween sign.
So, get your witch’s brooms ready!
This Halloween craft is stylish, easy to re-create, and of course – a little BOOzy!
Stencil Revolution was gracious enough to send me a few different stencils to use on various projects around the Asylum. I was more than happy to oblige, because your girl loves a good stencil. And friends, these are GOOD. Here are a couple of the stencils that I received from them…
I’m thinking about using this on either a piece of furniture or an accent wall in the studio – one can never have too much animal print!
Ah, the chinese dragon – this guy WILL be put to good use. Probably on a banging credenza or armoire!

Don’t Drink and Fly Halloween Stencil
And a Halloween stencil? Ummm, yes please.
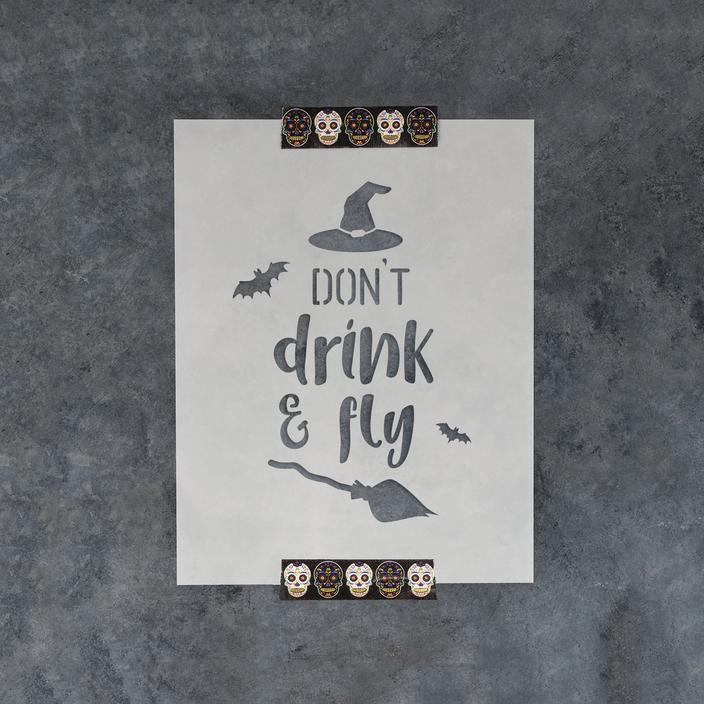
(See, Stencil Revolution sent your girl some good ones. They know me way too well, it’s almost scary.)
You might remember my old piano that I flipped into a bar – just in time for Halloween.
It was just begging for the witch’s stencil!
Here is how you can recreate this look for your Halloween dinner party or in your own home…
These are the rest of the supplies that you will need:
White Cardstock
The Reviver Paint Brush (or a sponge/paper towel)
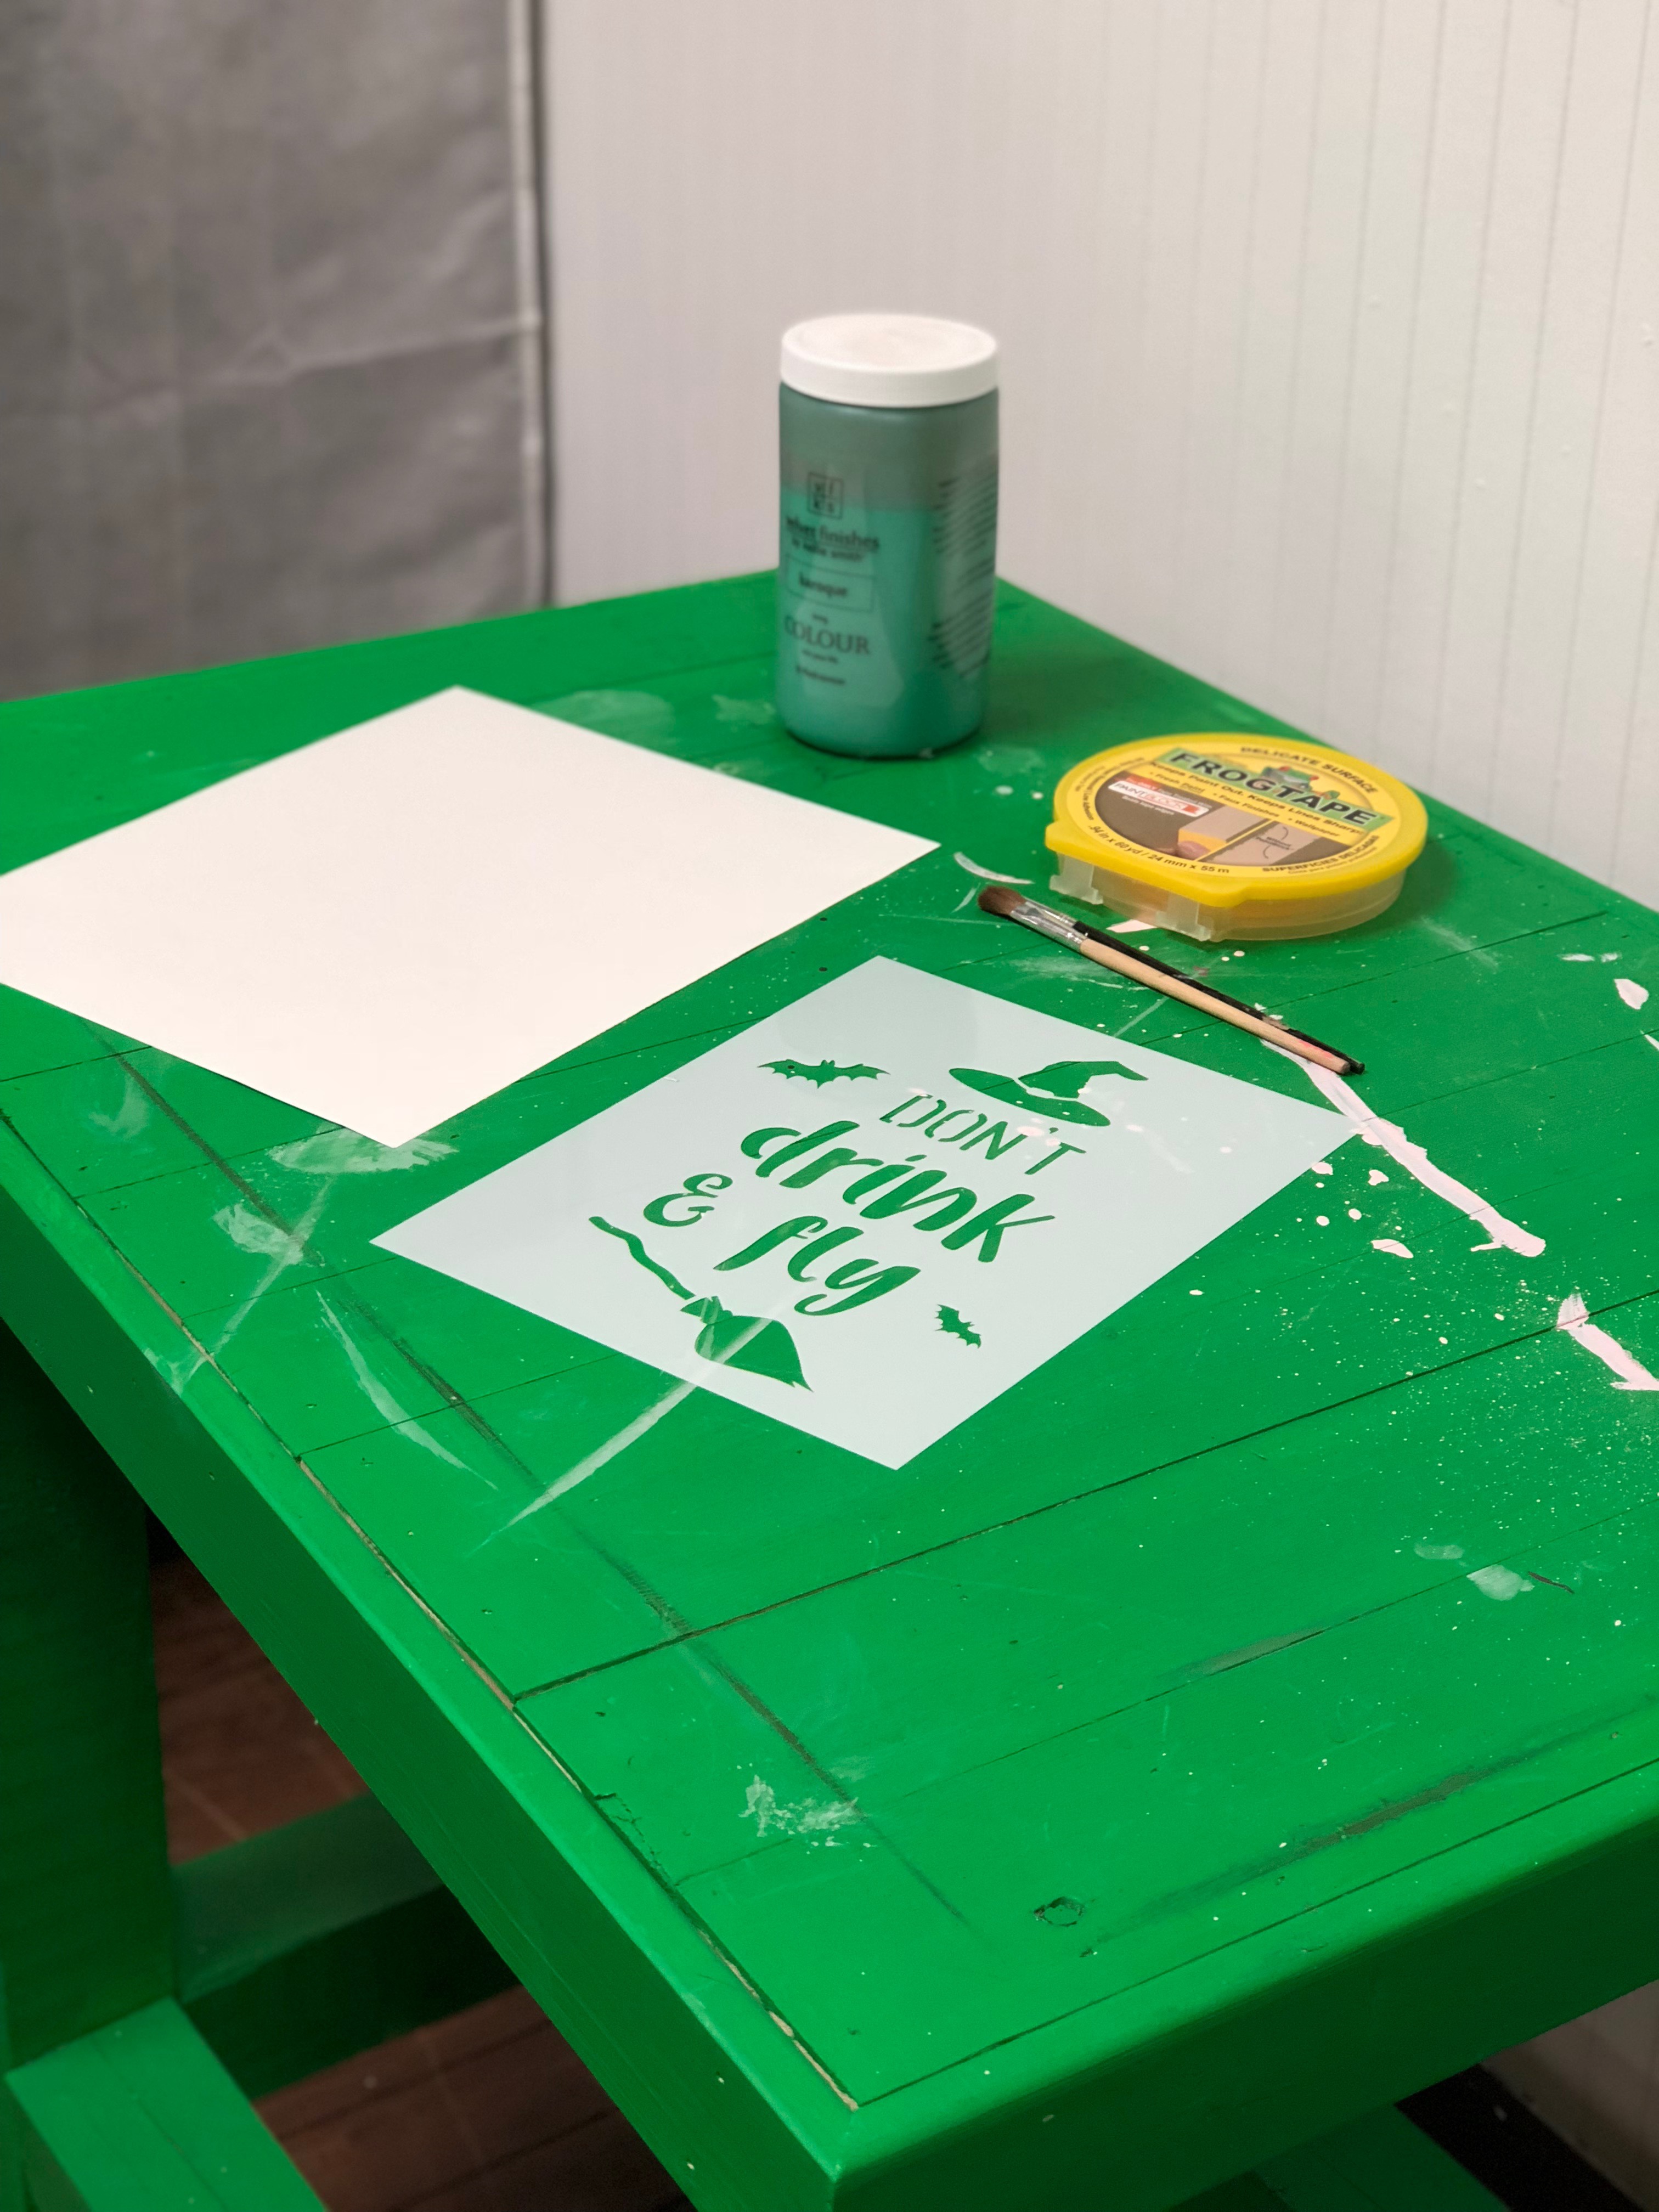
STEP 1 GATHER YOUR SUPPLIES
I had a thick piece of white cardstock that I used for the “canvas” of my 8.5″x11″ size stencil.
I chose a few Velvet Finishes Halloweenish colours to use for my DIY Halloween sign: Baroque, Captivating, Exotic, and Luxurious.
I also grabbed my Reviver Paint Brush and Frogtape.
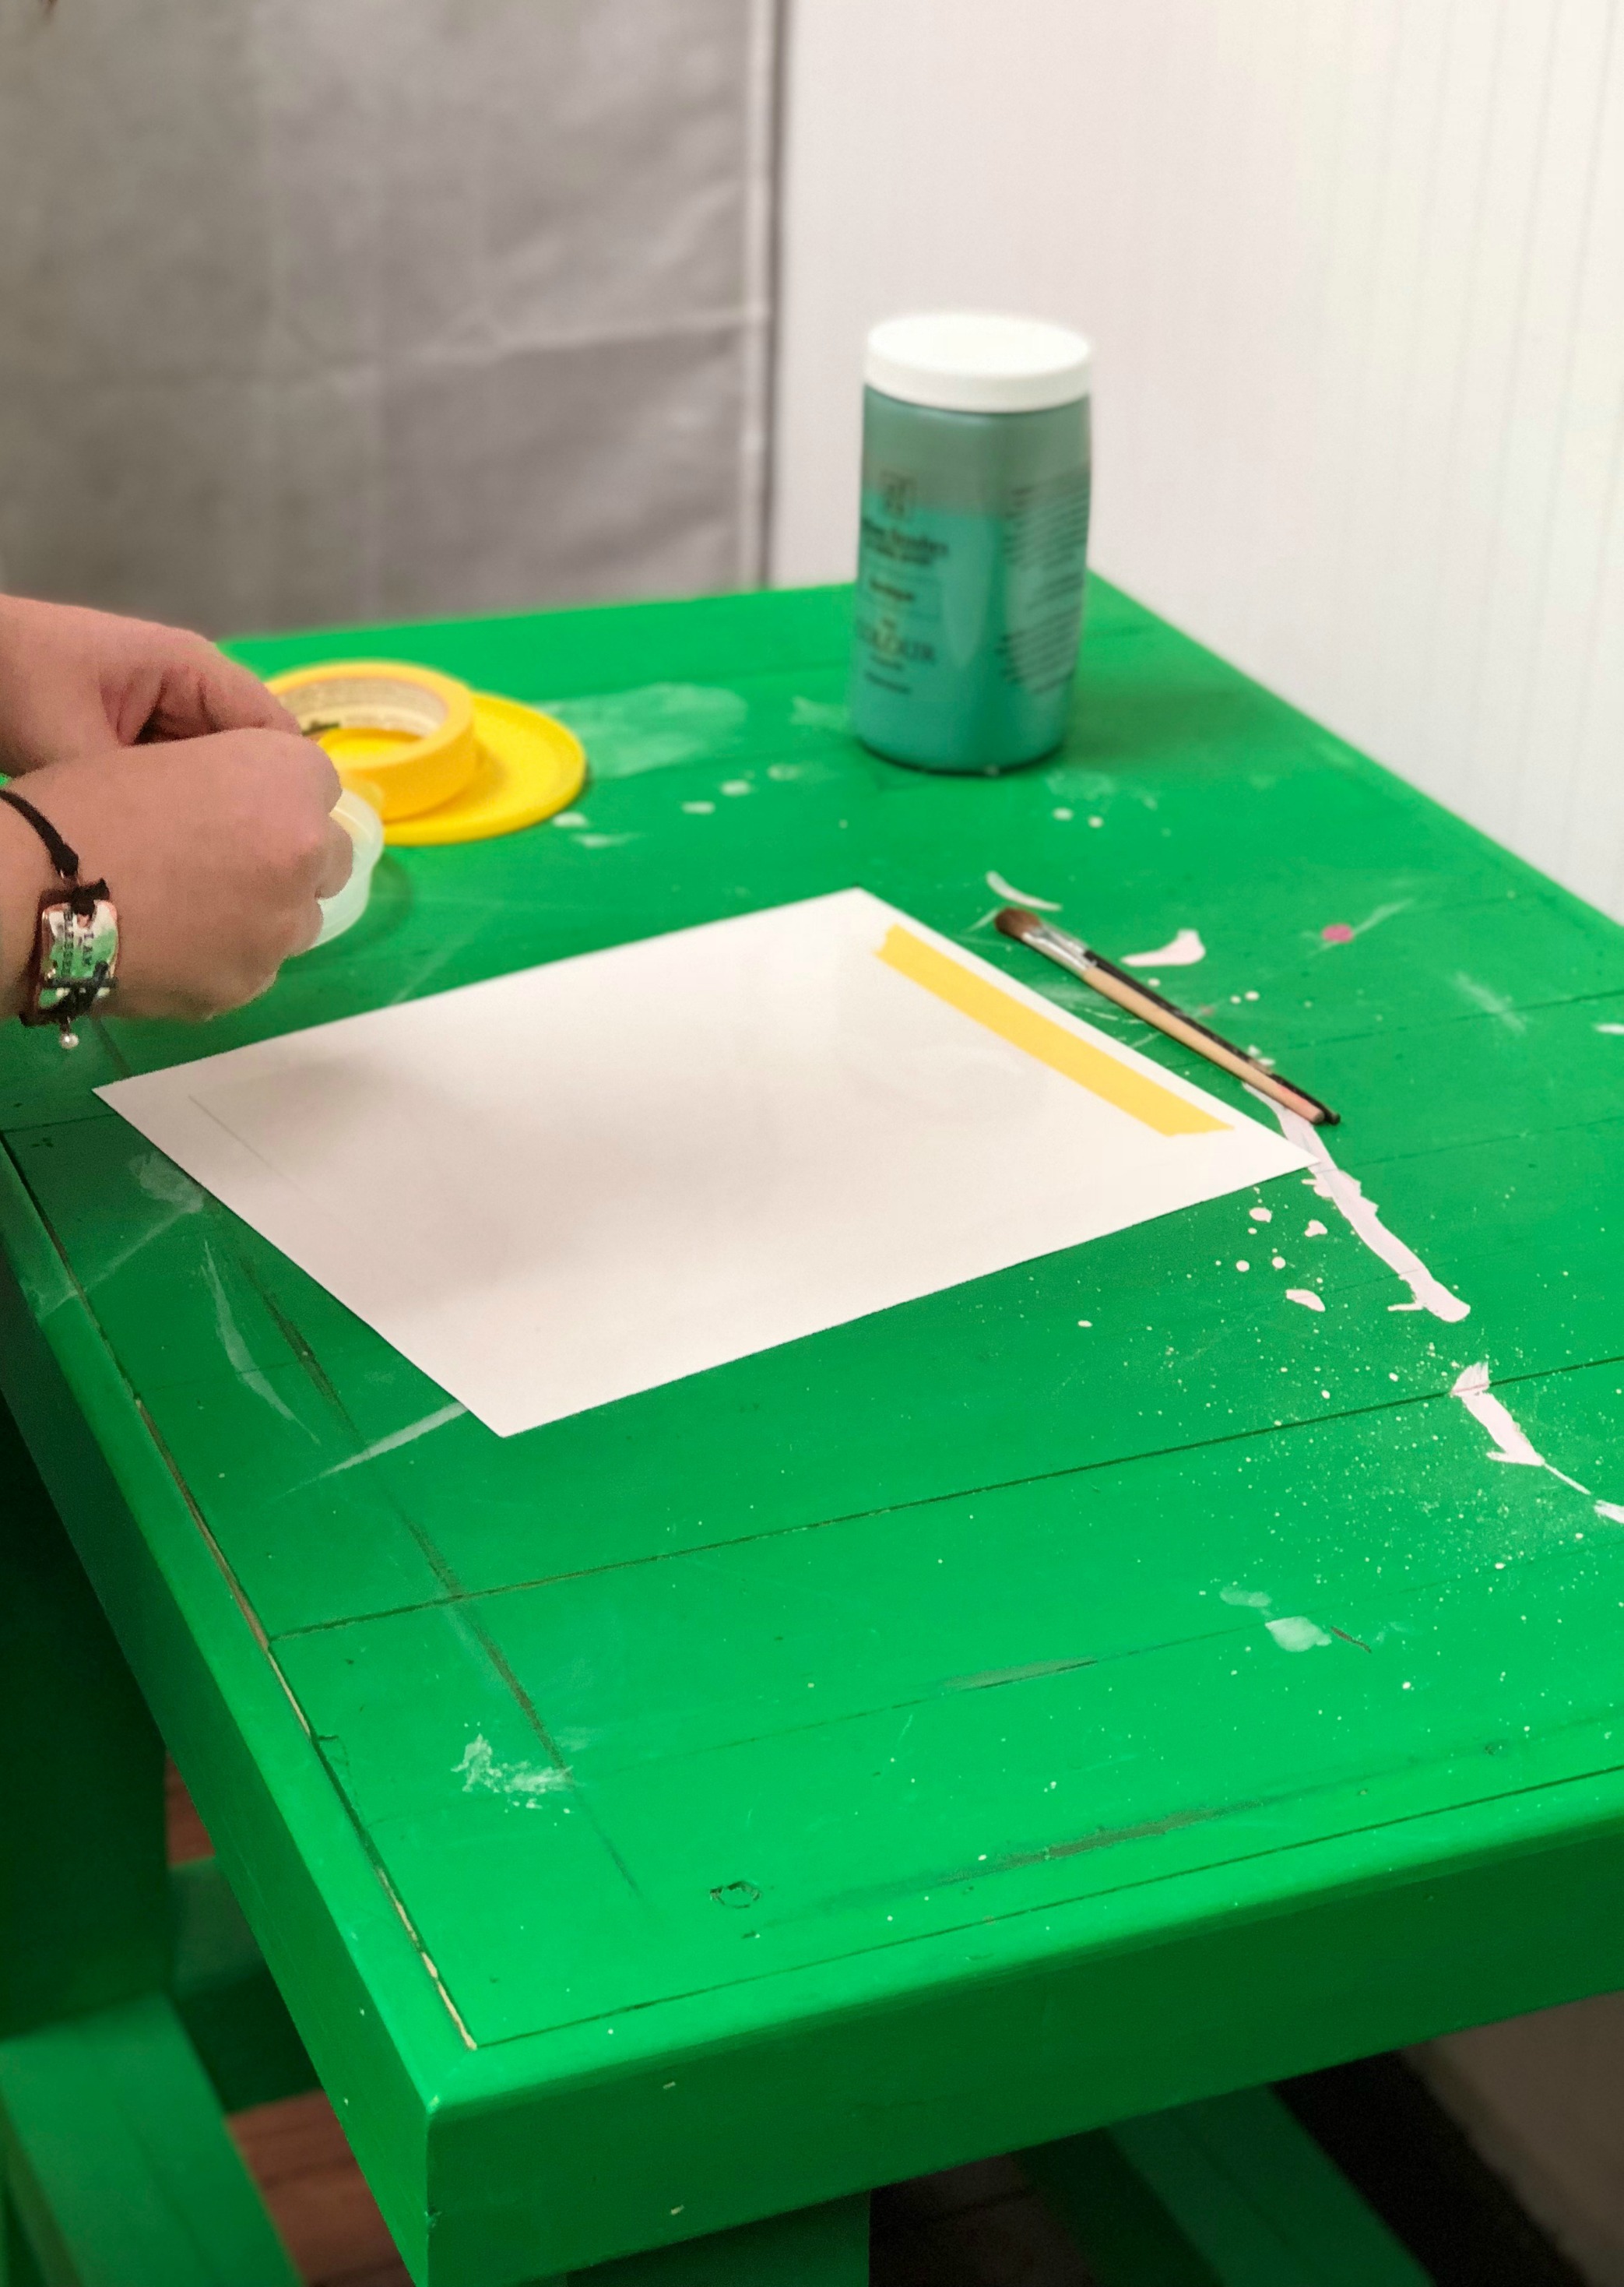
STEP 2 TAPE DOWN YOUR STENCIL
Using a high quality tape makes all of the difference, friends.
I use FrogTape for all of my projects, trust me it can make or break any DIY project.
STEP 3 PAINT!
My vision for this sign was to be funky, fun, and a tad bit scary. So, I chose to do a “creepy” ombre technique on the graphics and letters.
I started with the green shade, Baroque, and lightly blotted the hat – on the right side of the hat, I blotted with our black shade, Luxurious.
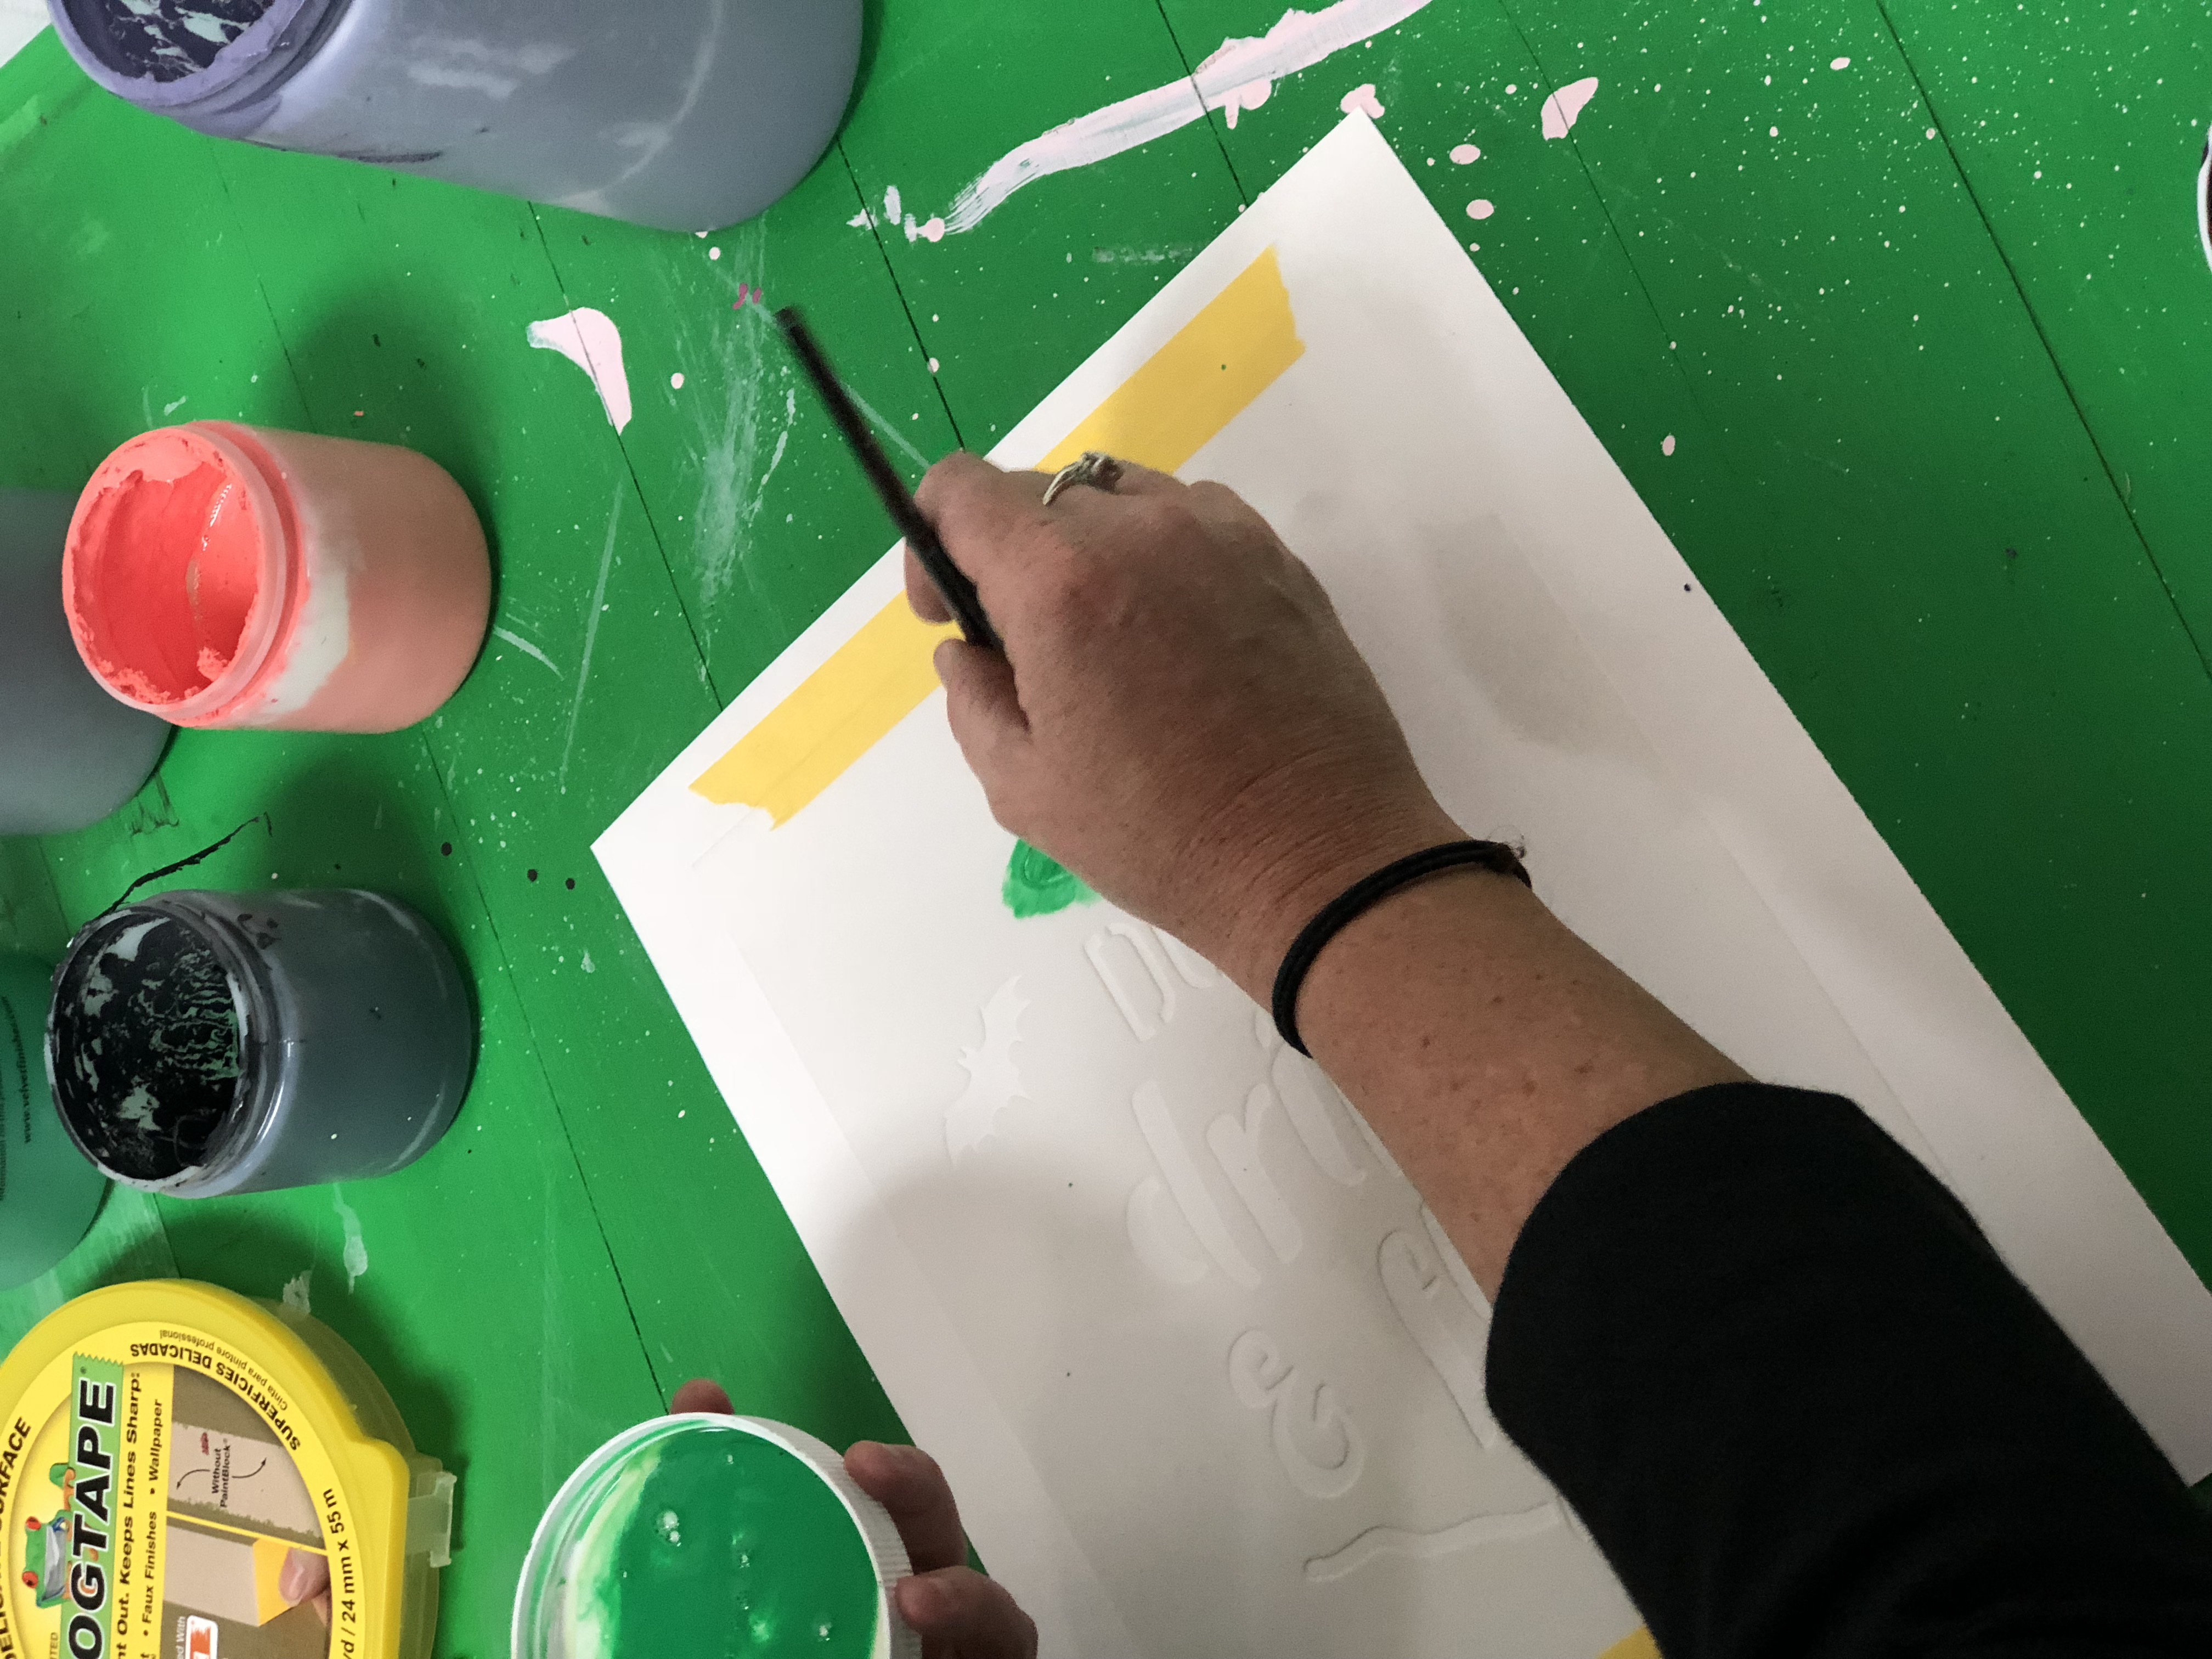
Continuing down, I just let my creative juice flow and continued with my Halloween colour palette.
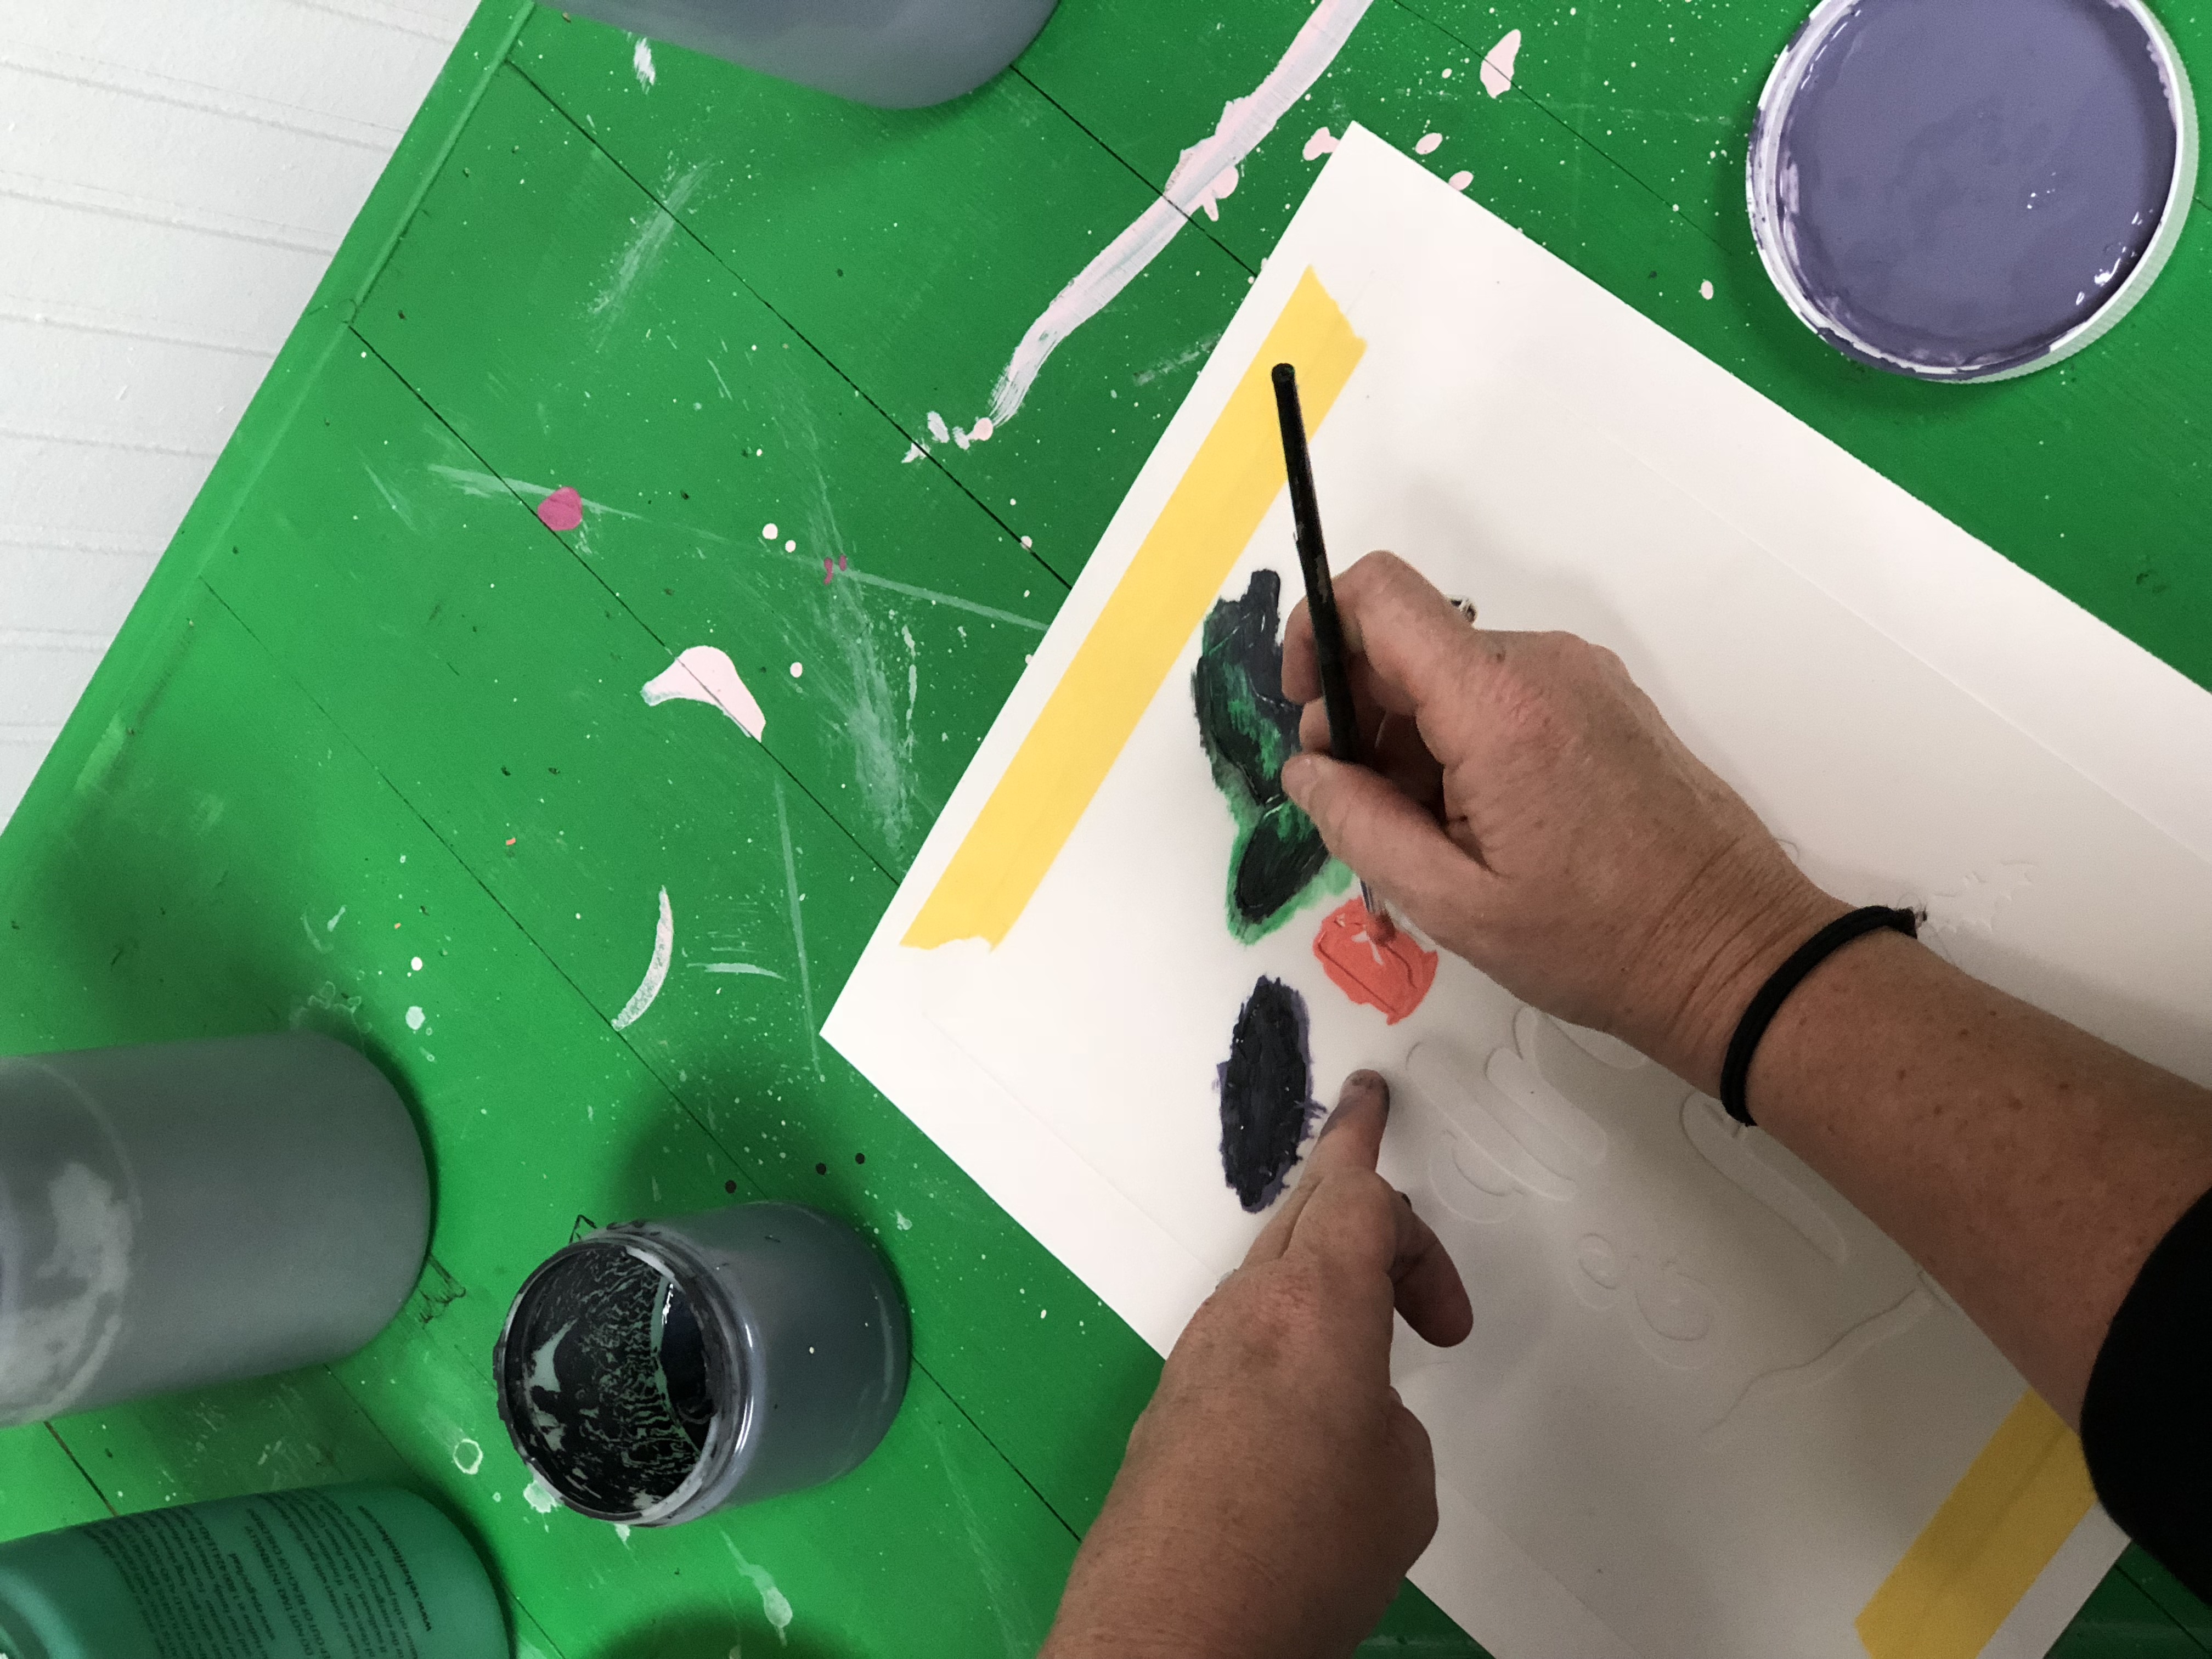
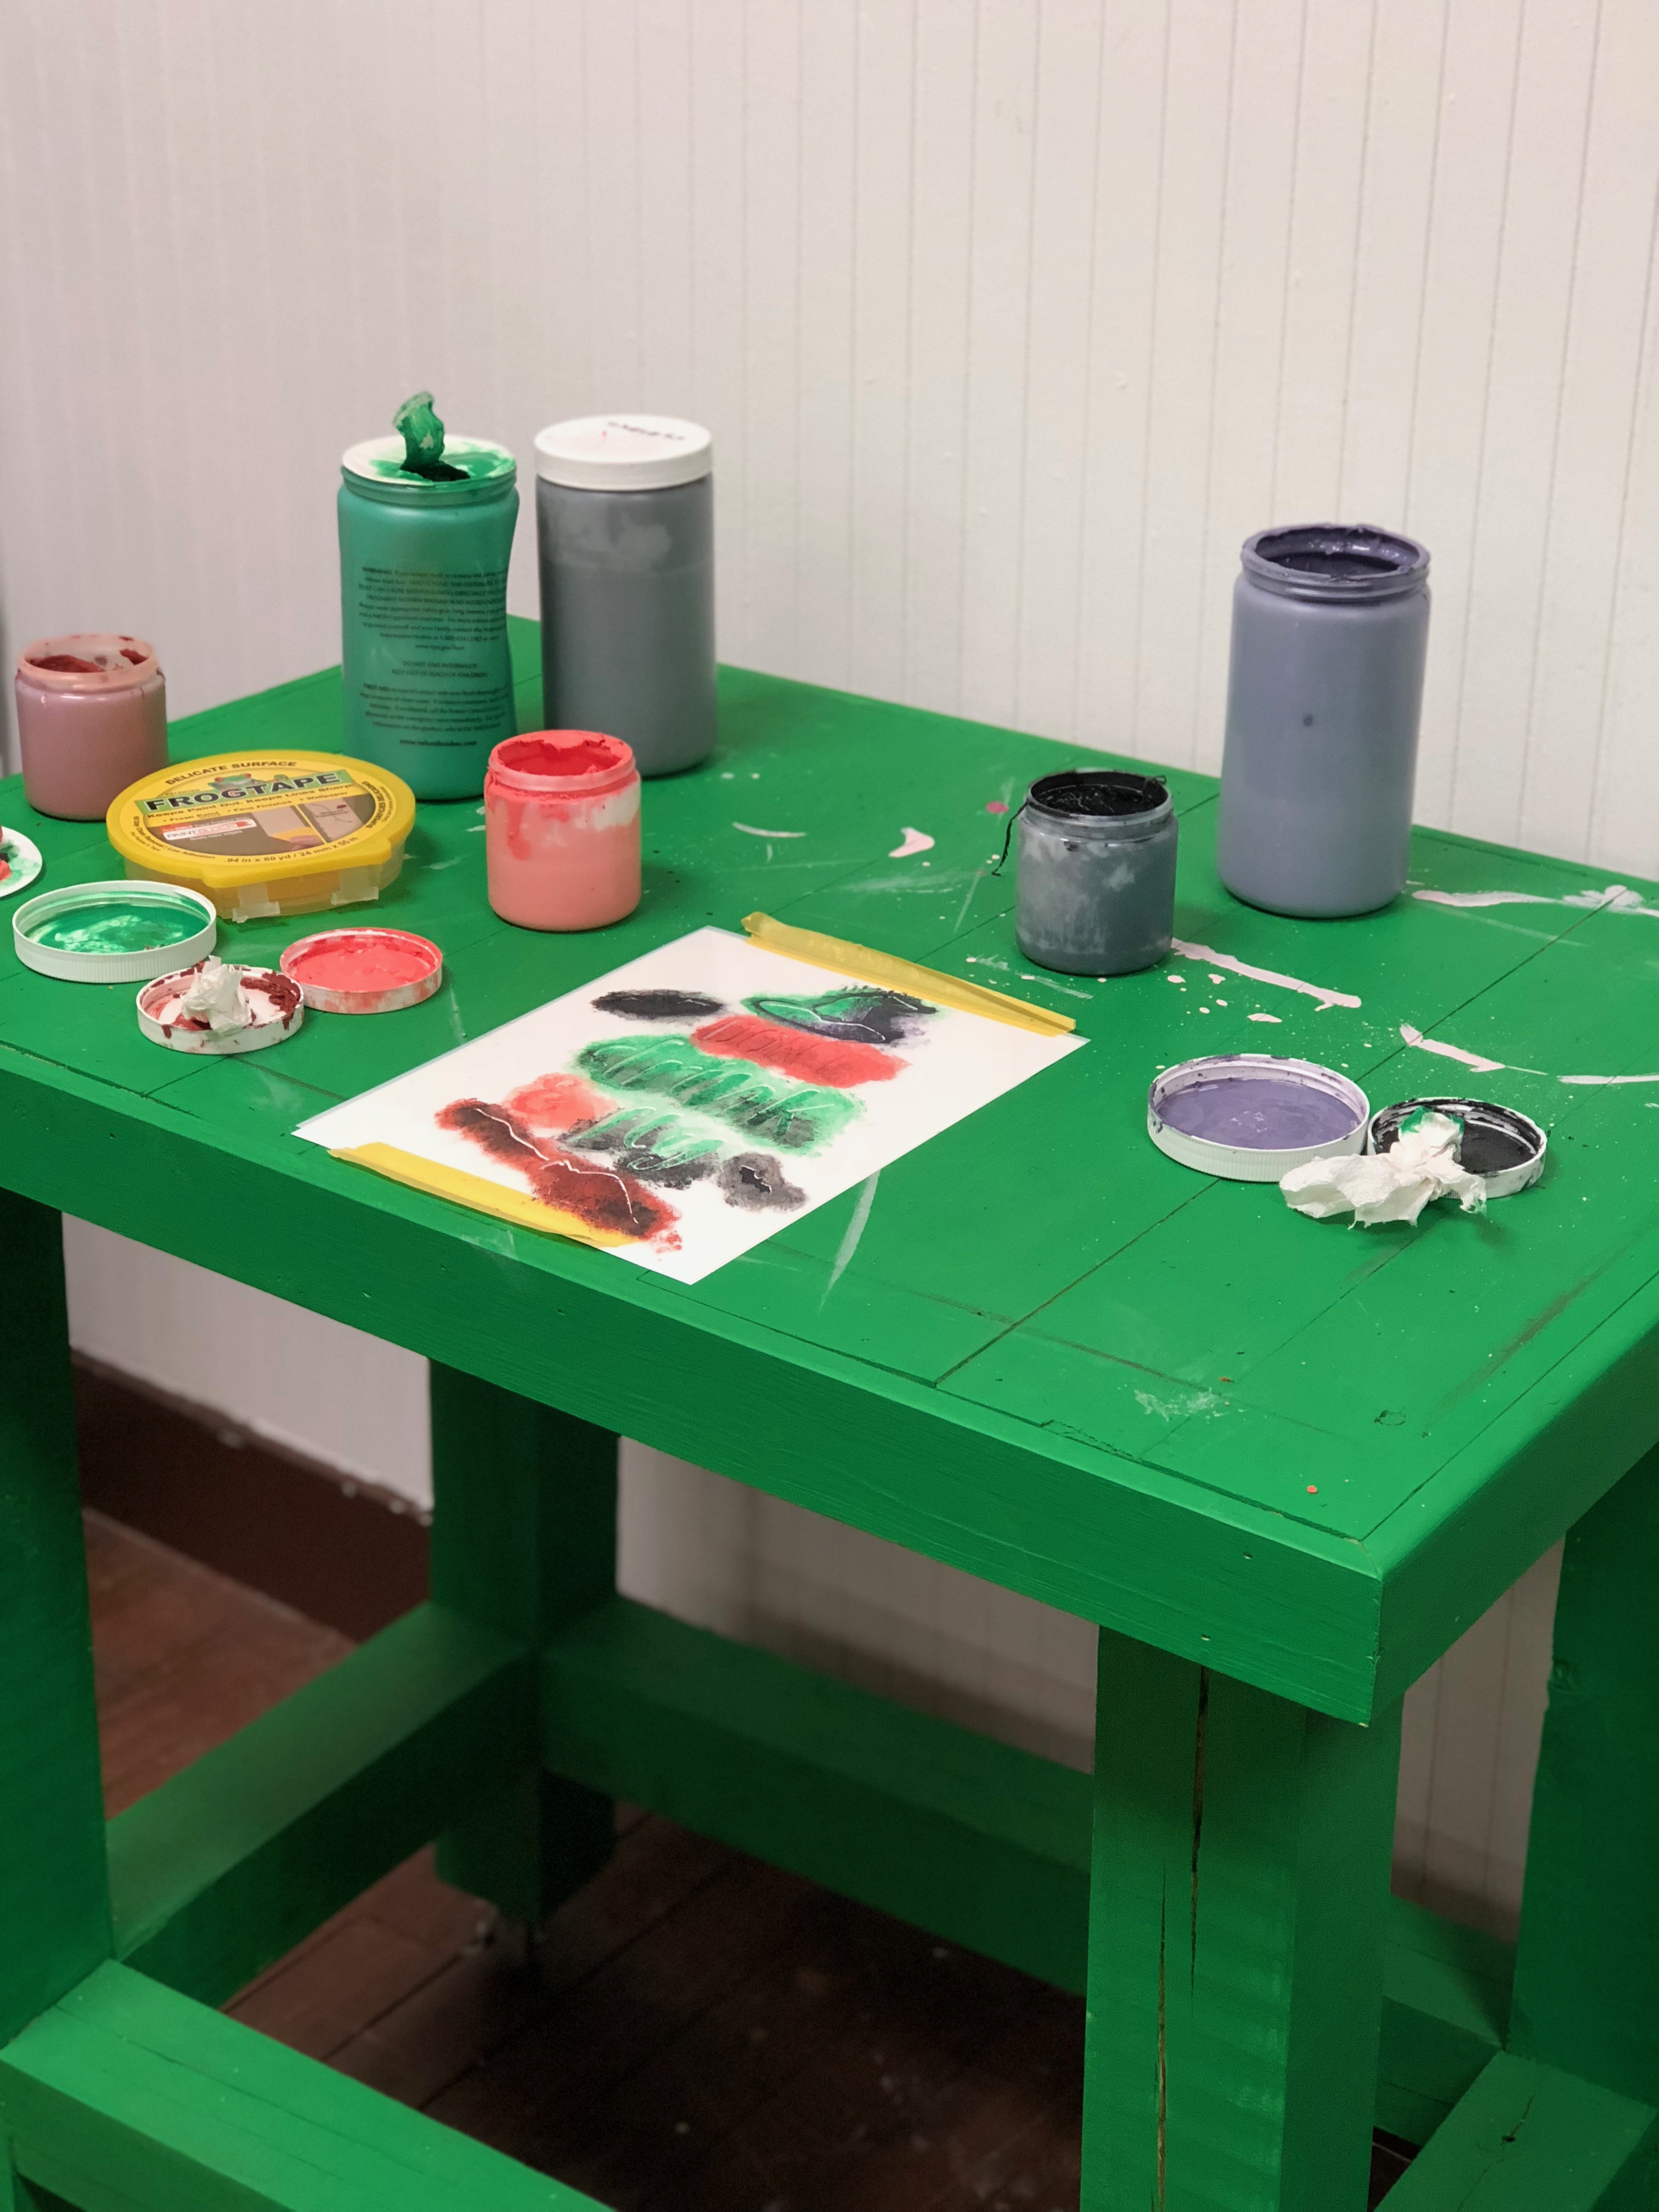
Before I knew it, I was done!
Once I finished my painting, I took the FrogTape off and gently took the stencil off of my cardstock.
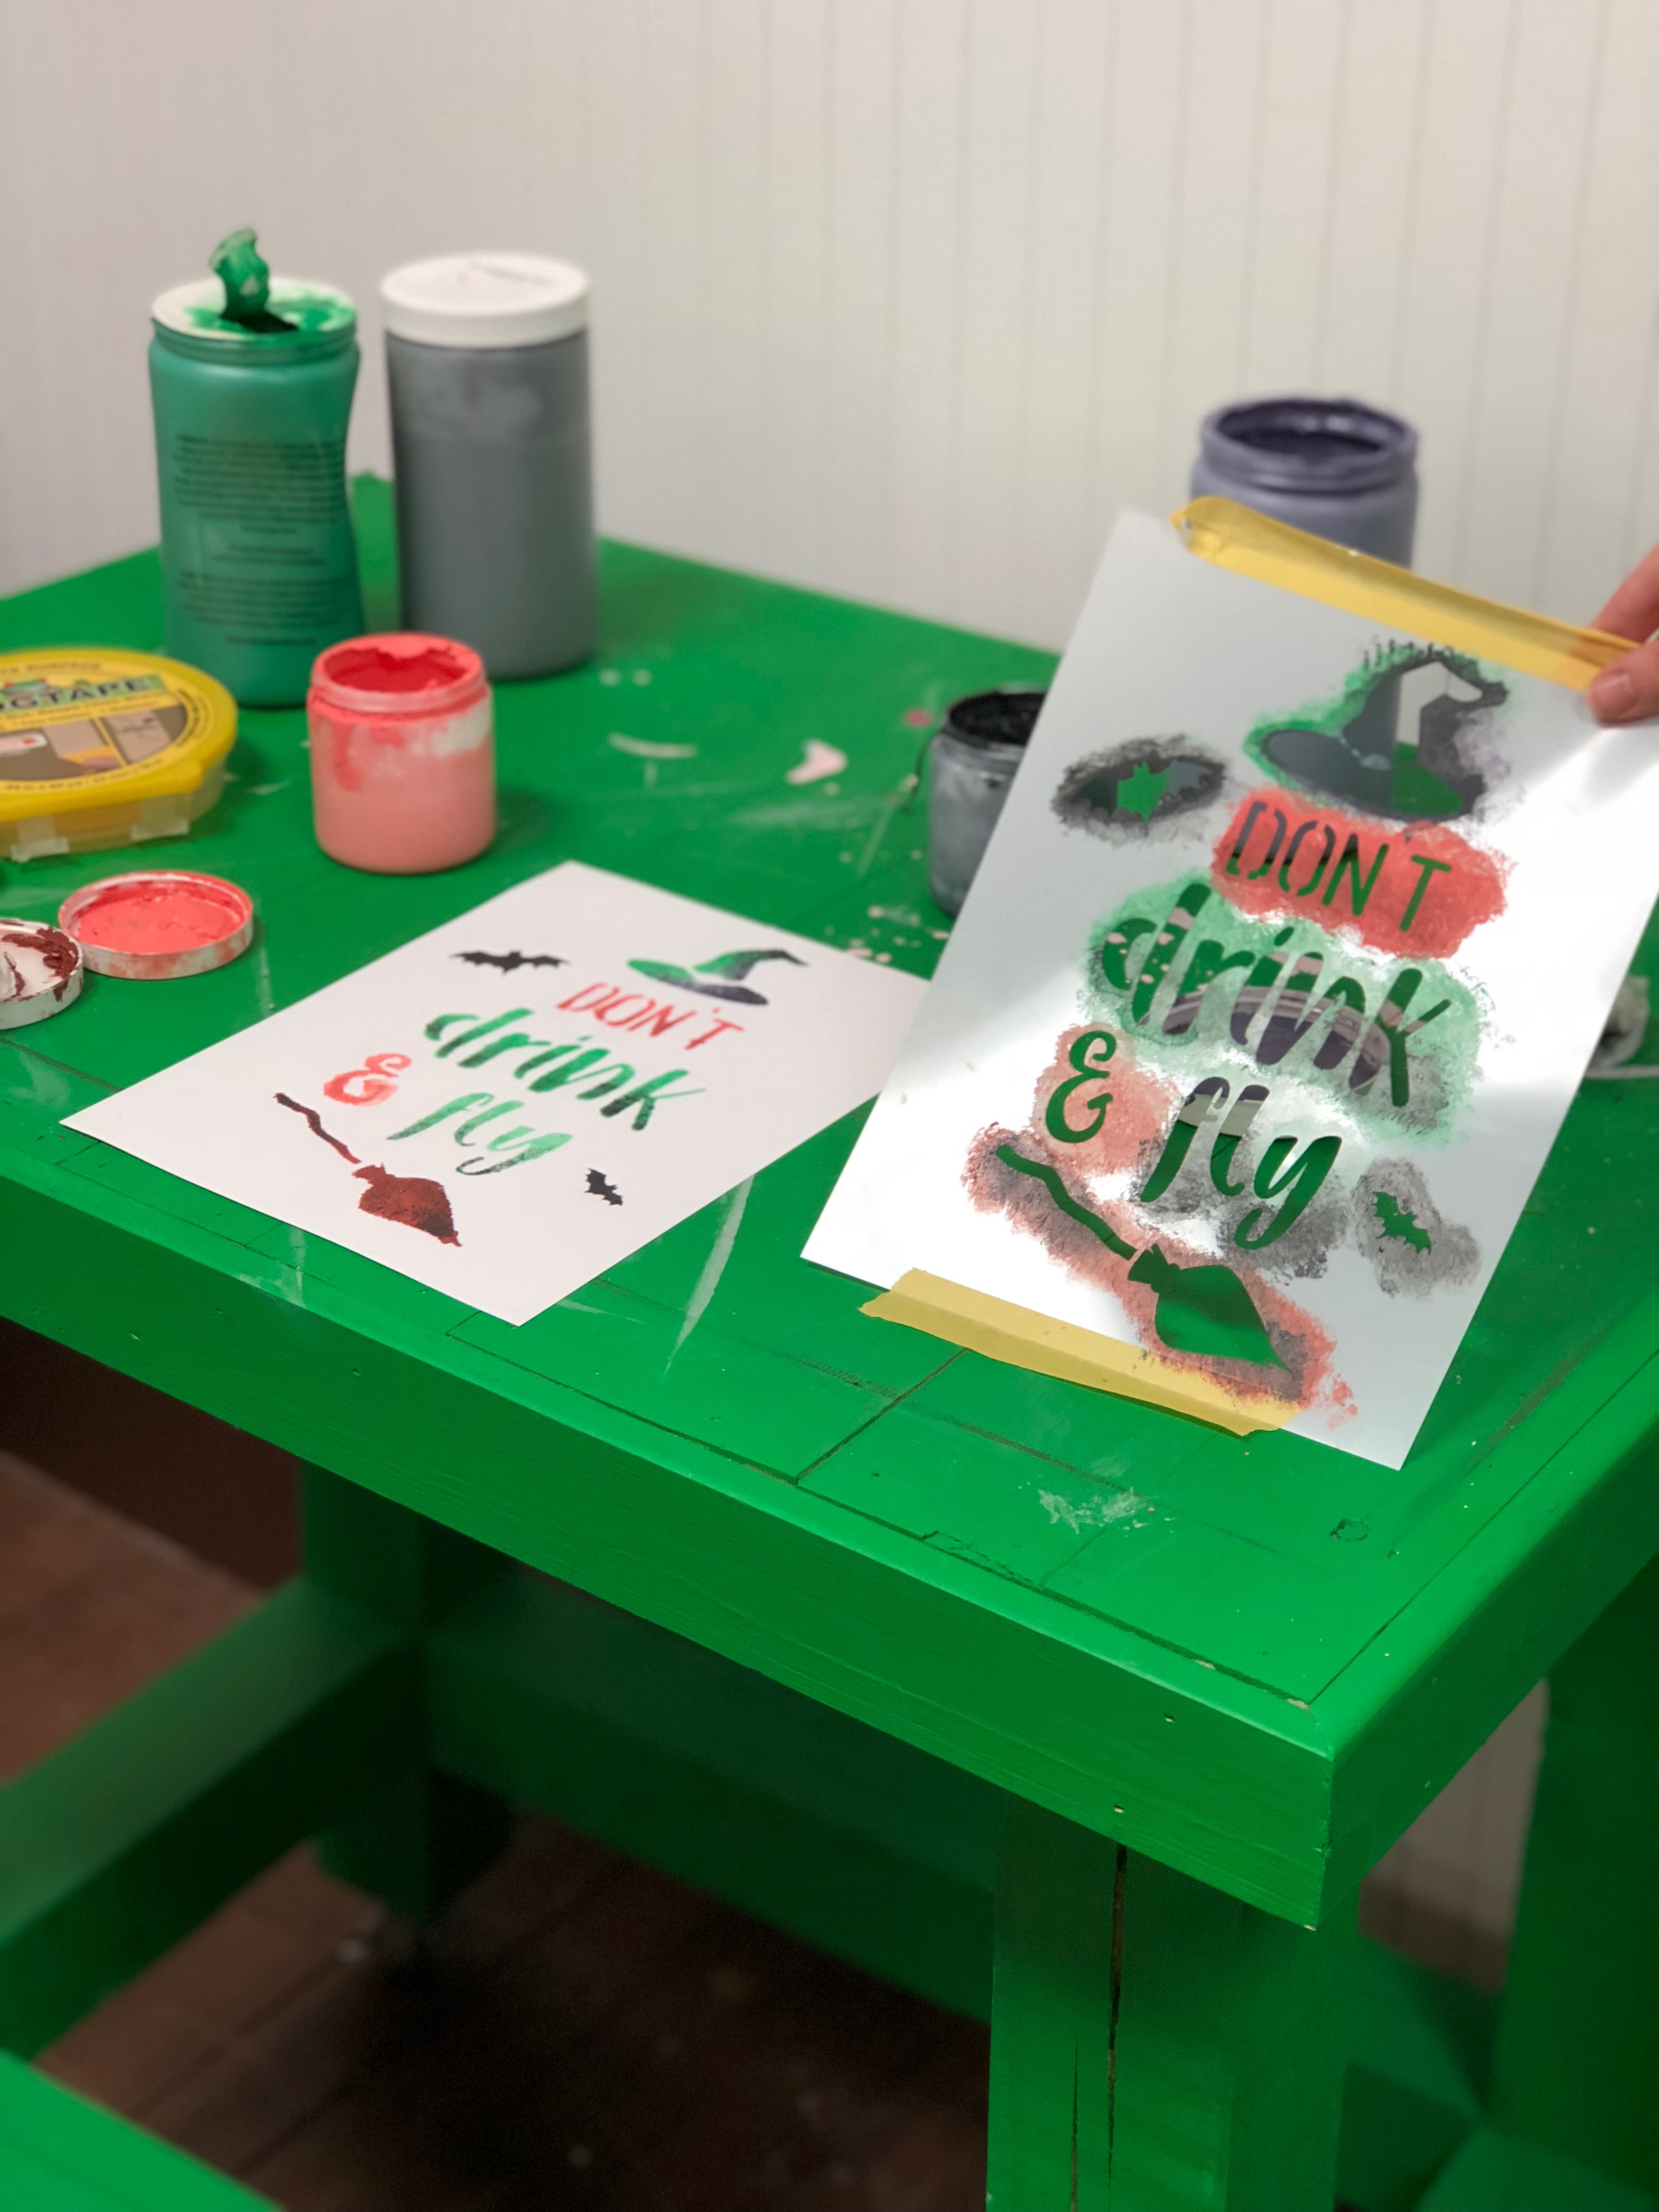
For a finishing touch, I simply used a clear frame with a black background to house my DIY Halloween sign when the job was done. I wanted it to stand up-right and have support on the bar.
STEP 4 DECORATE
Now, it’s time to get to my favorite part, the decorating, err drinking.
Isn’t she a beauty?!
She, yes the sign is a she, and she is resting on the Piano Bar near a bowl for people’s keys.
While, I’m known to take an alcoholic sip or two, we do not drink and drive – in a car or a broom, it’s just a big no no.
I rearranged the stenciled sign a few different ways with a mixture of Boho Luxe Home tassels and textile coasters.
I really loved it in all angles, take a look…
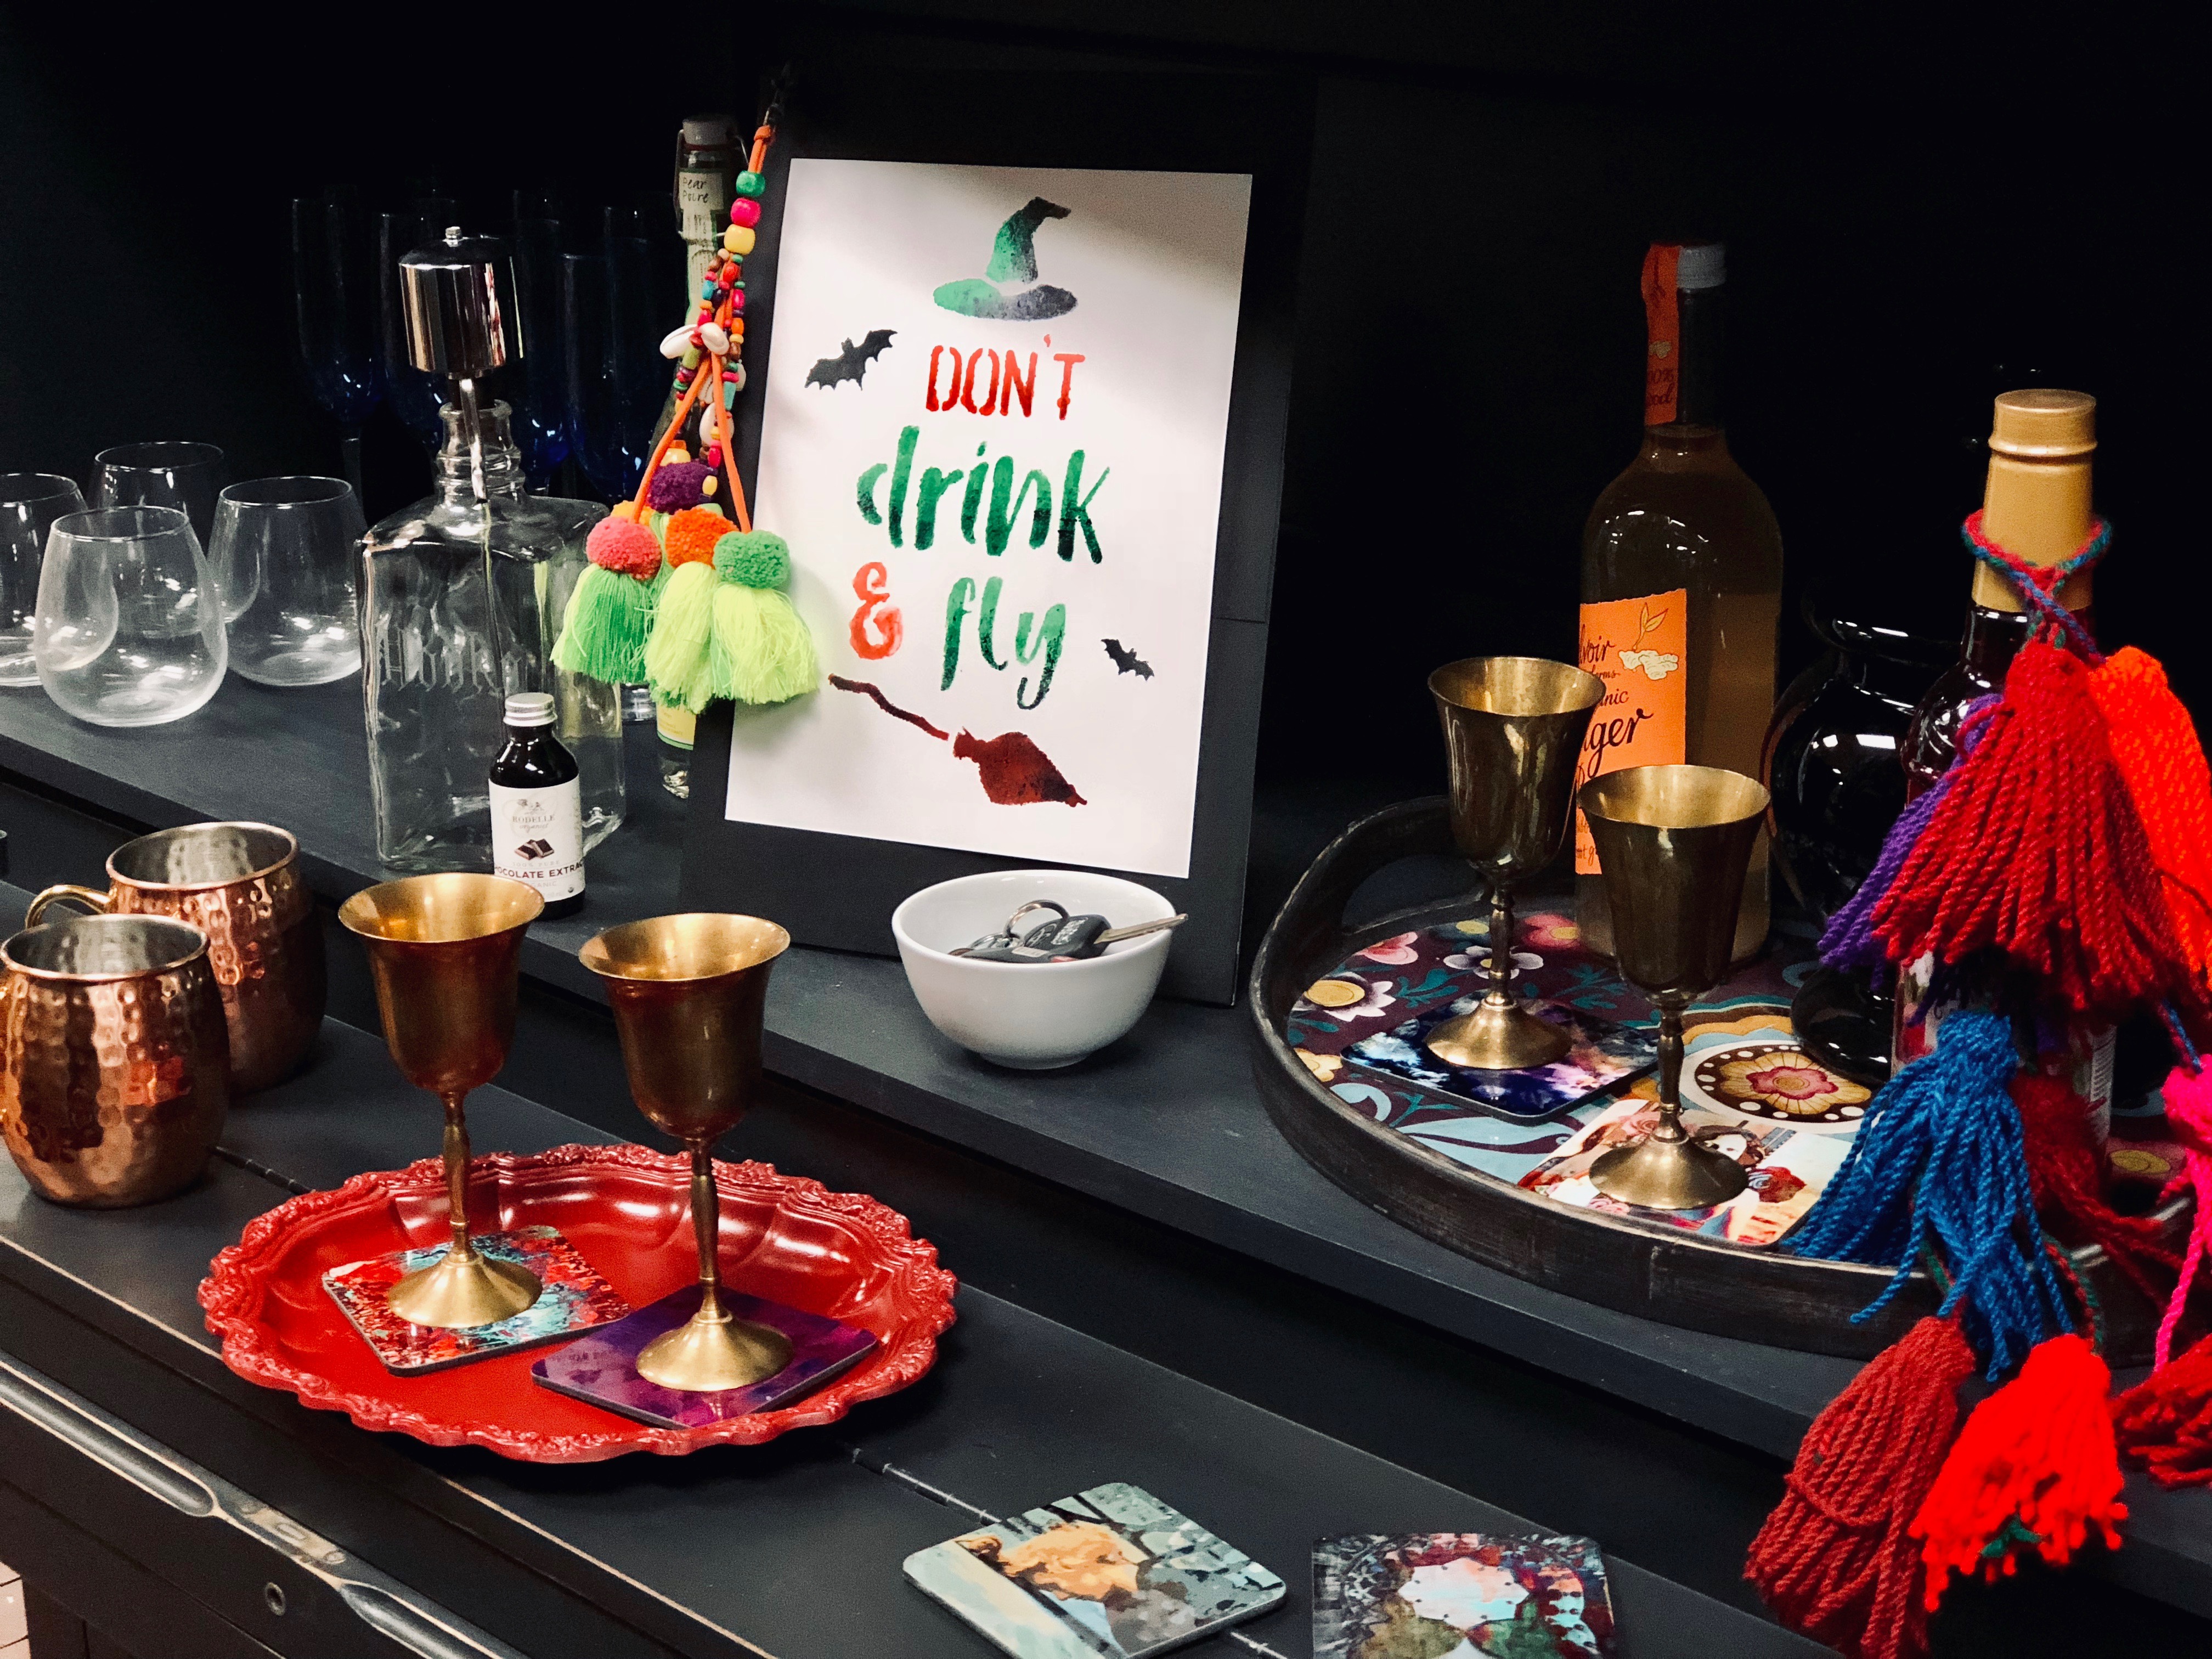
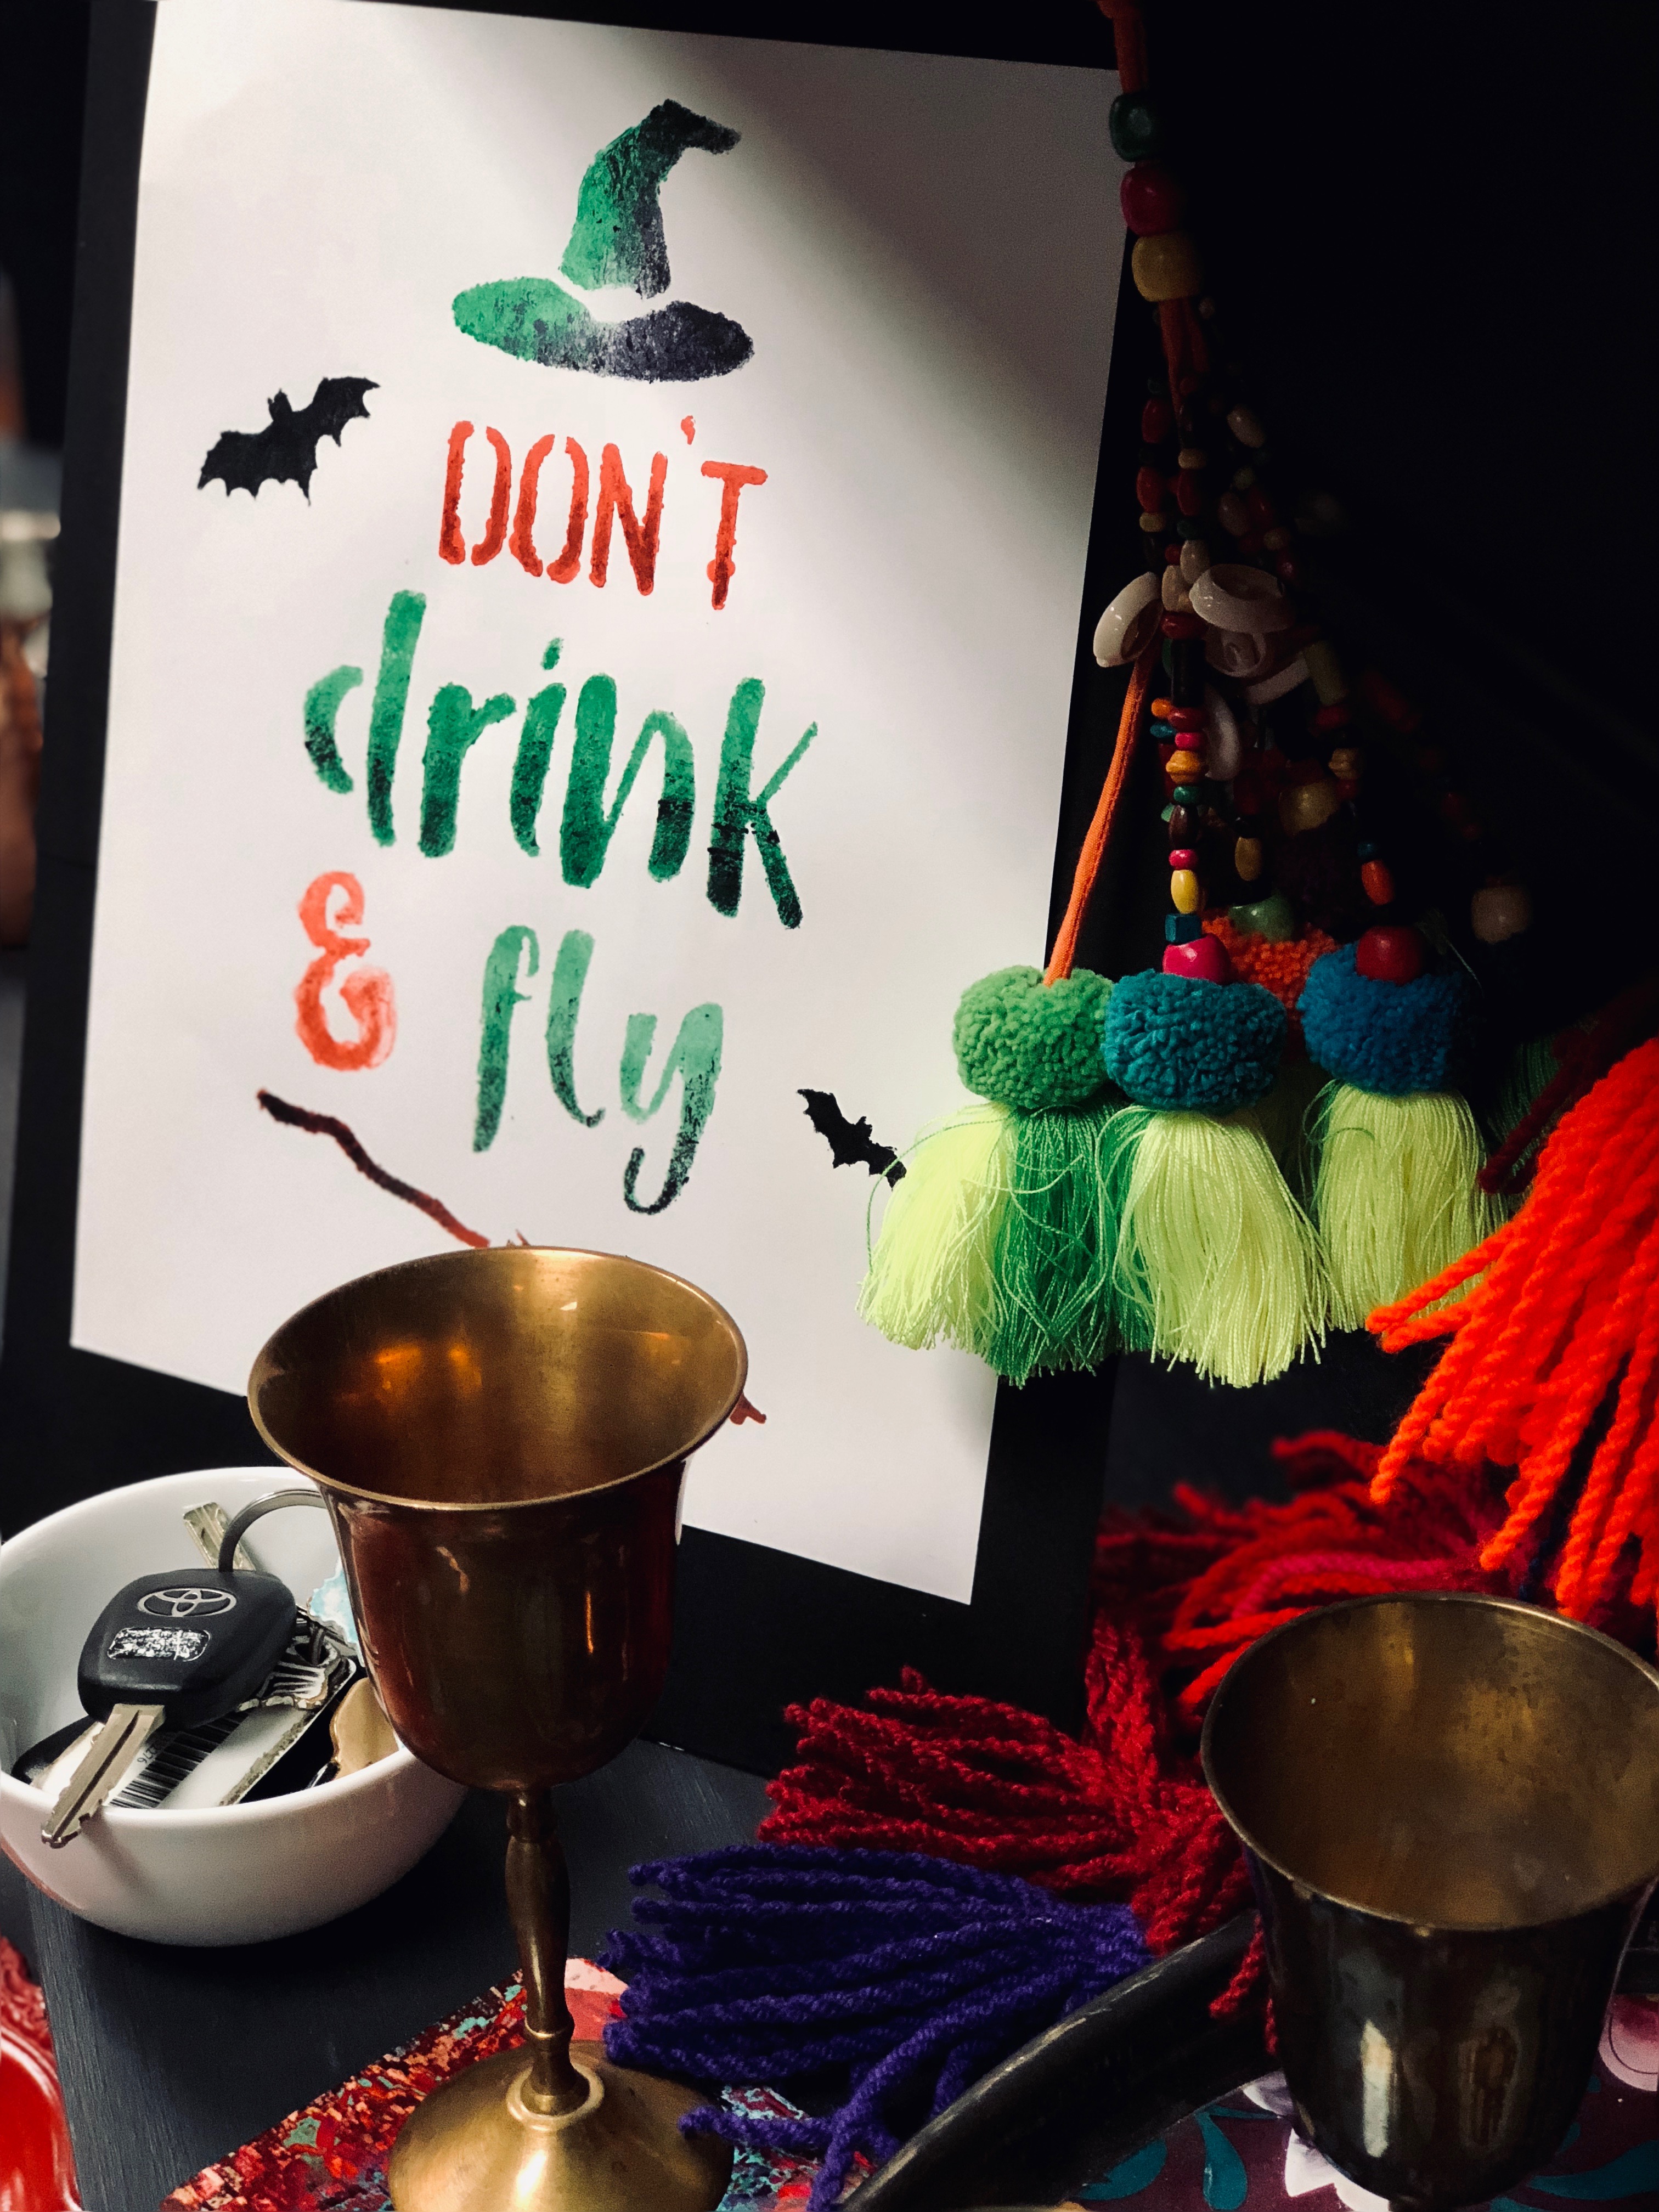

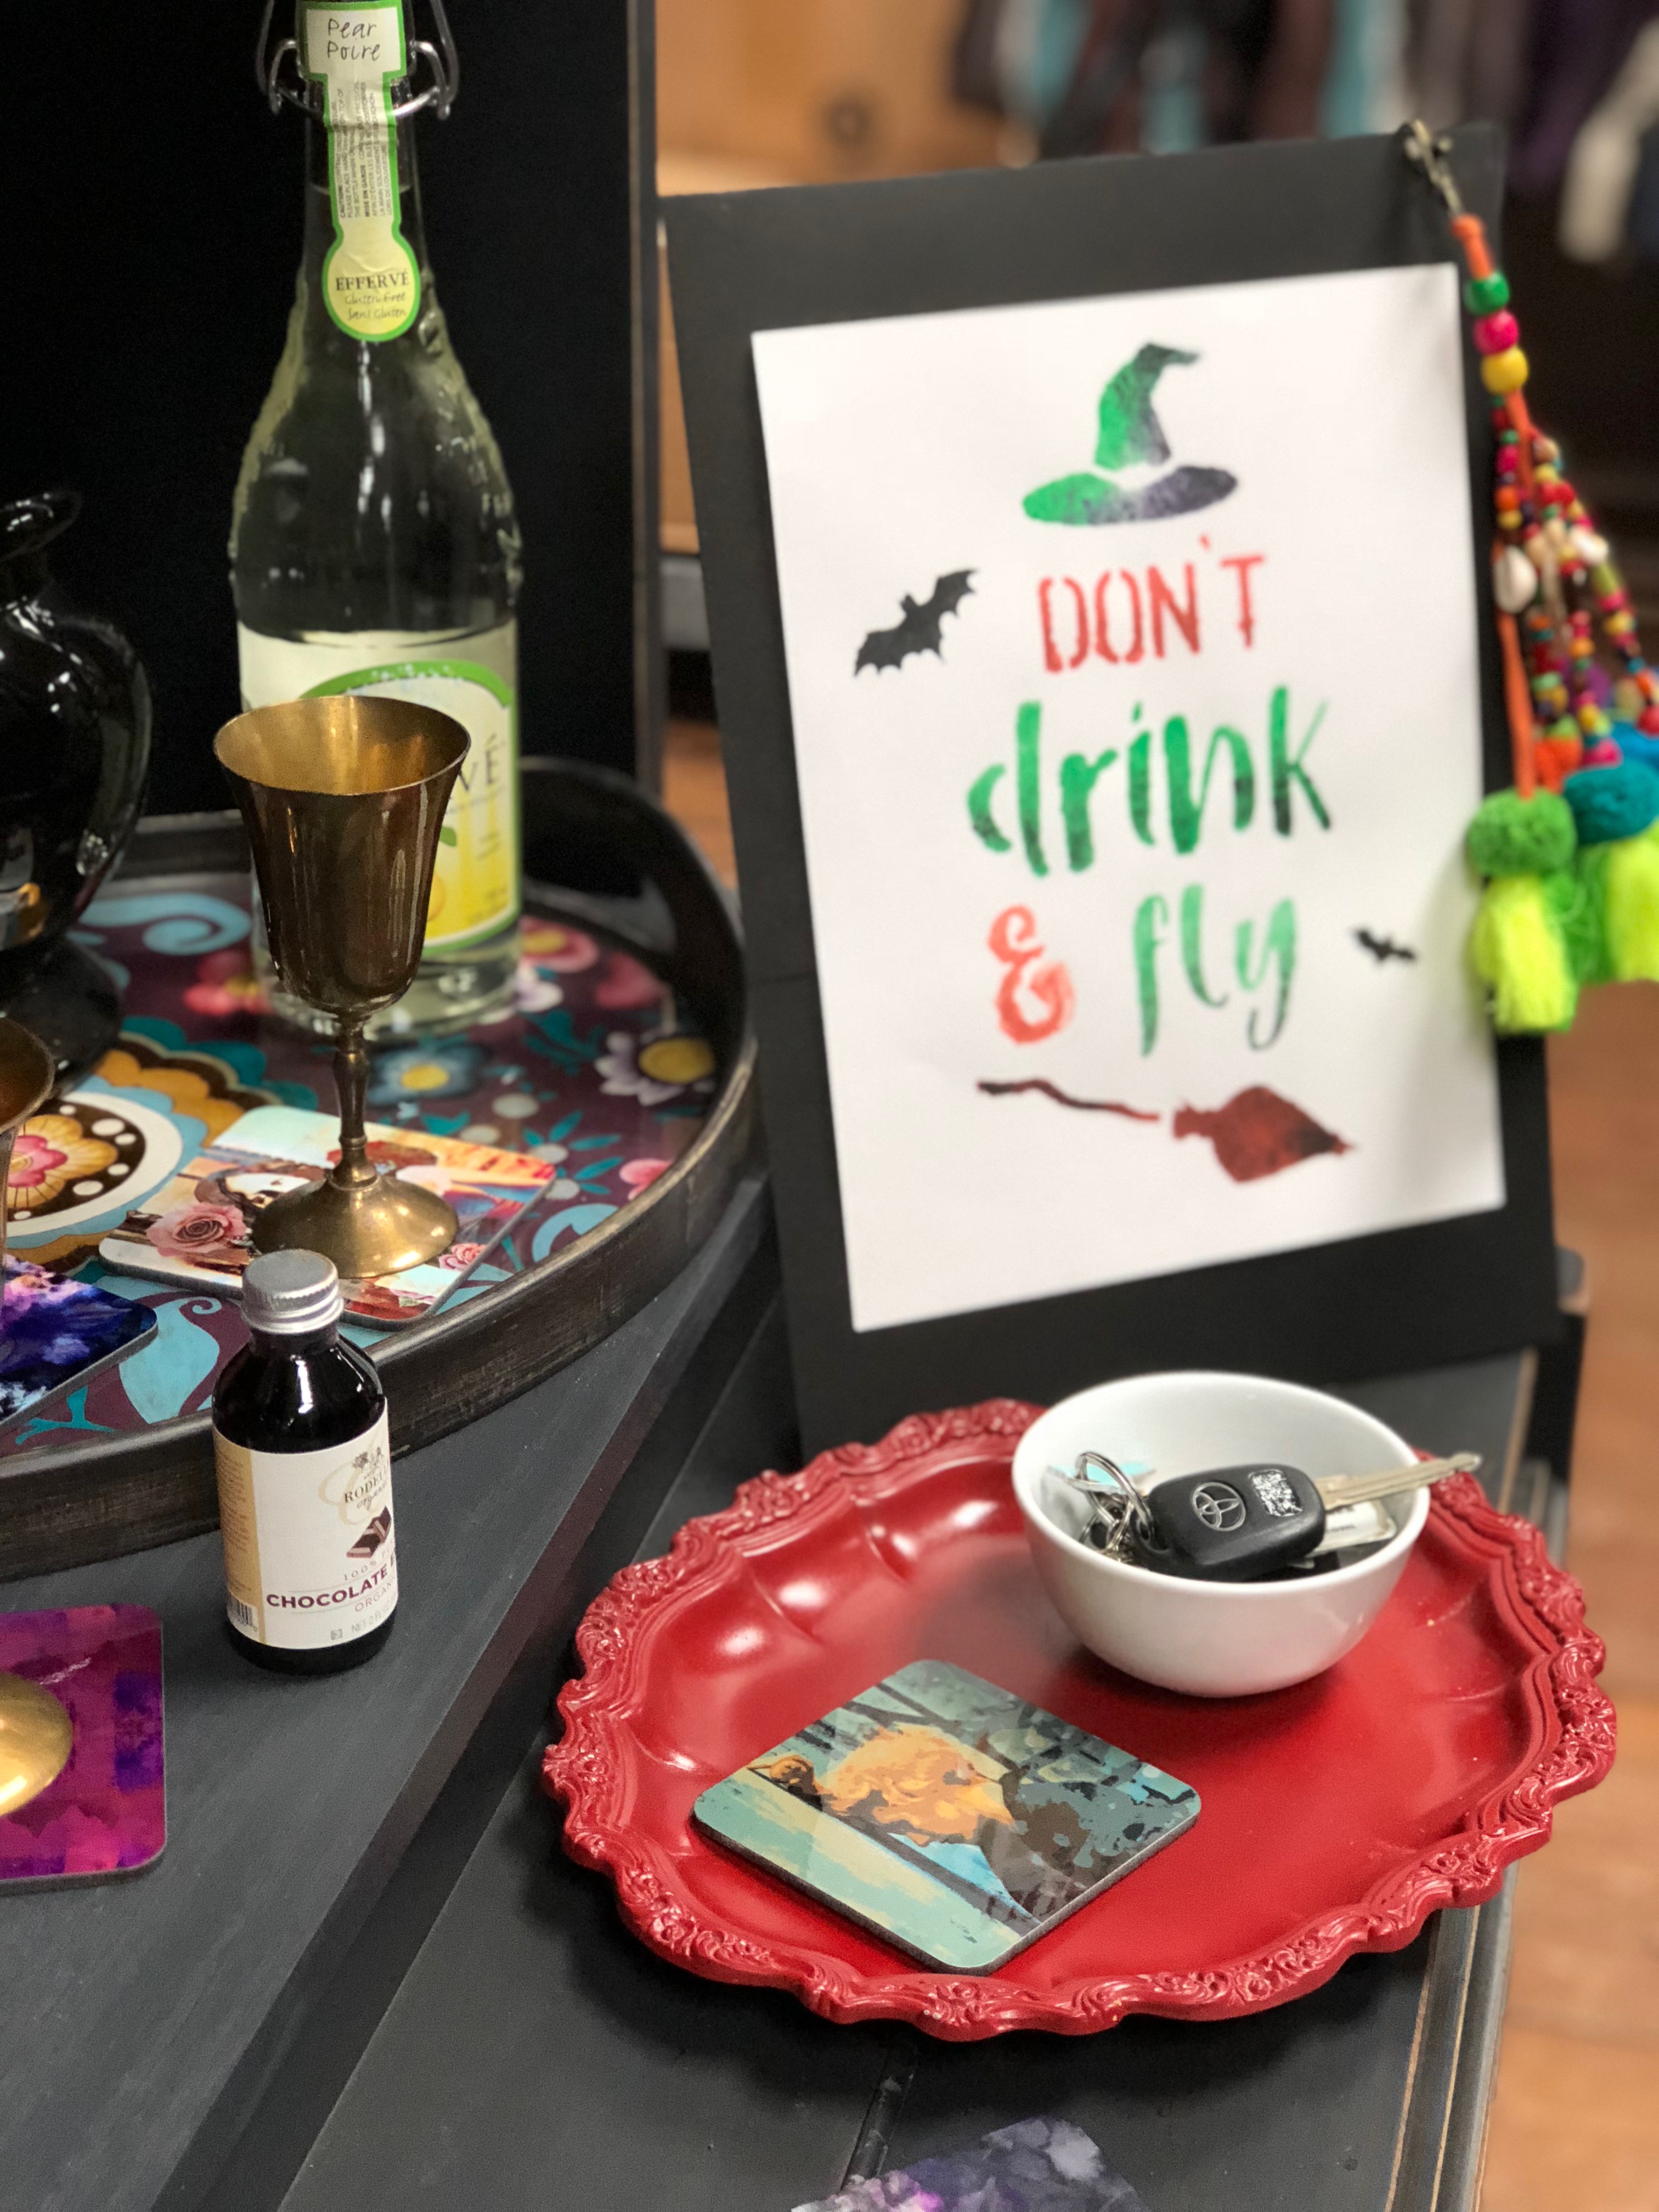
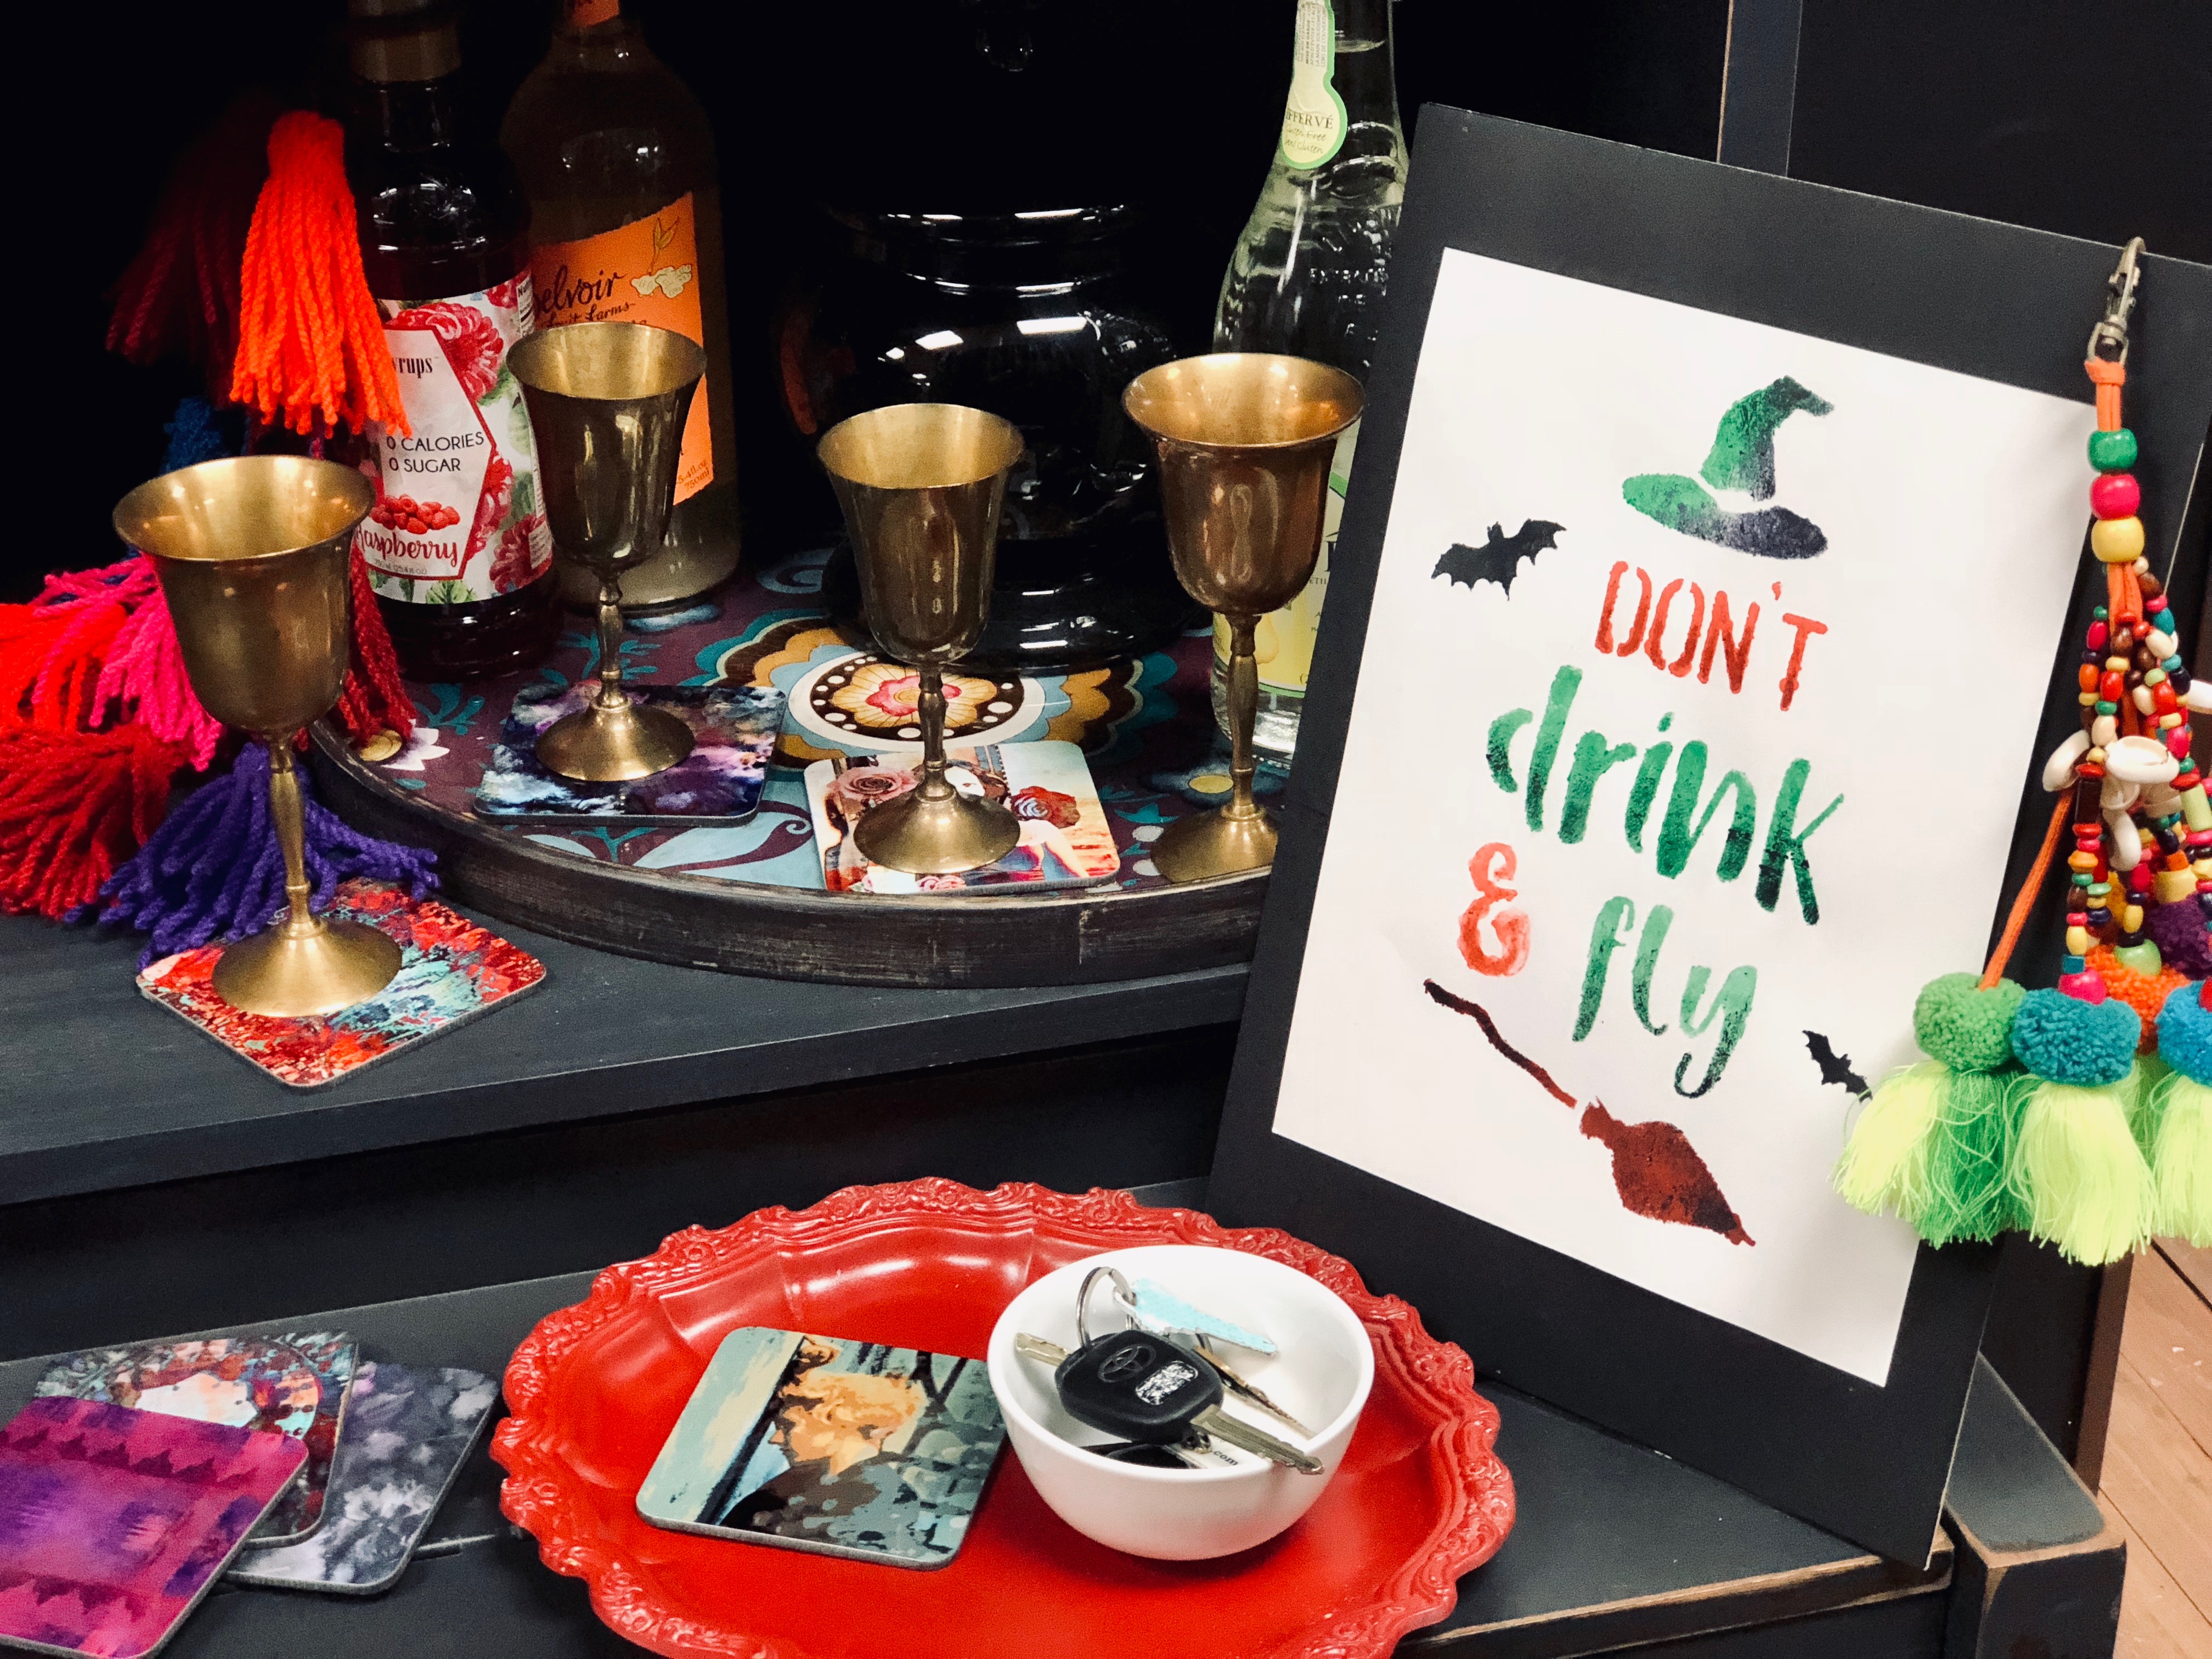
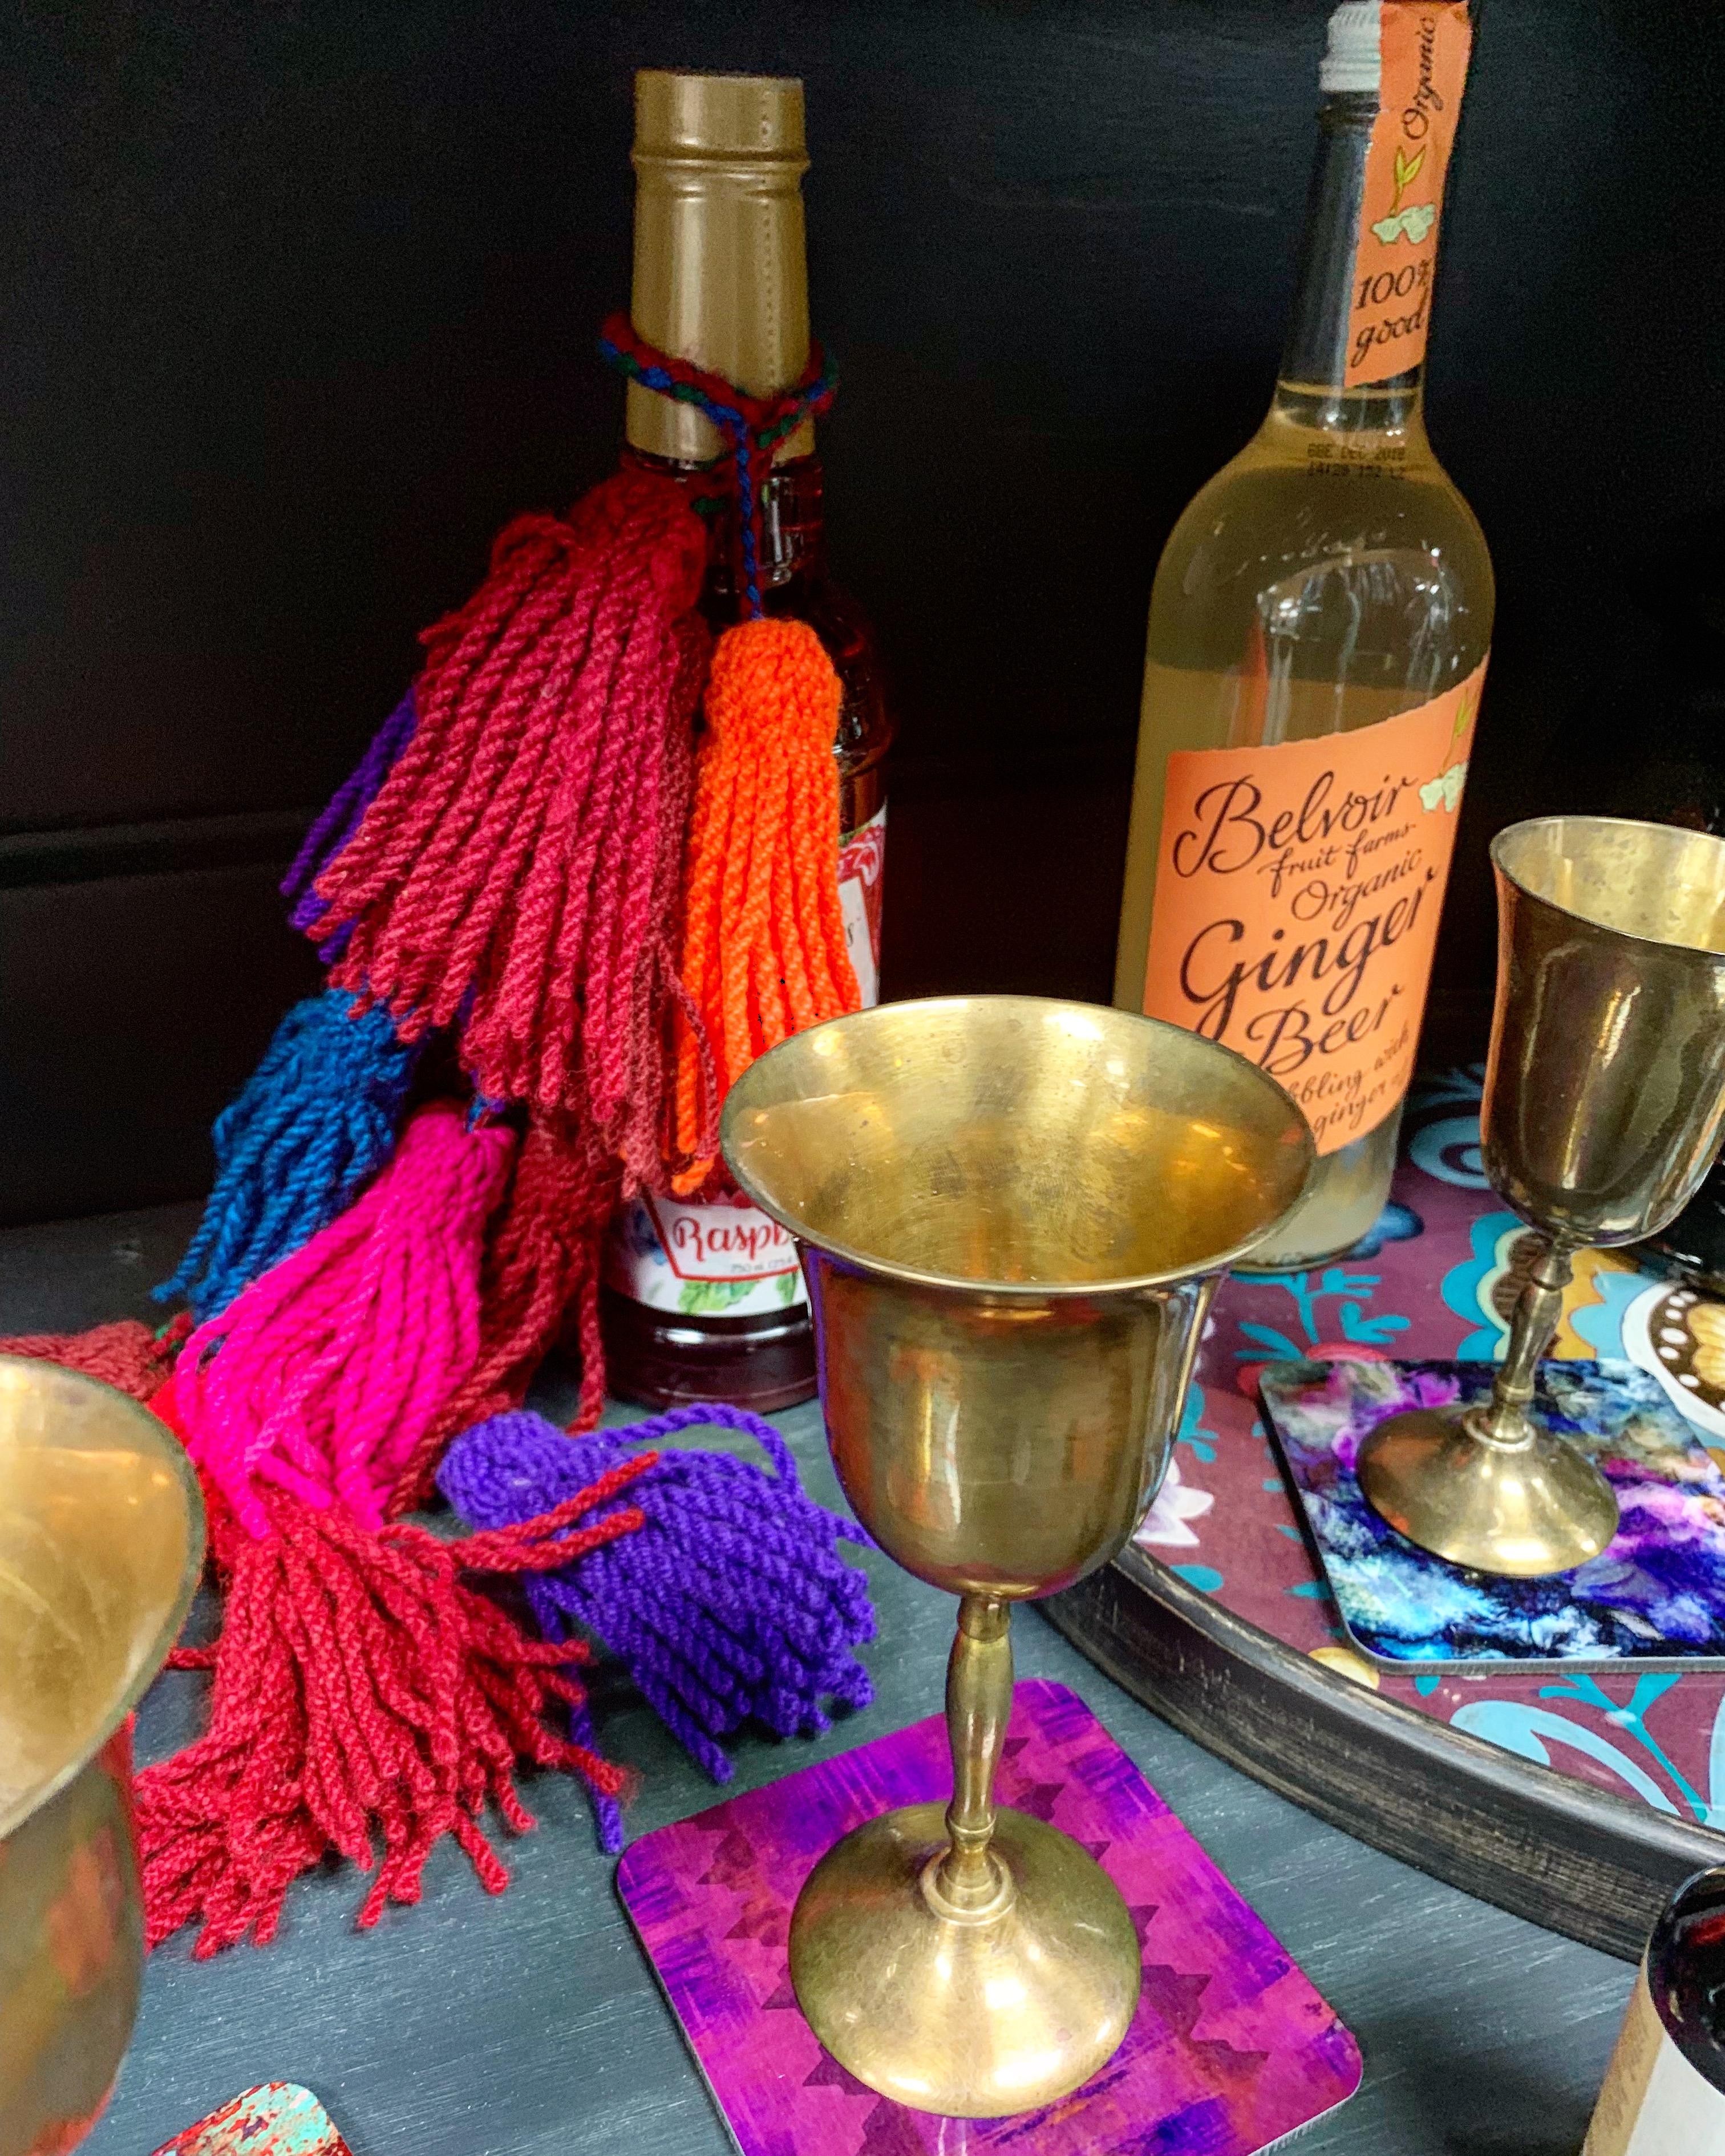

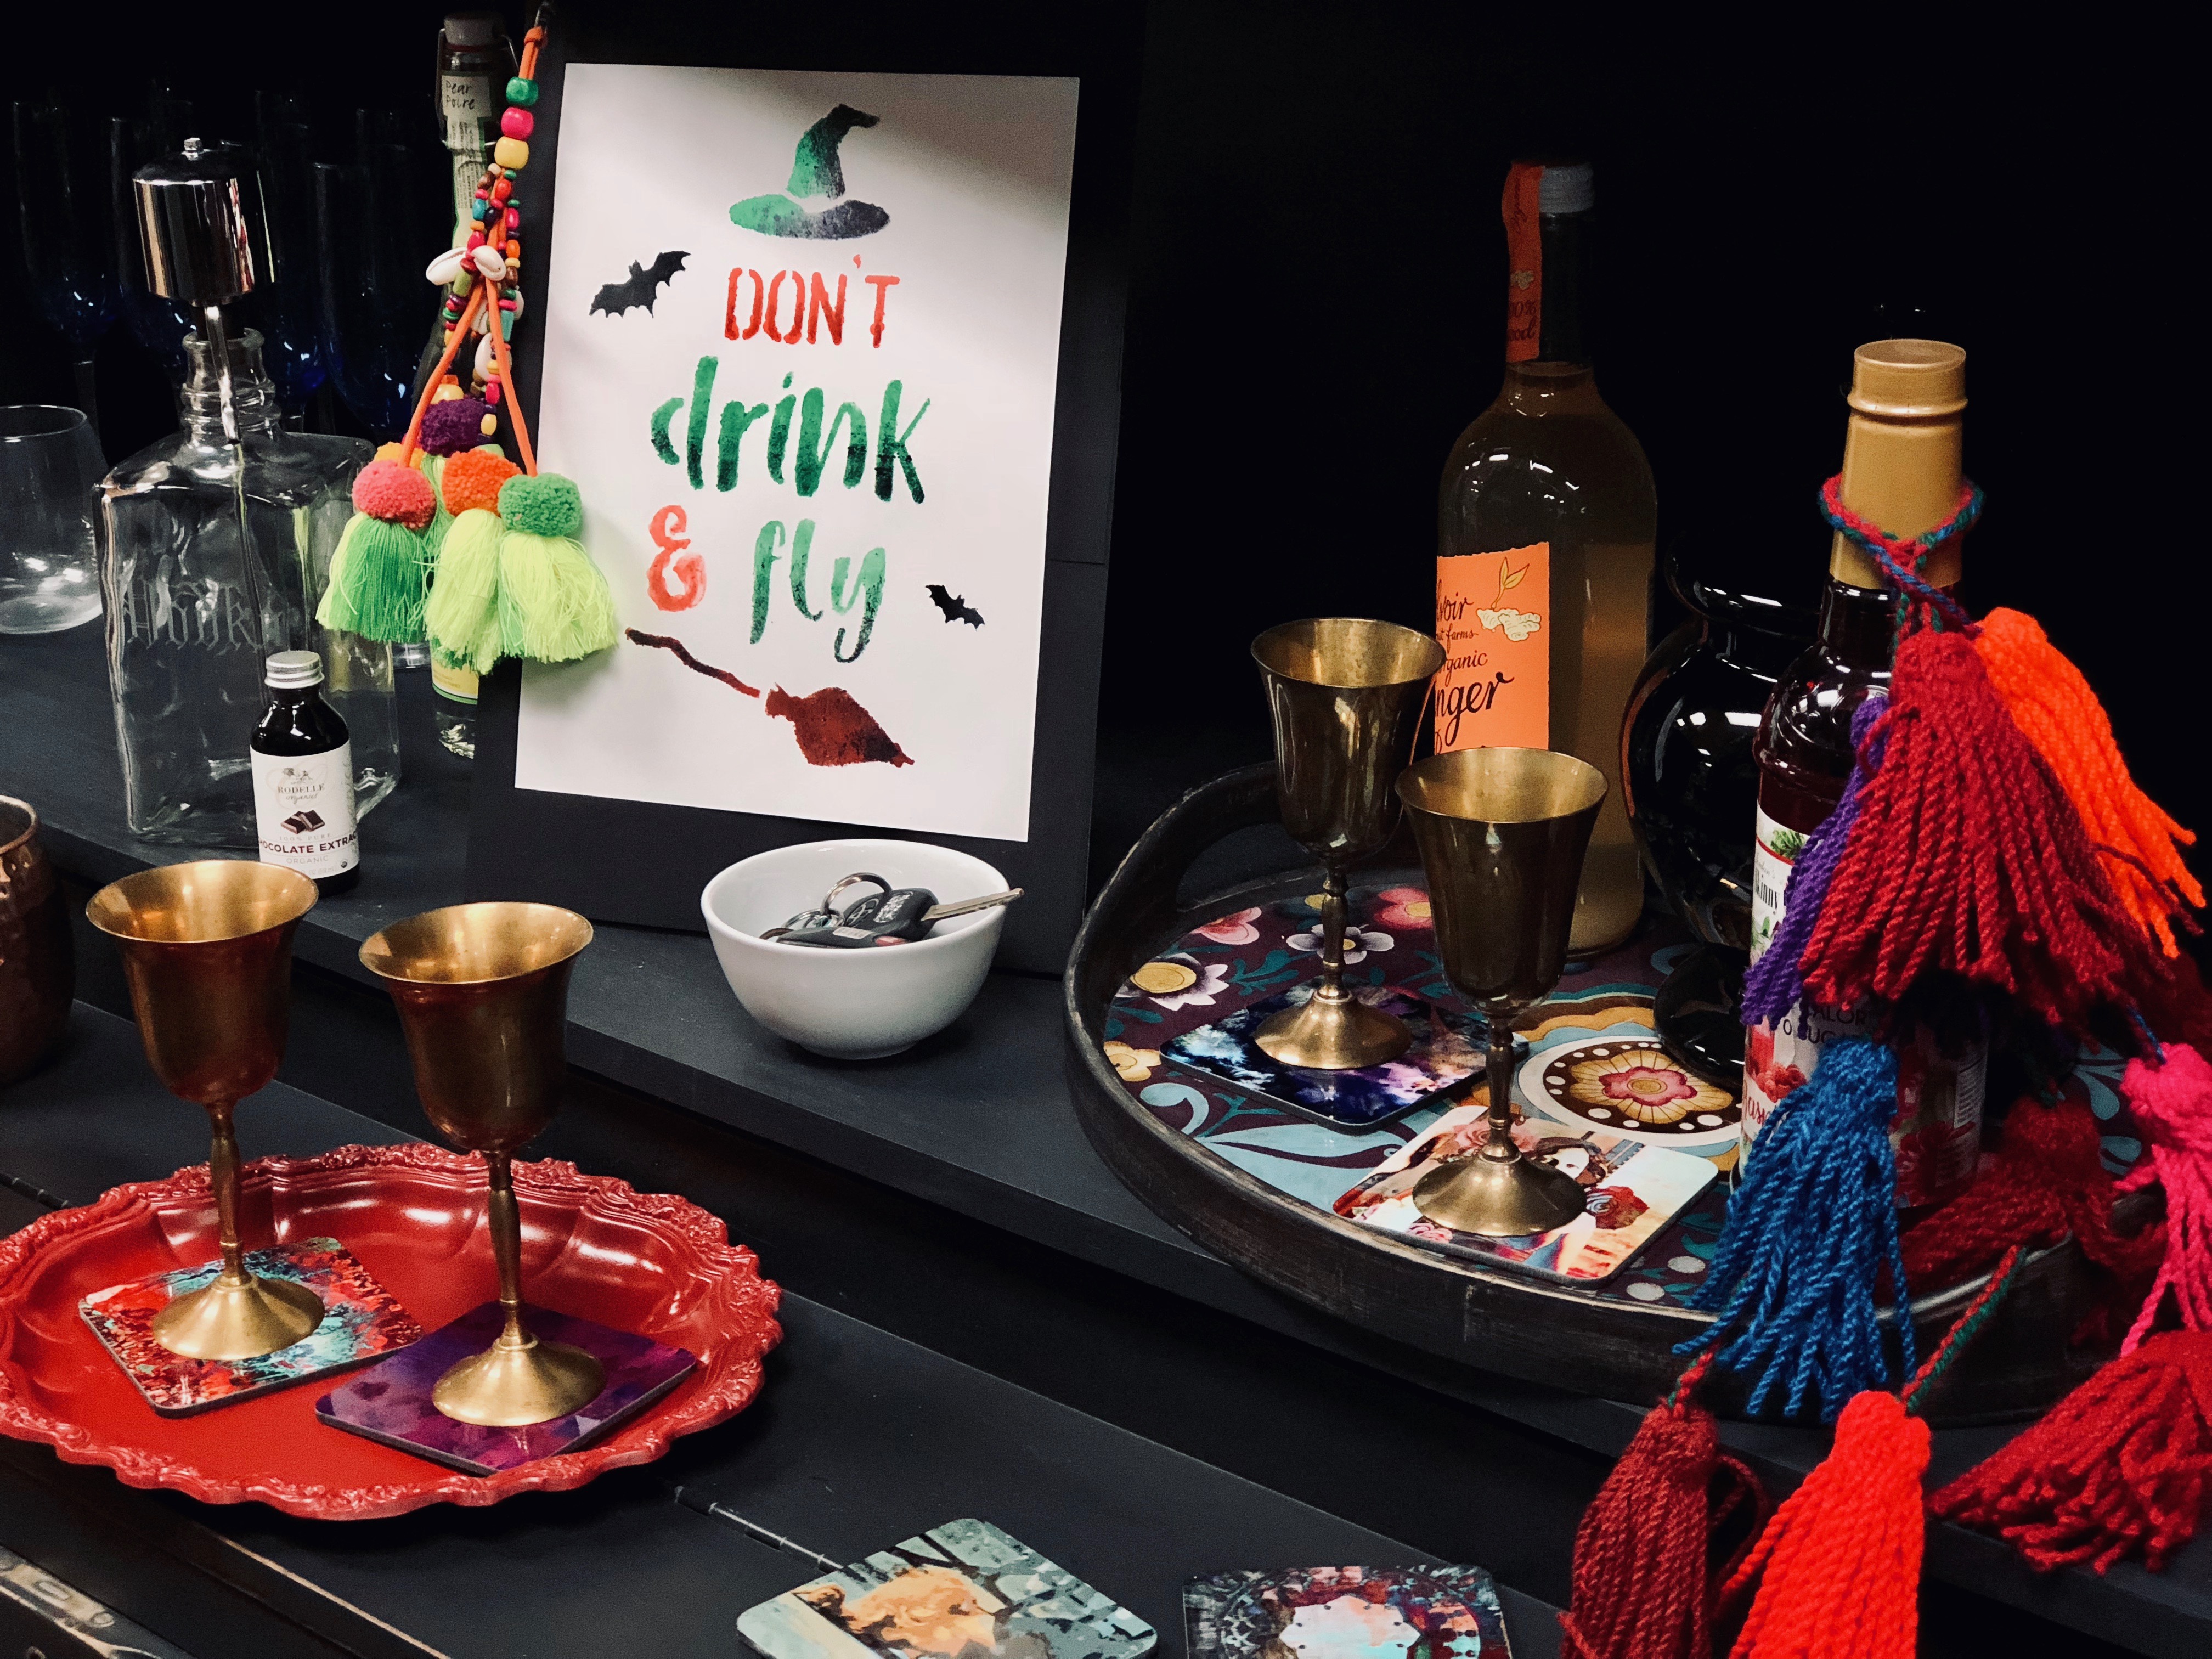
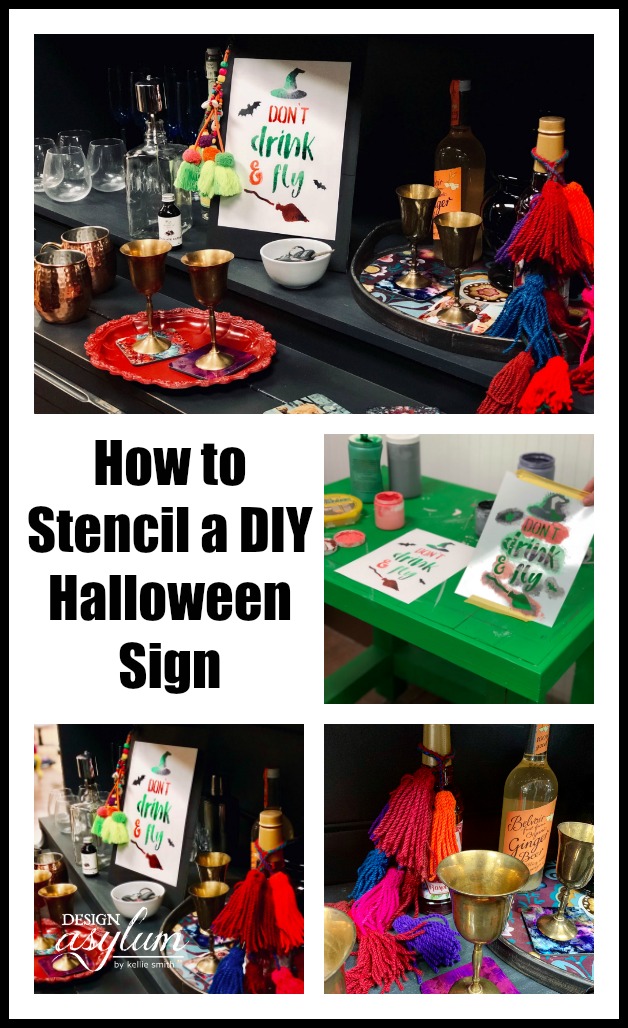
There she is in all of her witchy glory! This was such an easy project, but it definitely packs a delightful punch.
Huge shout-out to Stencil Revolution for partnering with me, be sure to head over to their shop and view all of their stencils.
They have a lot of different styles and sizes – all equally amazing!
Happy Almost Halloween Witches!
(Remember, no drinking and driving your brooms this Halloween)


Disclaimer: Stencil Revolution provided the stencil for this project. All opinions are 100% mine.


comments +