Bianca from Lotus Theory Designs is back, baby! You remember her from these Velvet Finishes posts, right?
Today, she is going to teach us how to accent furniture with metallic paint.
Ahh, metallic paint – something that adds a bit of shimmer, shine, luxe, and gorgeousness to a piece of furniture!
We offer three different metallics at Velvet Finishes – gold, pearl, and silver.
All equally fabulous.
Enough from me, Bianca is going to take over now – get ready to get your shine on!
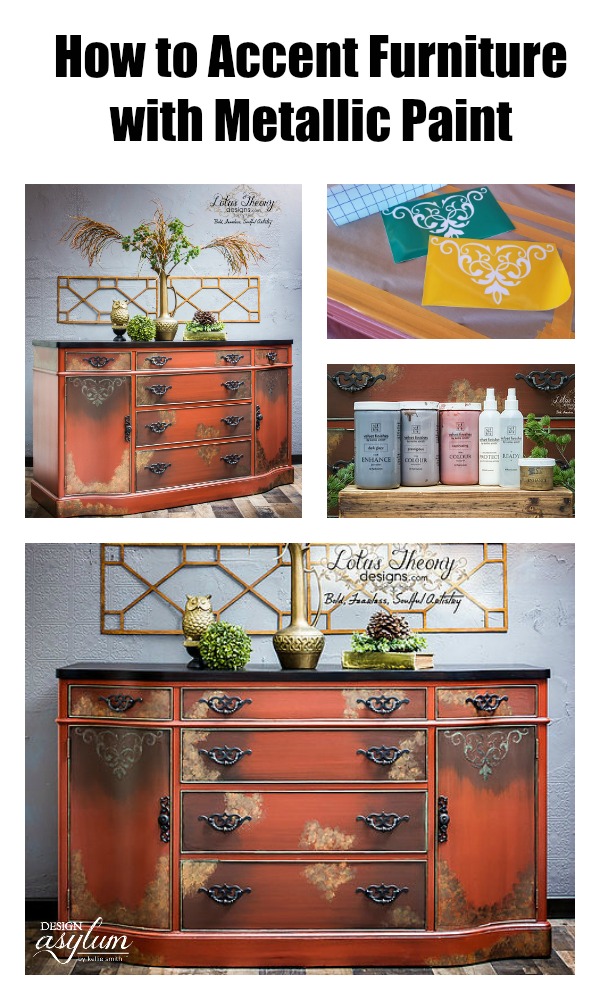
Well, hello there! Welcome to the next chapter of Lotus Theory gets down with Velvet Finishes paints!
I am super excited to share this latest creation with you. First, can I just say October’s Color of the Month for VF is GORGEOUS! Rust is one of my favorite colors, and I couldn’t be more excited about this opportunity to use it.
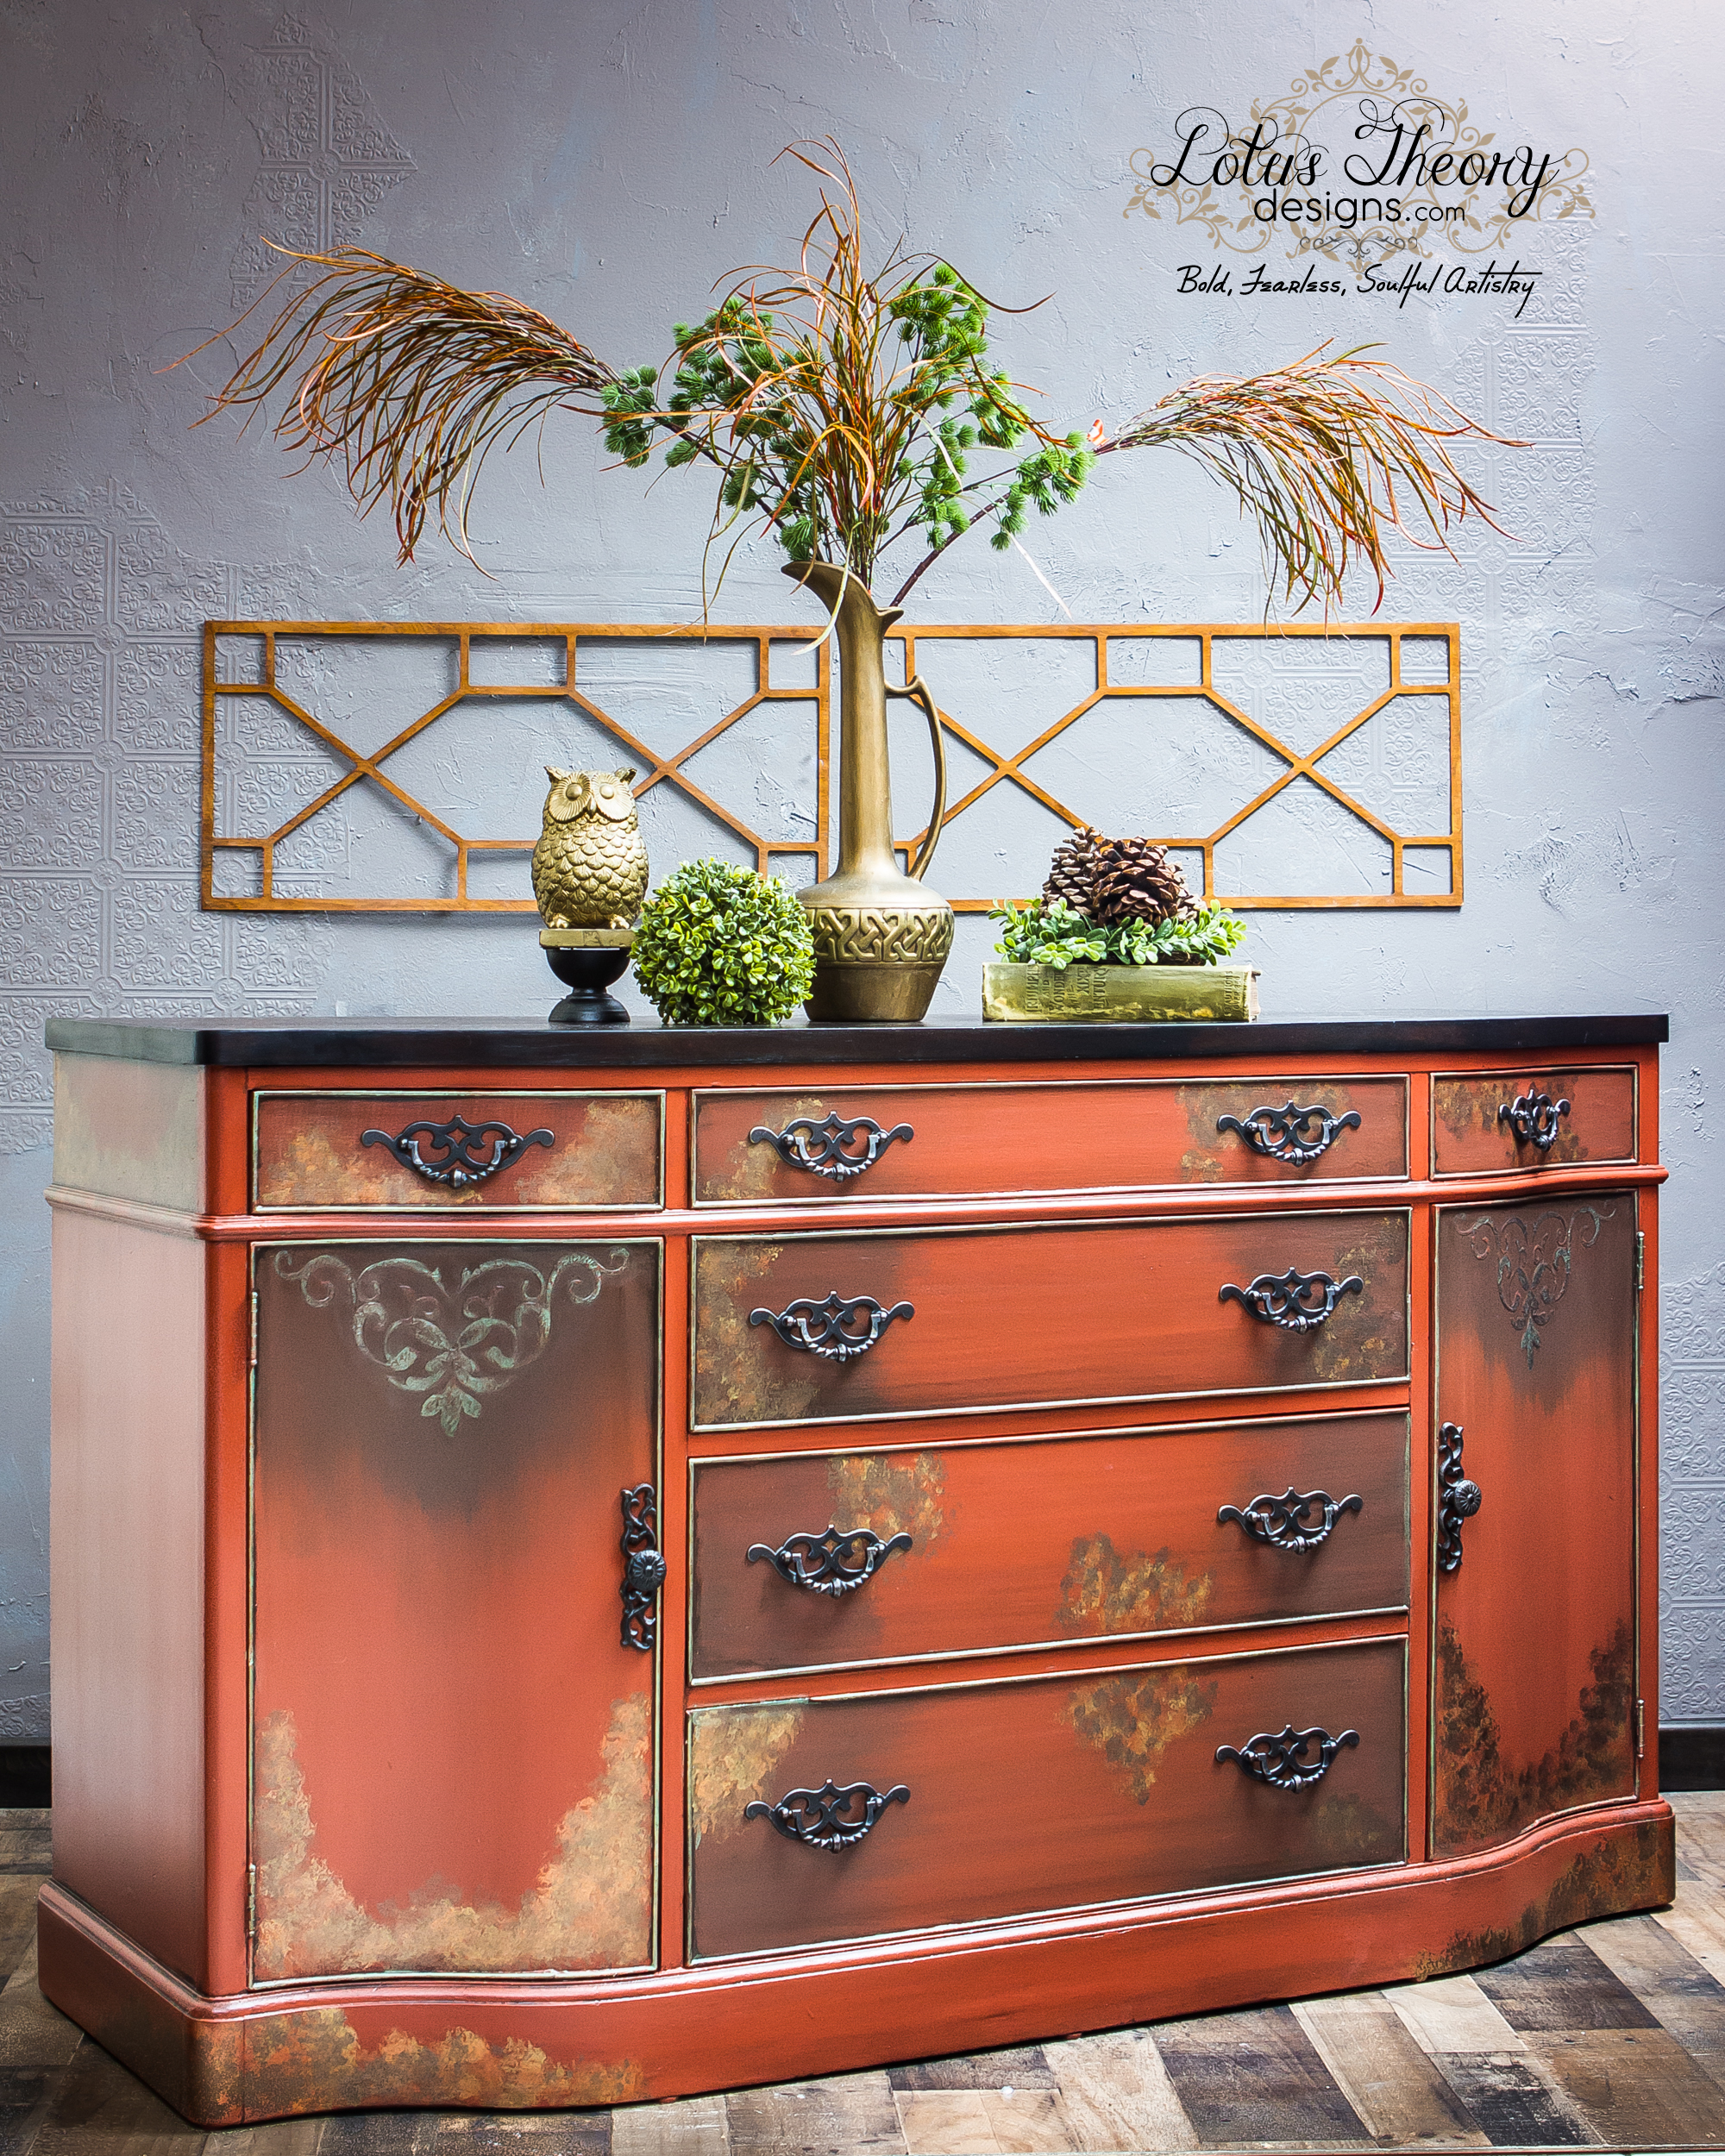
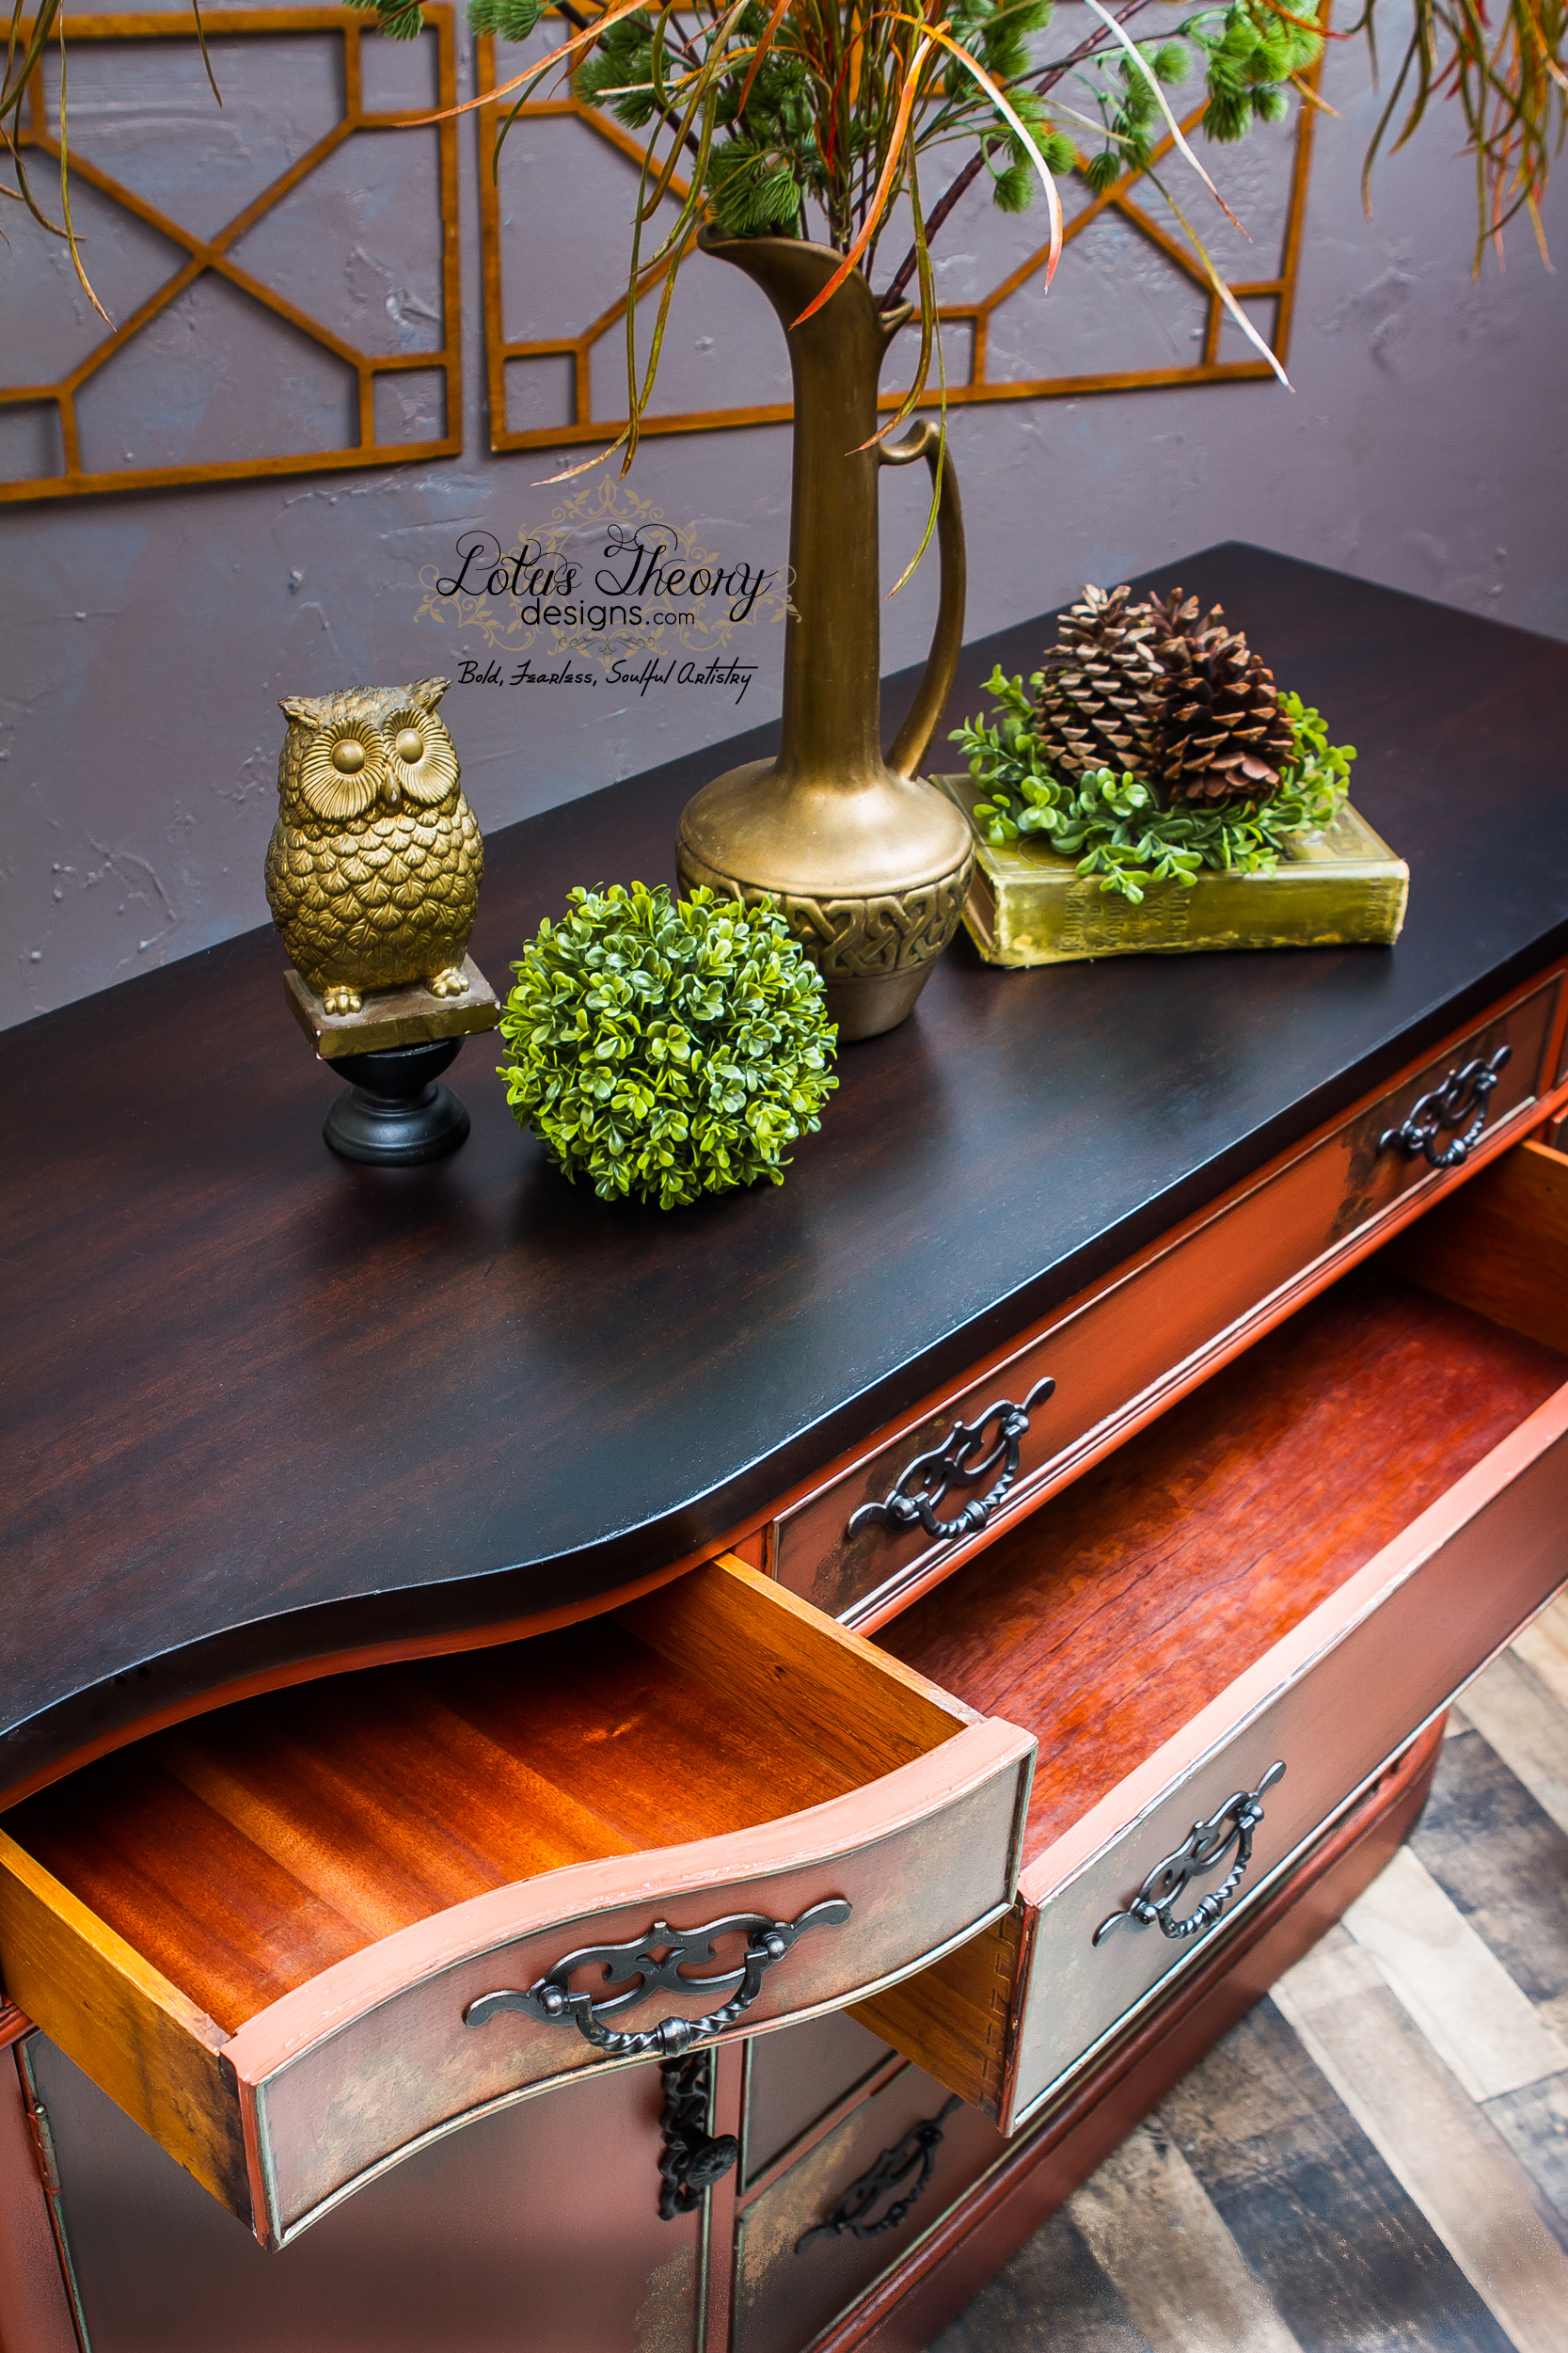
Without further ado, meet Dirty Diana.
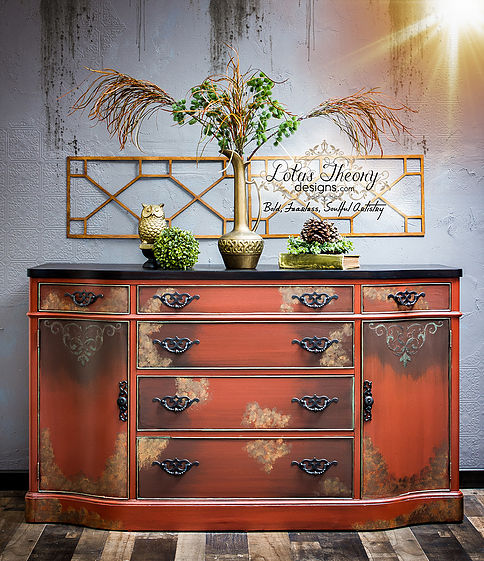
I am pretty sure this piece was trying to kill me, much like Diana’s fatal attraction and therefore inspirational content for the hit song by Michael Jackson (hence the name). This girl was SO MUCH WORK! Phew! It feels good to cross the finish line. And yet, I still have the song stuck in my head….
Here’s your Velvet Finishes Supply List:
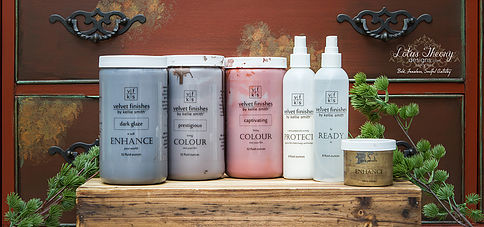
• Prep: Ready
• Colours: Captivating and Prestigious
• Optional effects: Dark Glaze and Gold Metallic
• Sealer: Protect
Let’s get it.
Prep:
Using Ready from VF, I made several passes on this piece to get it clean. The buildup of goop was so thick I ended up breaking out steel wool pads to help my process along.
A few hours of cleaning, sanding, bondo, wood glue, clamping, planing, etc and this piece was ready for its first coat.
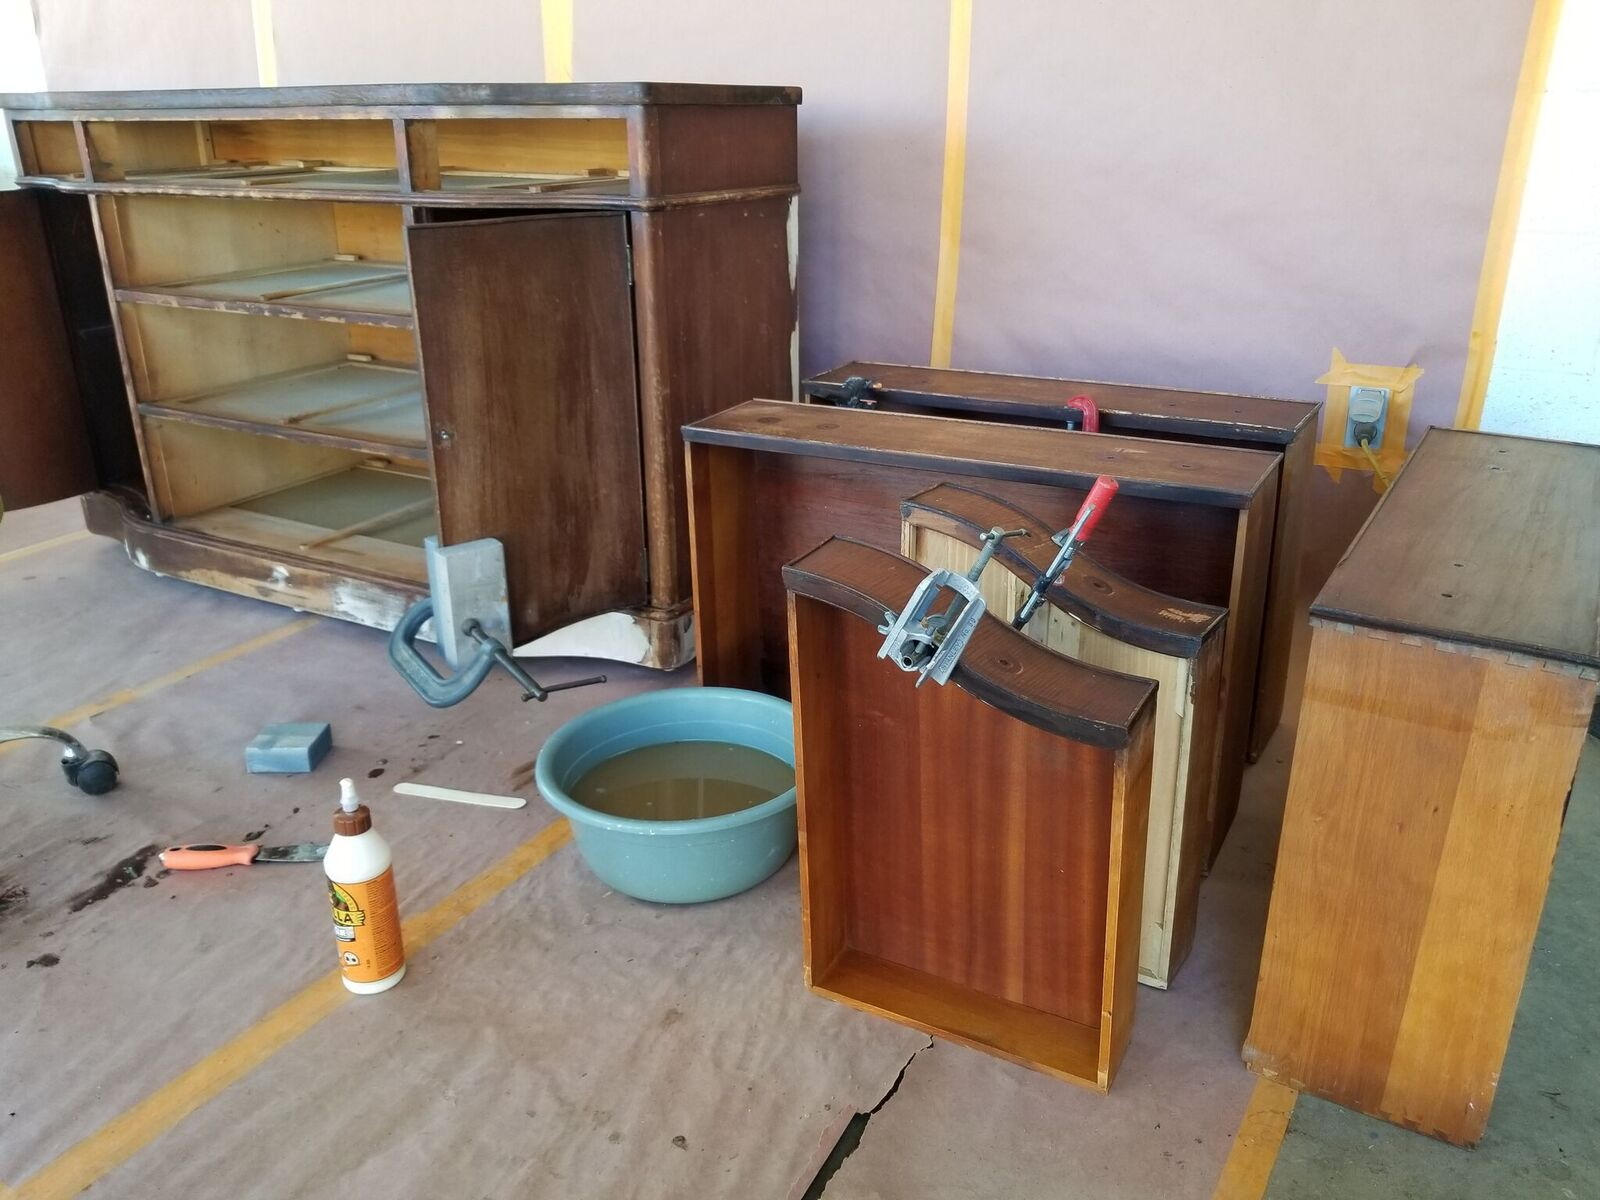

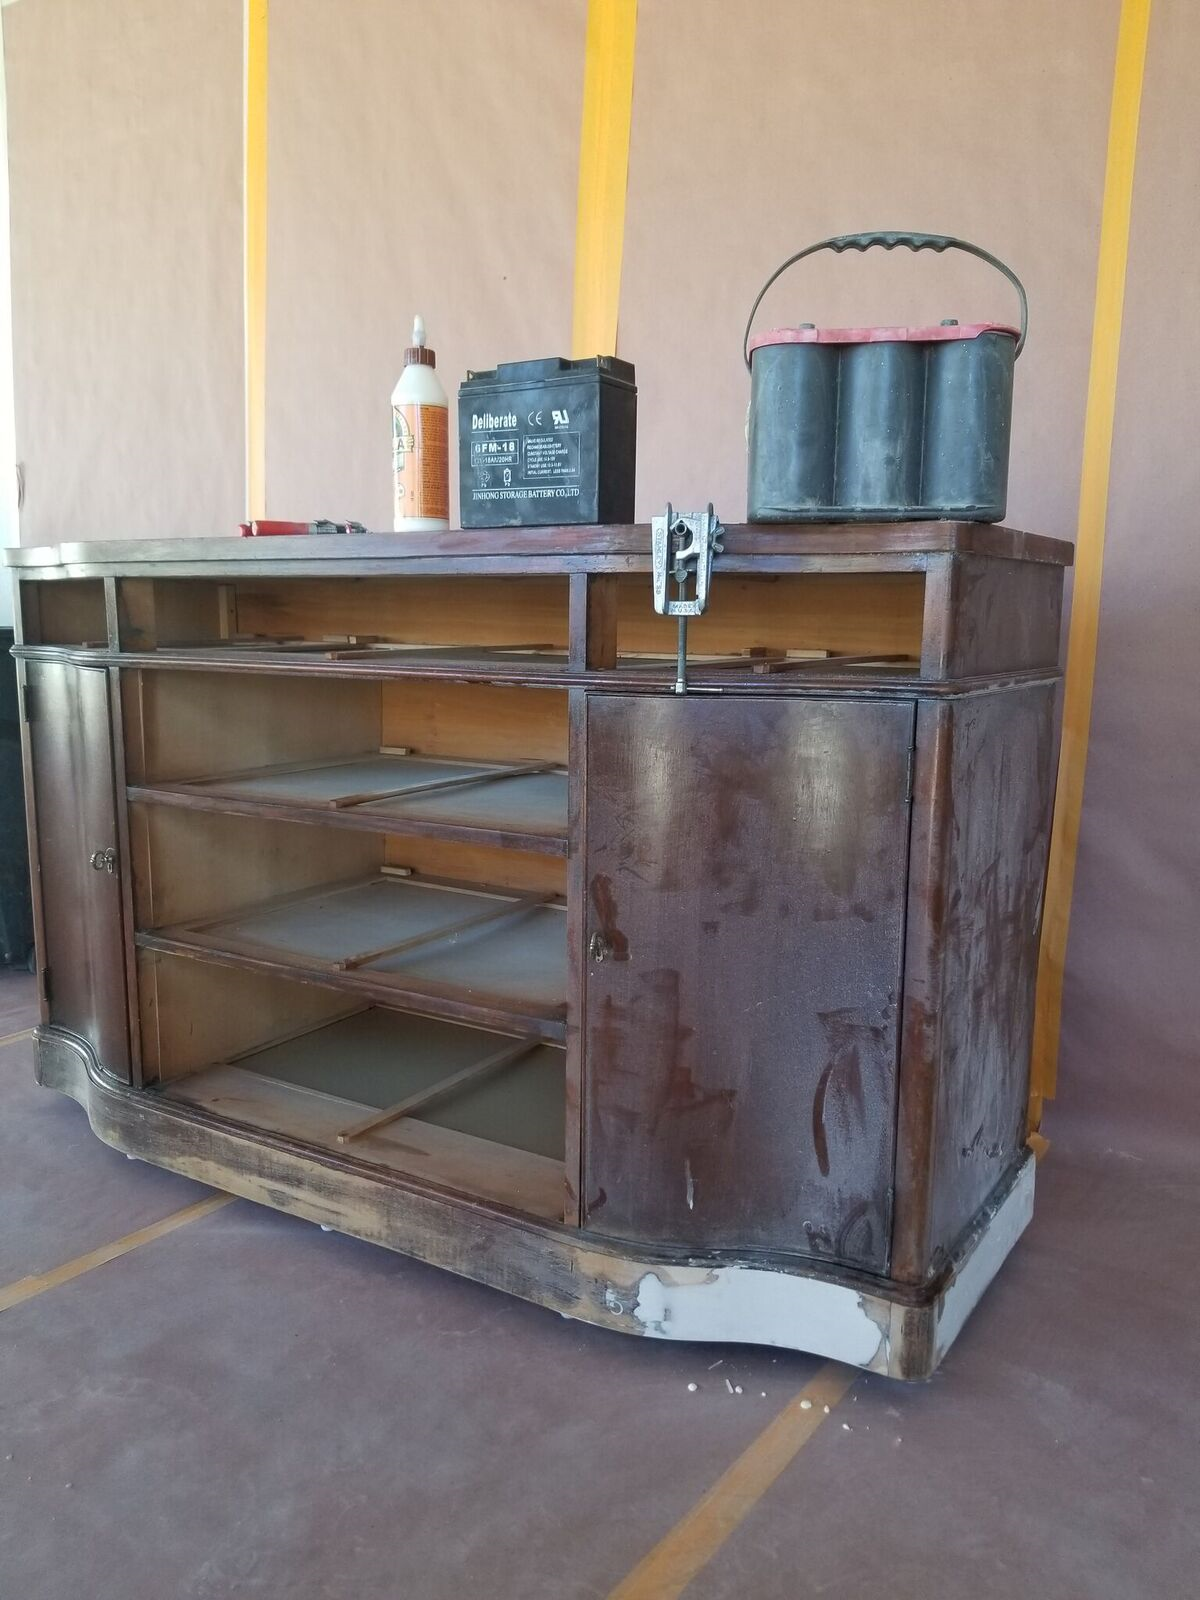
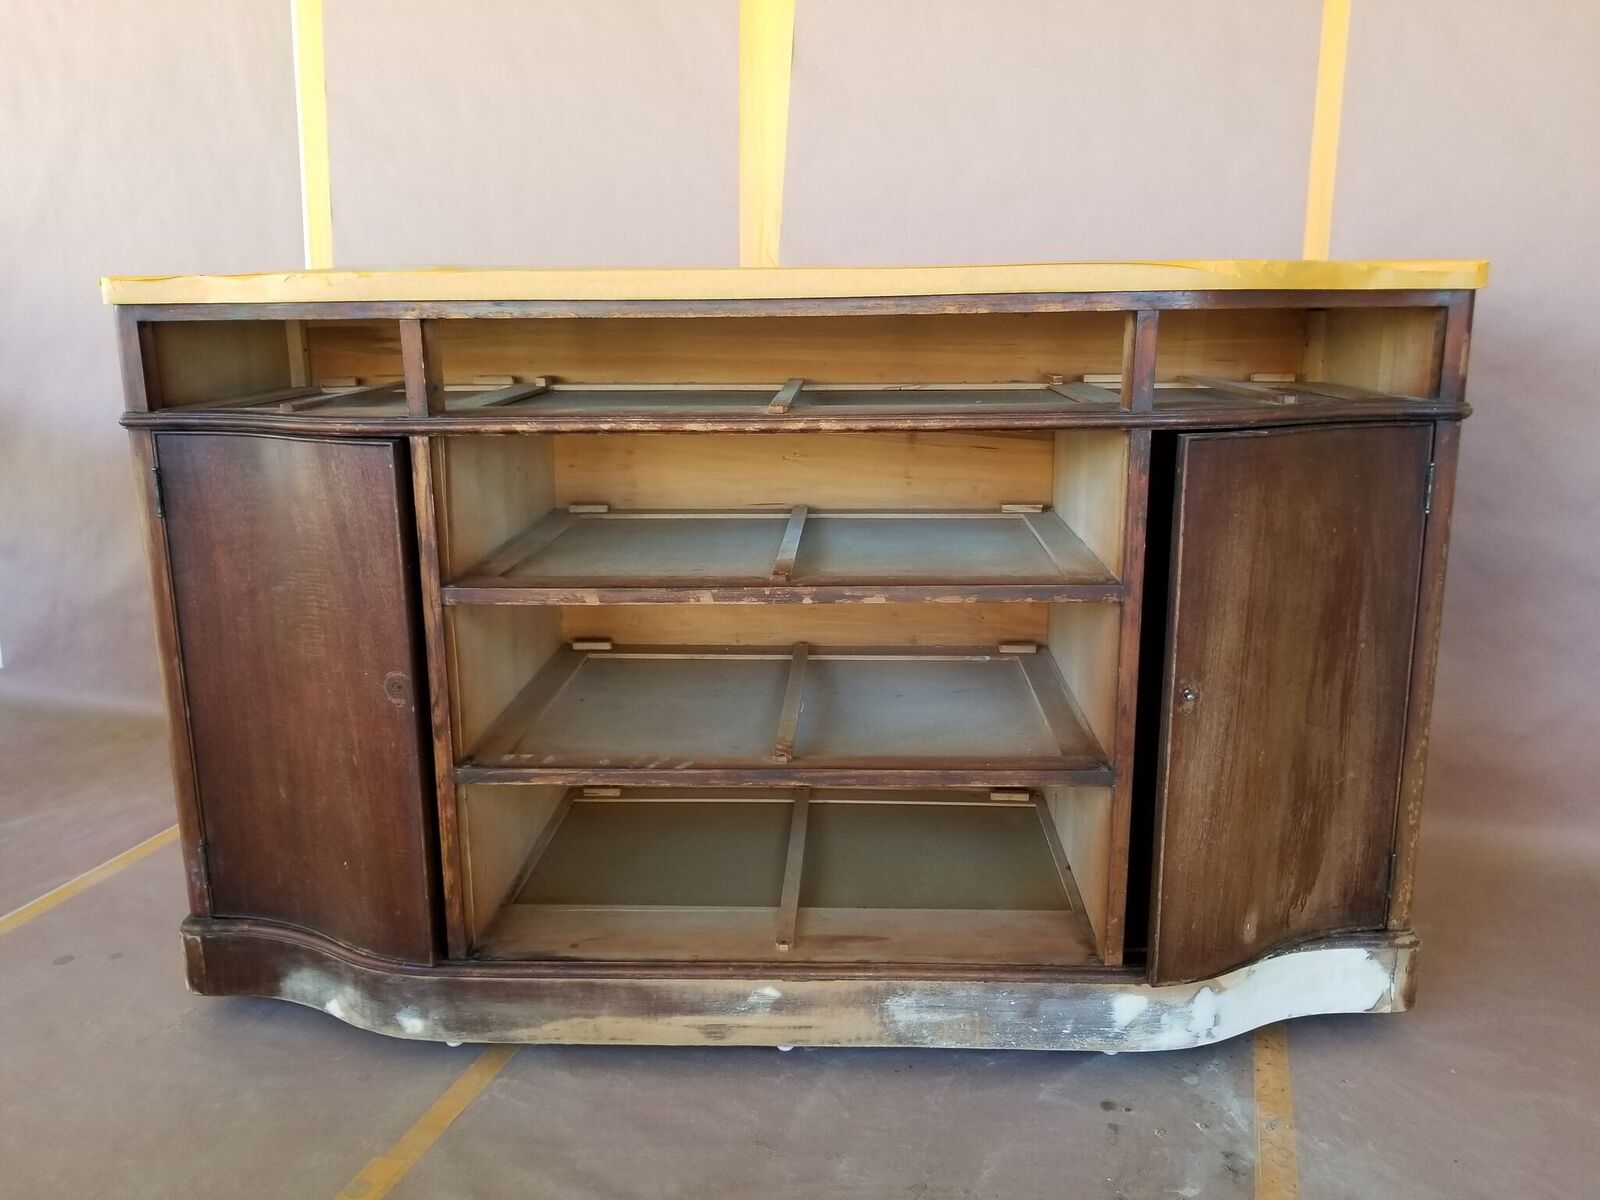
I opted to use shellac-based primer. Mahogany has a tendency to bleed through paint, so I took a “rather be safe than sorry” approach.

I then went over the piece with some dark gray primer, so I would have an easier time covering the piece with paint.

Paint:
First, I started by adding two coats of Captivating to the base of this piece.
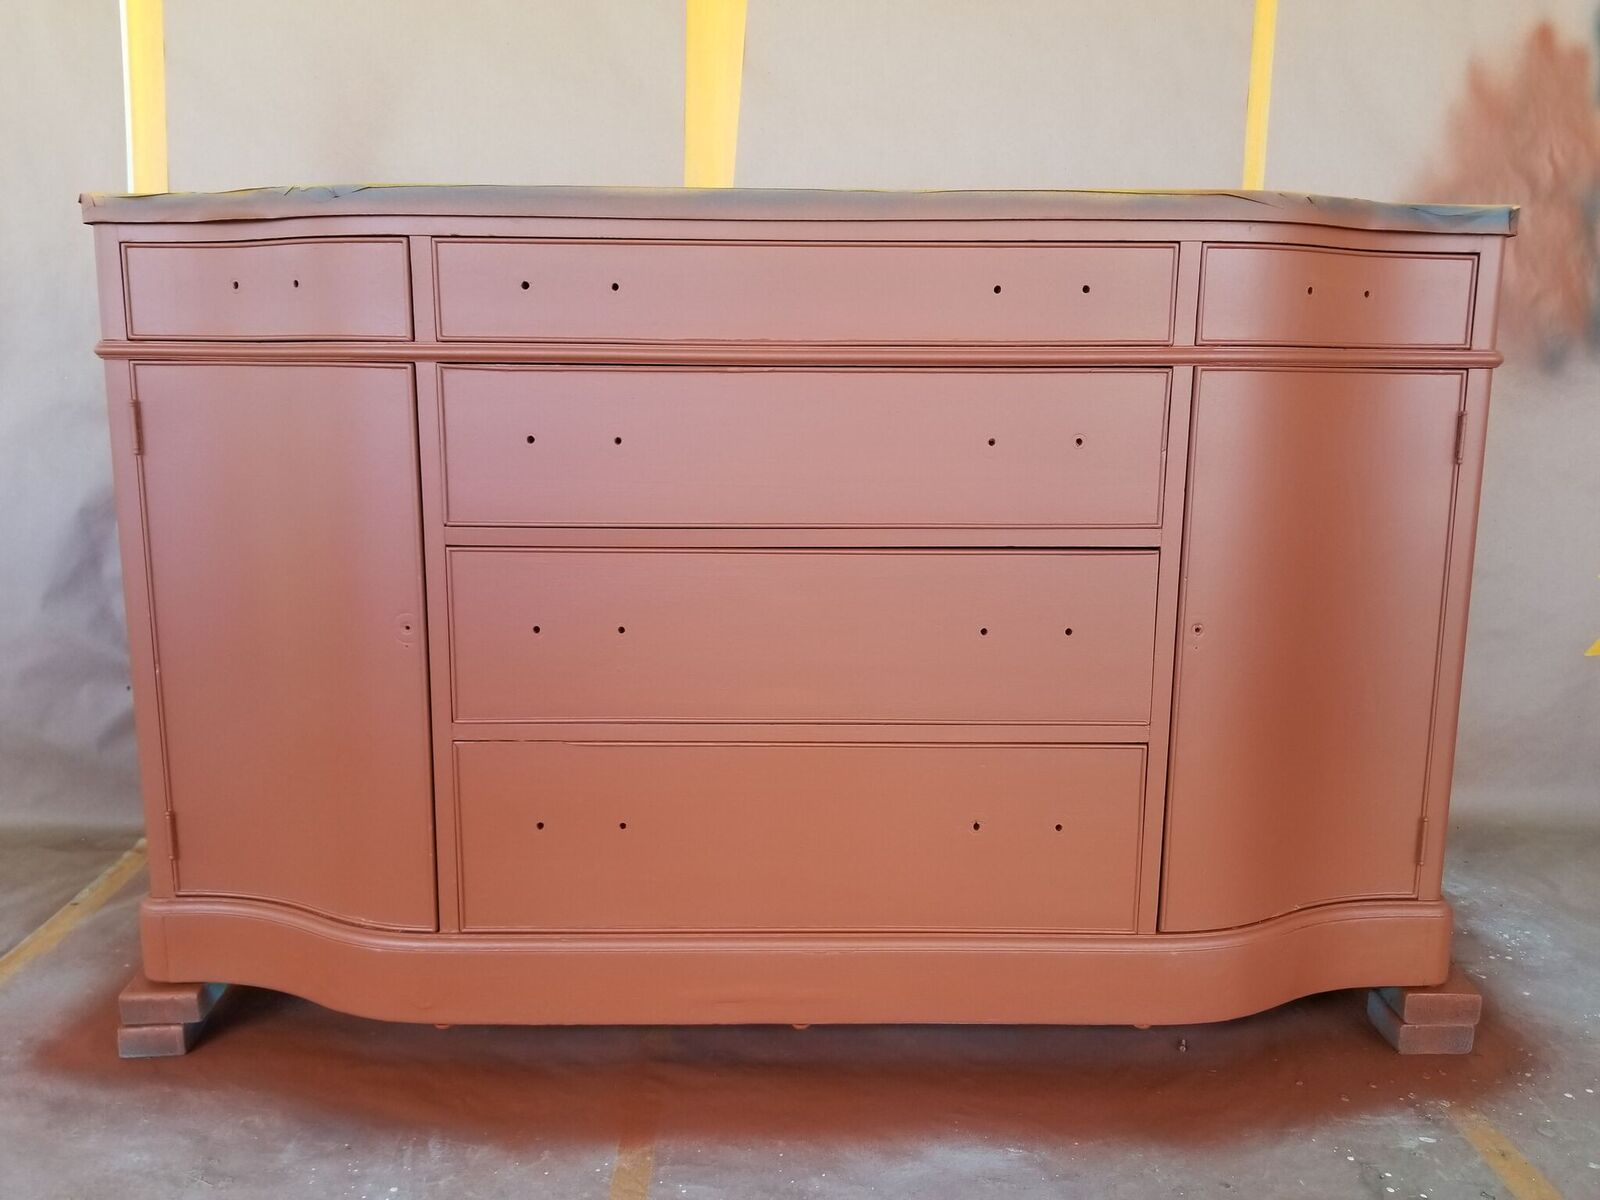
This color is GORGEOUS!
I decided I wanted to try something new, so I created swirly templates on my computer using vinyl.
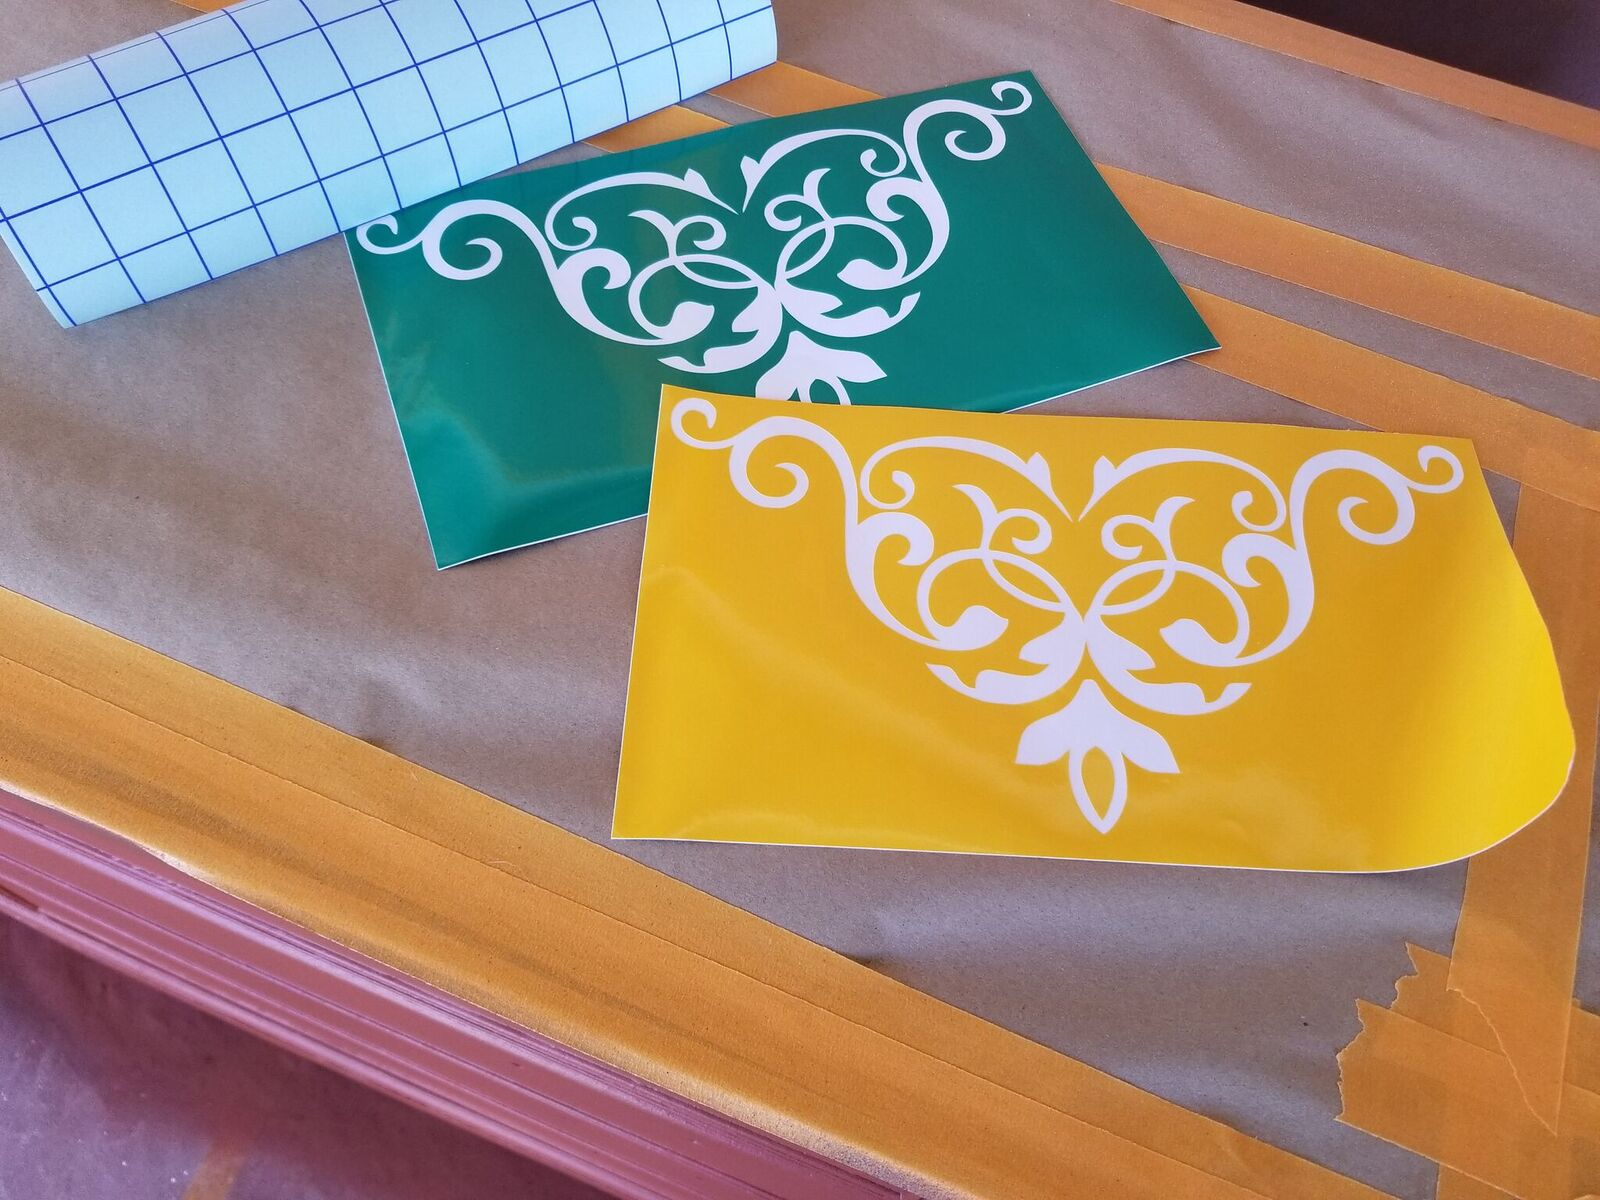
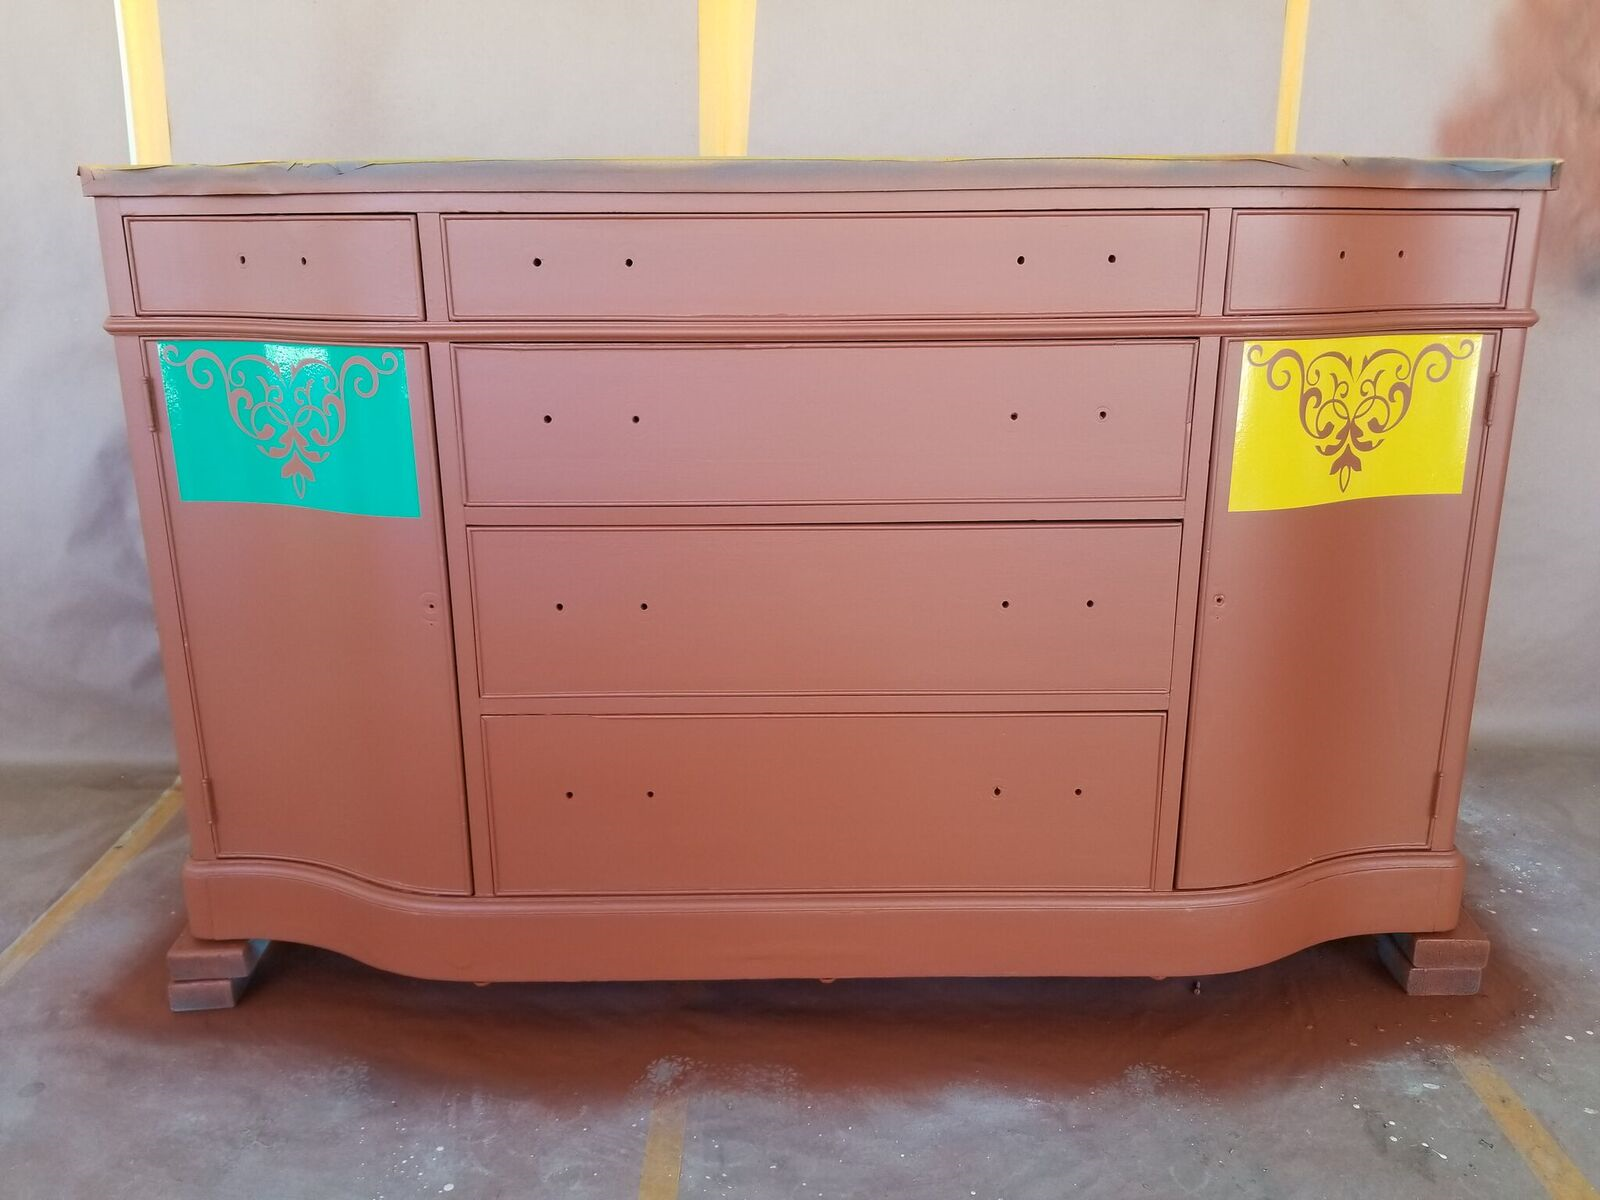
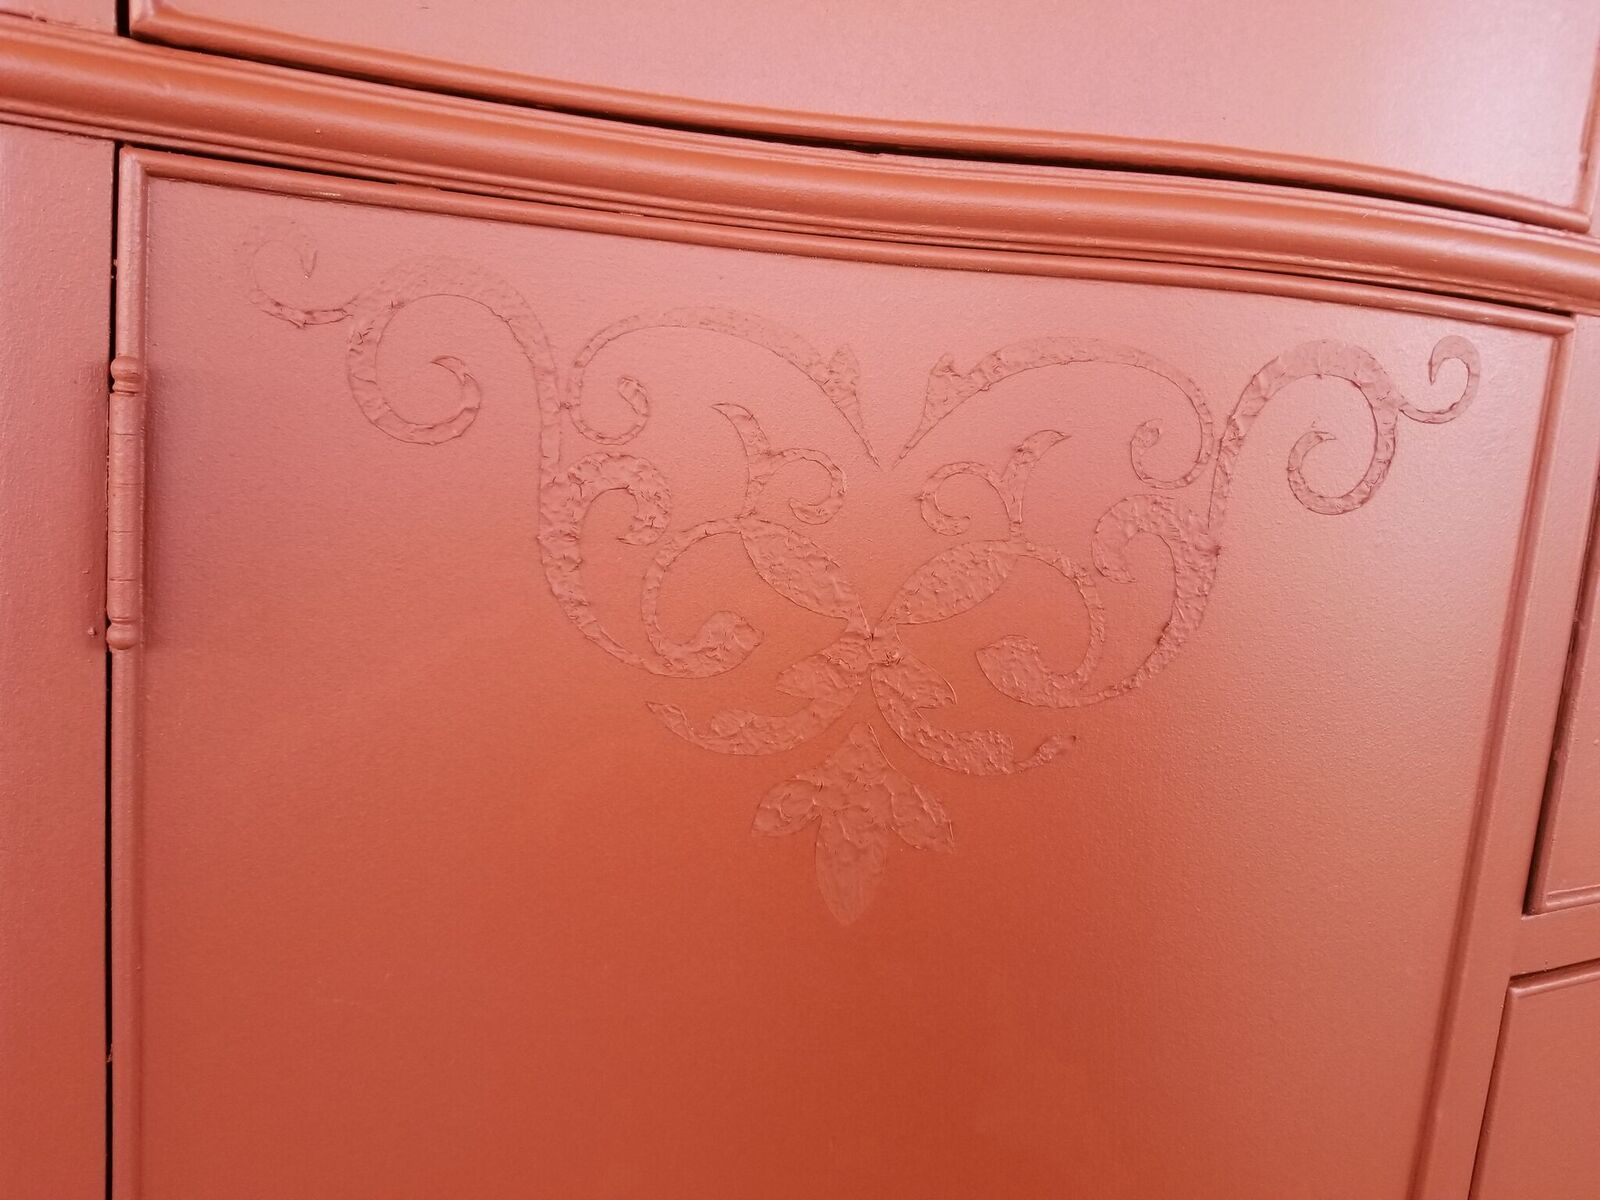
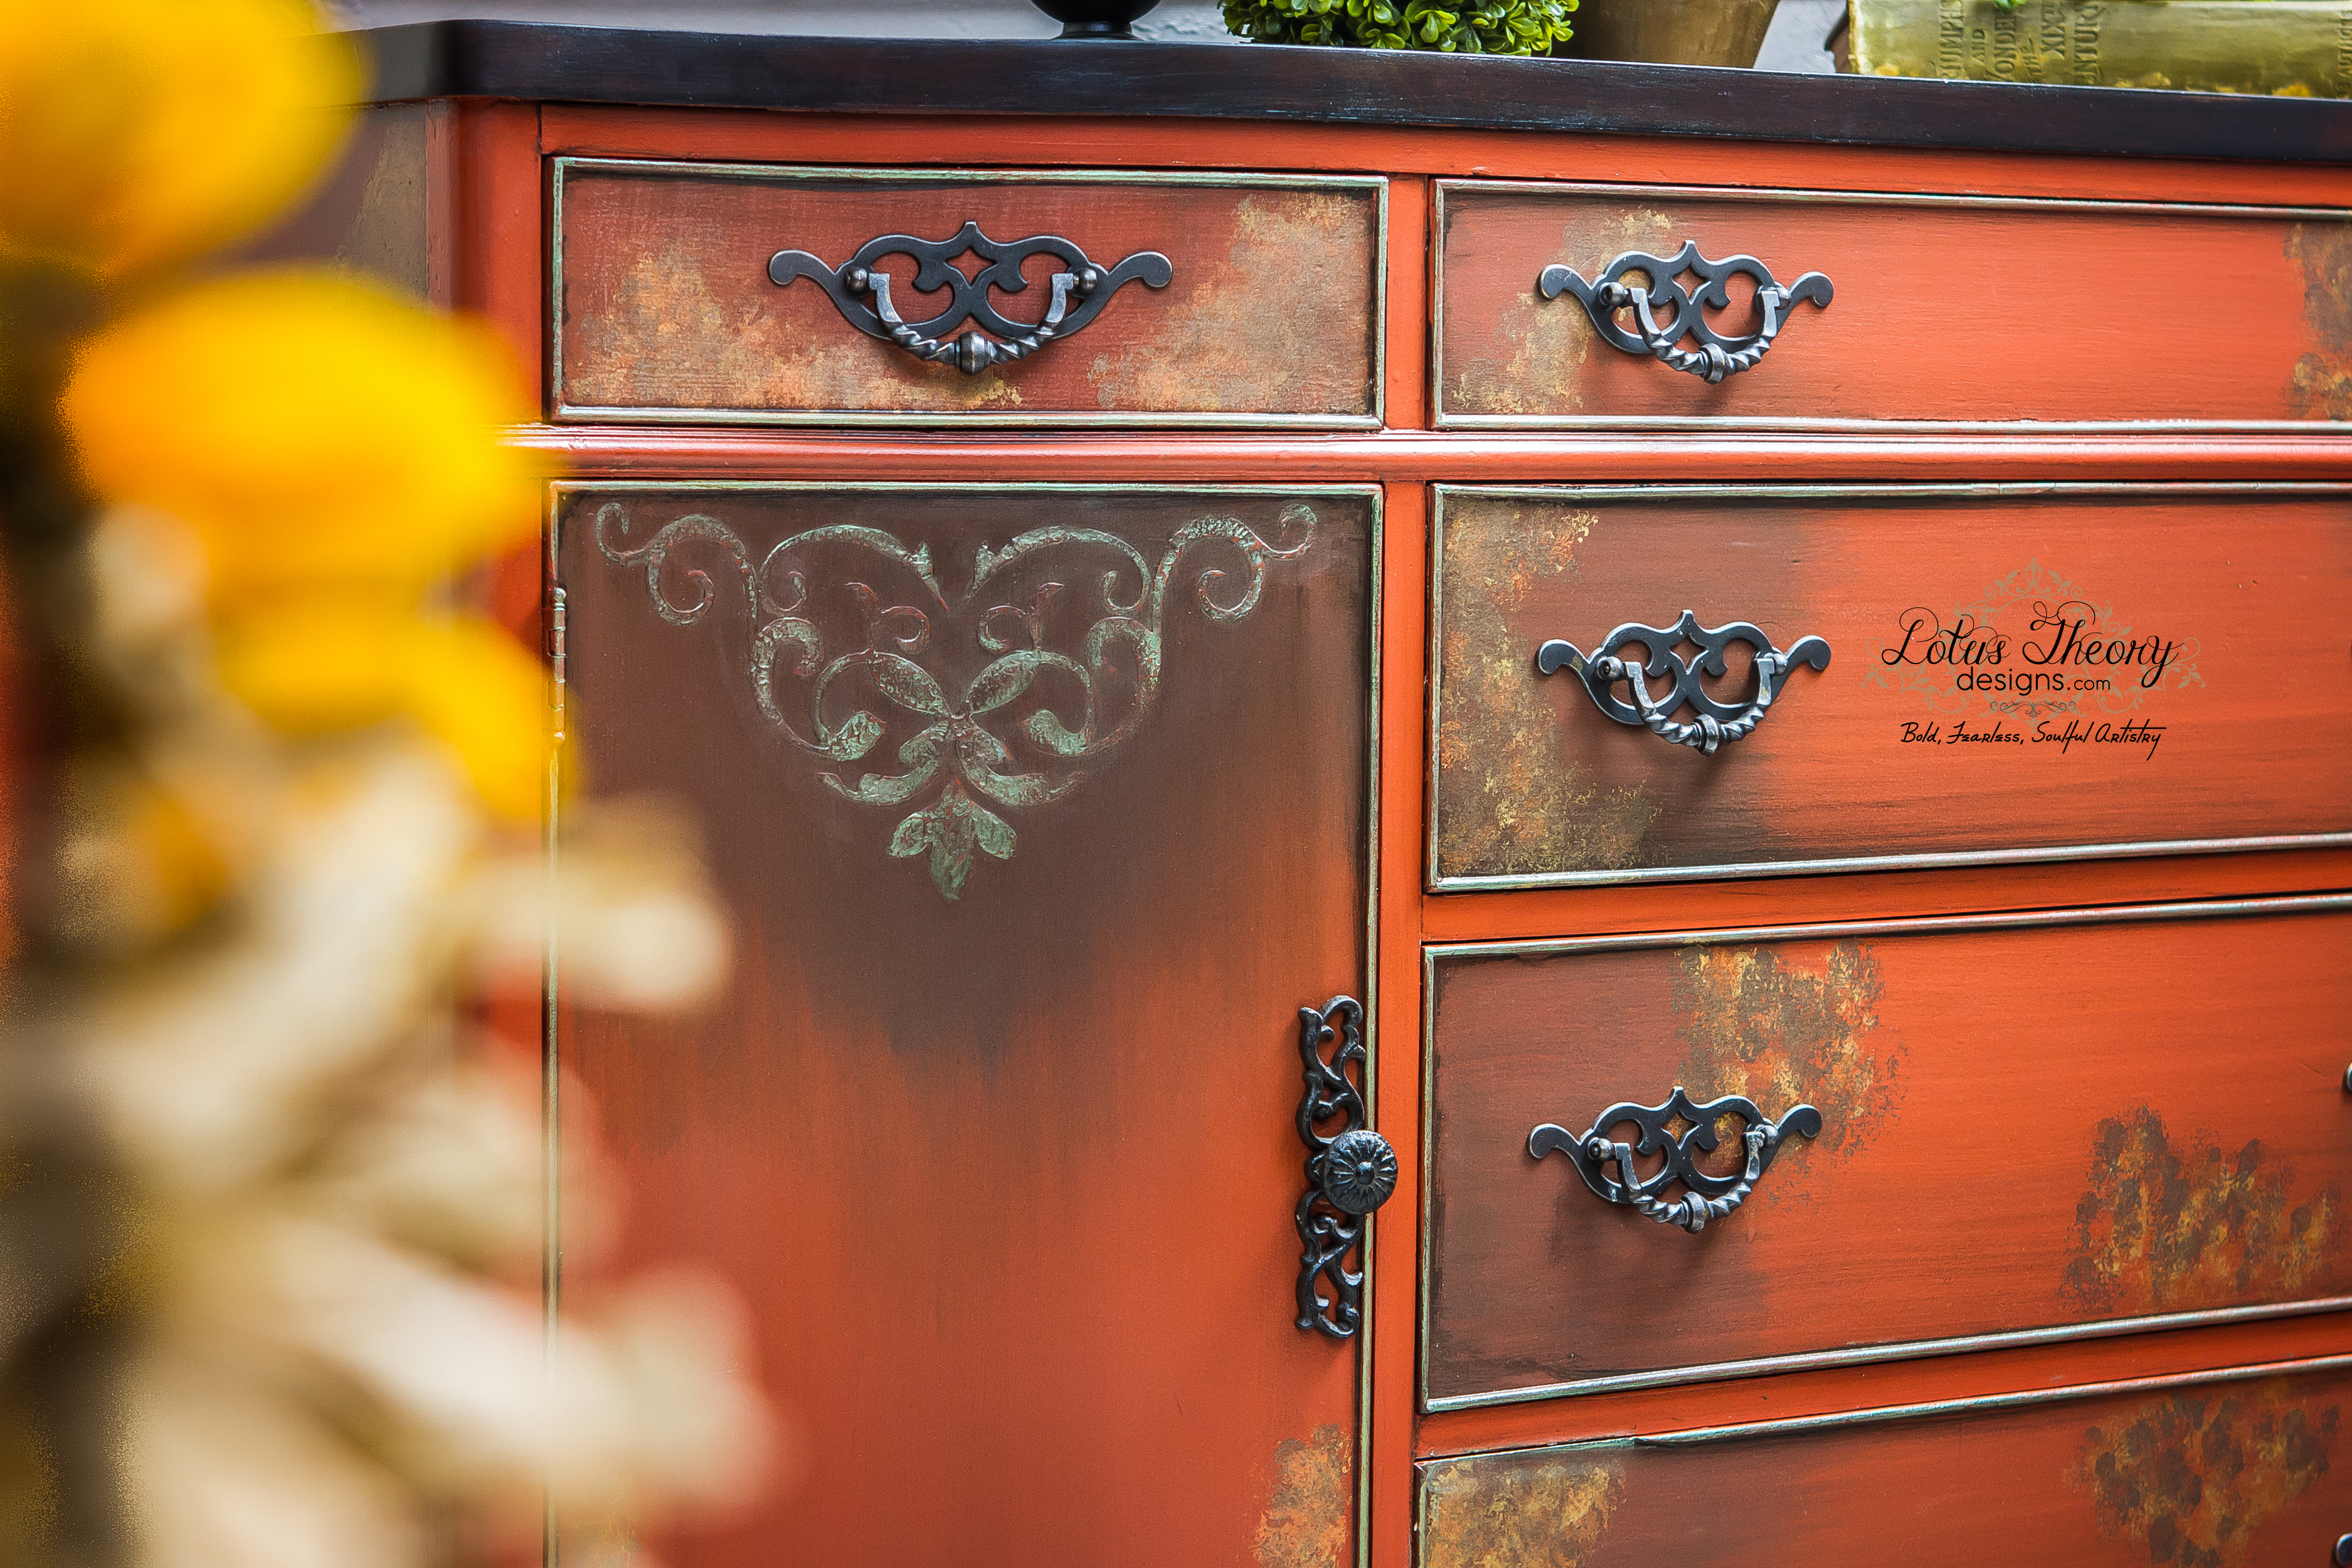
Now that the vinyl is on my piece, I used a texturing agent mixed with Captivating to create a raised stencil design.
Voila!
Next came the fun part. Blending in Prestigious, I strategically added this gorgeous shade of brown where I felt the piece would be best complimented.

Adding another layer of dimension to D.D. here, I stroked on some Dark Glaze and watched this fabulous product do its magic!
Yaaaas! This girl is really starting to come together!
Seal:
I’ve let this dry and am now going to seal this bad girl with Protect, Velvet Finishes’ polycrylic. It’s super simple to apply!
Embellish:
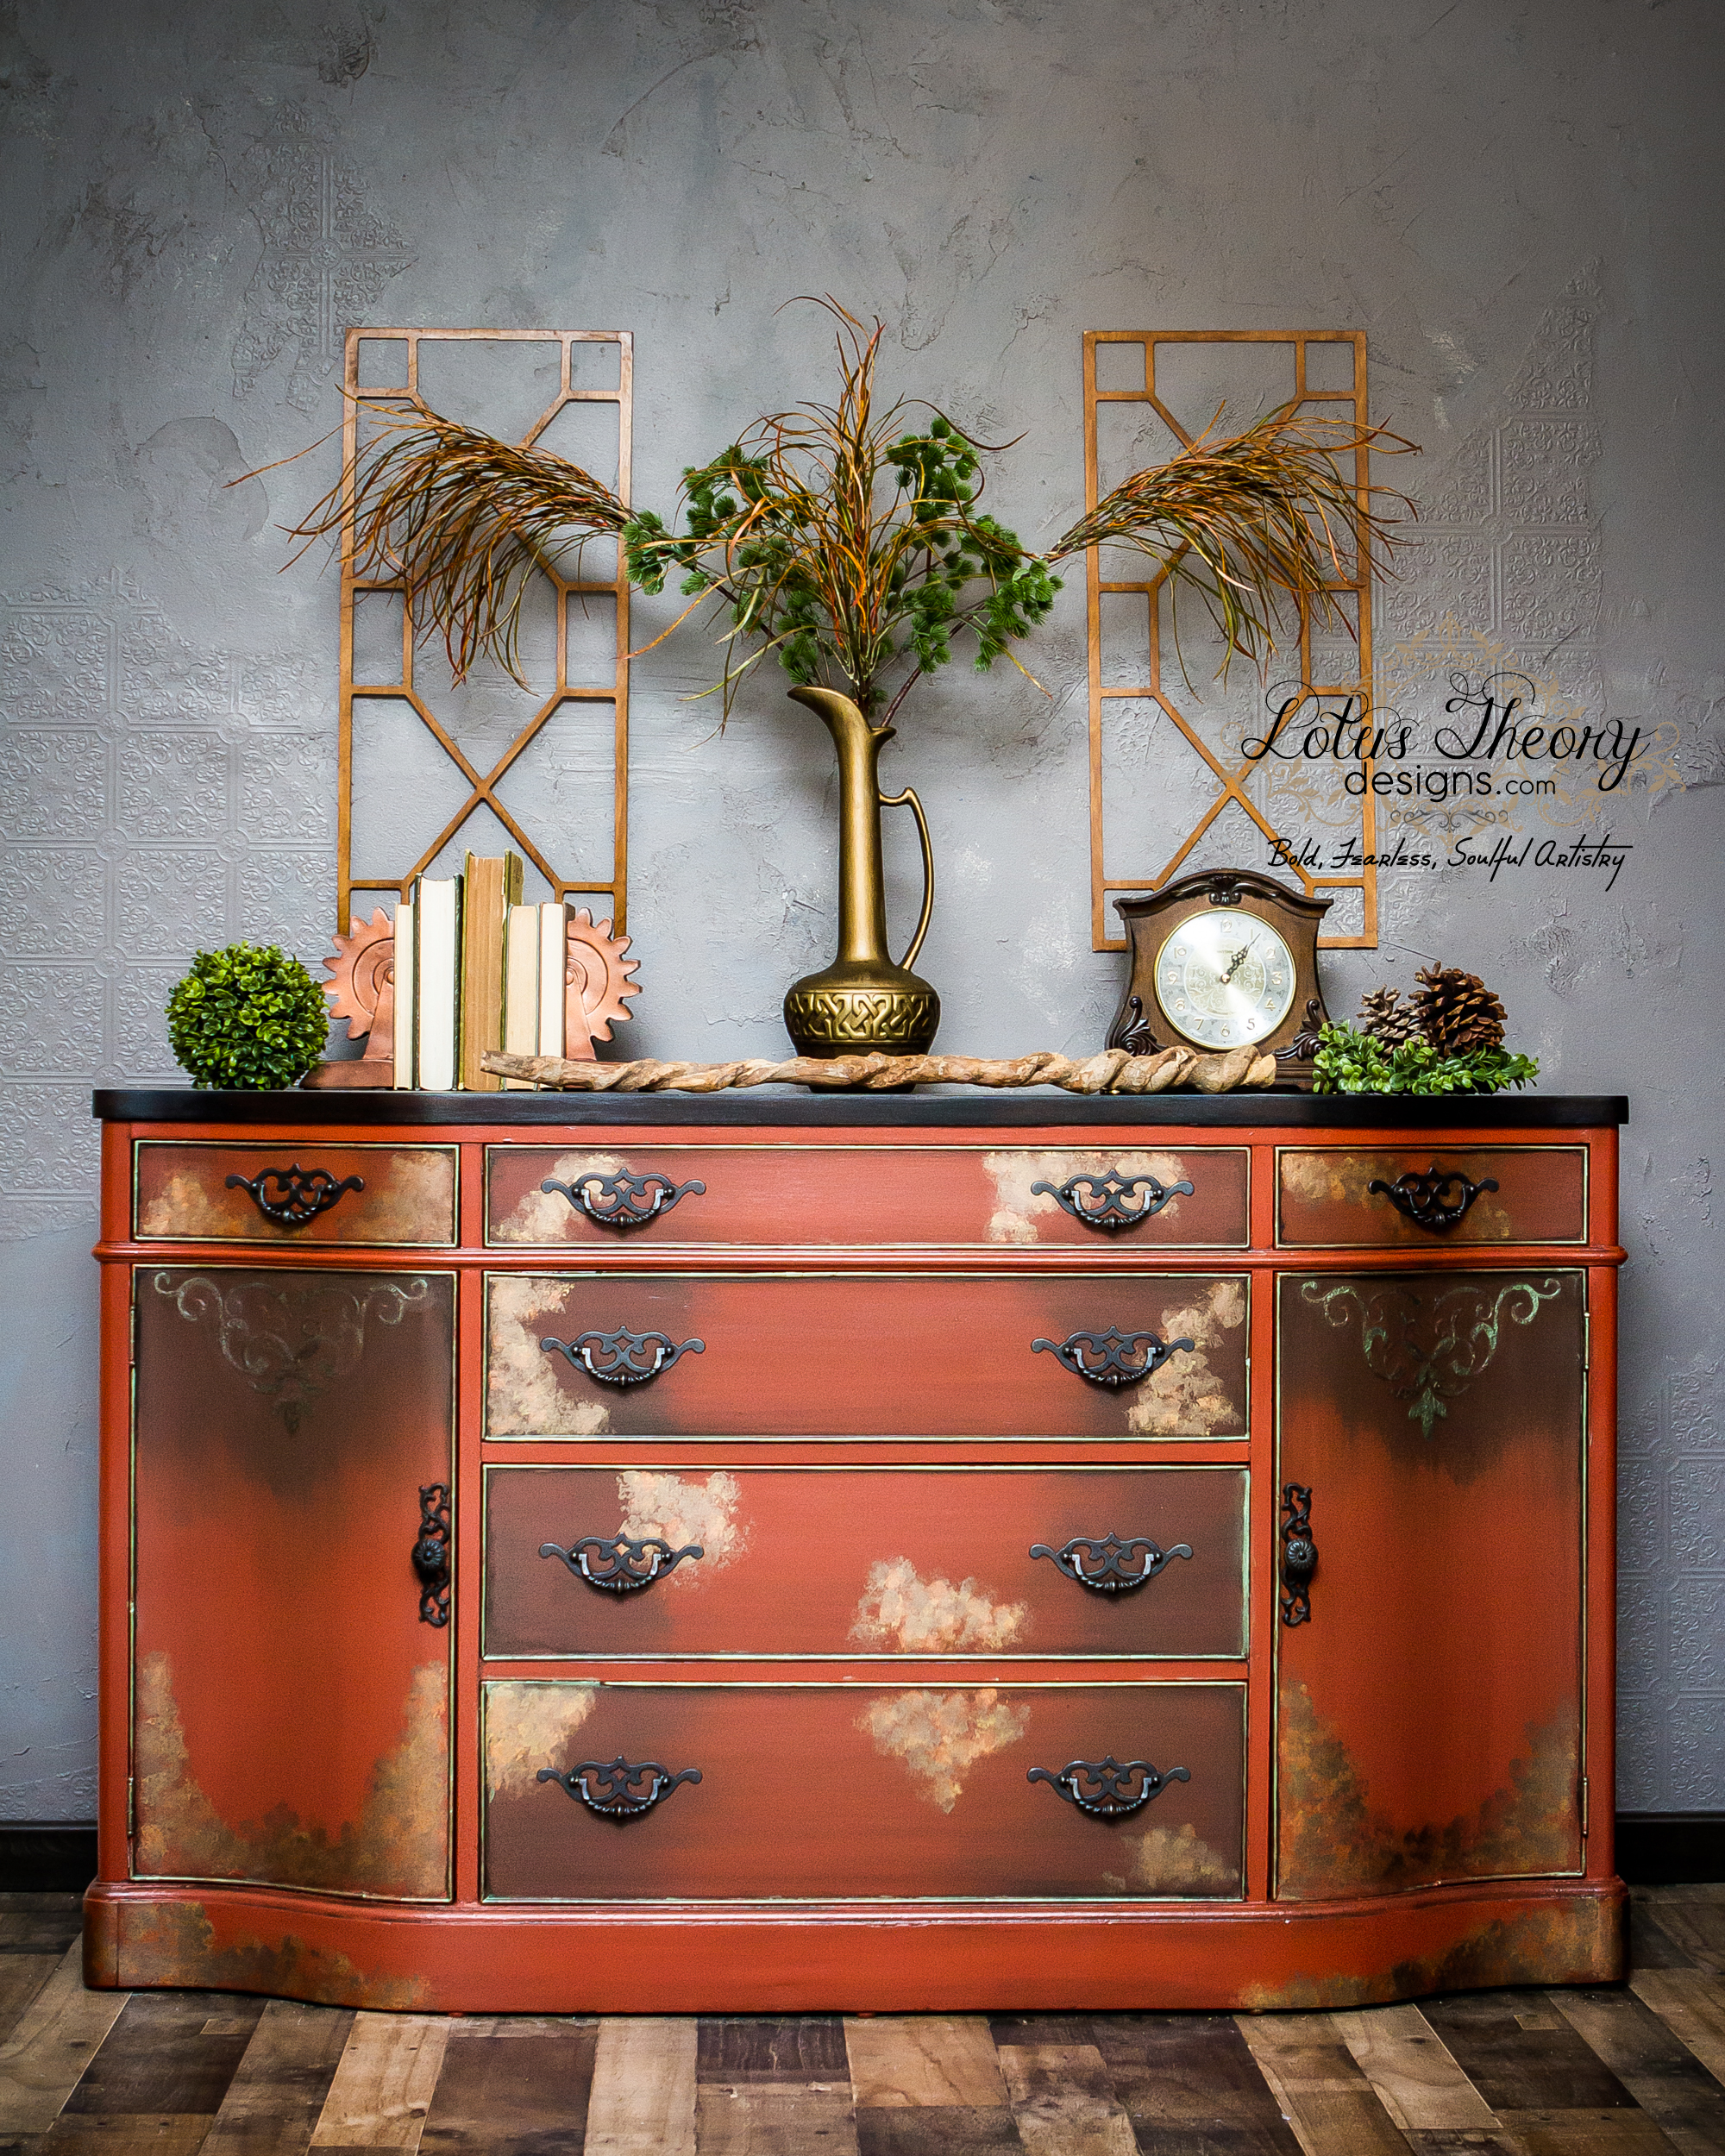
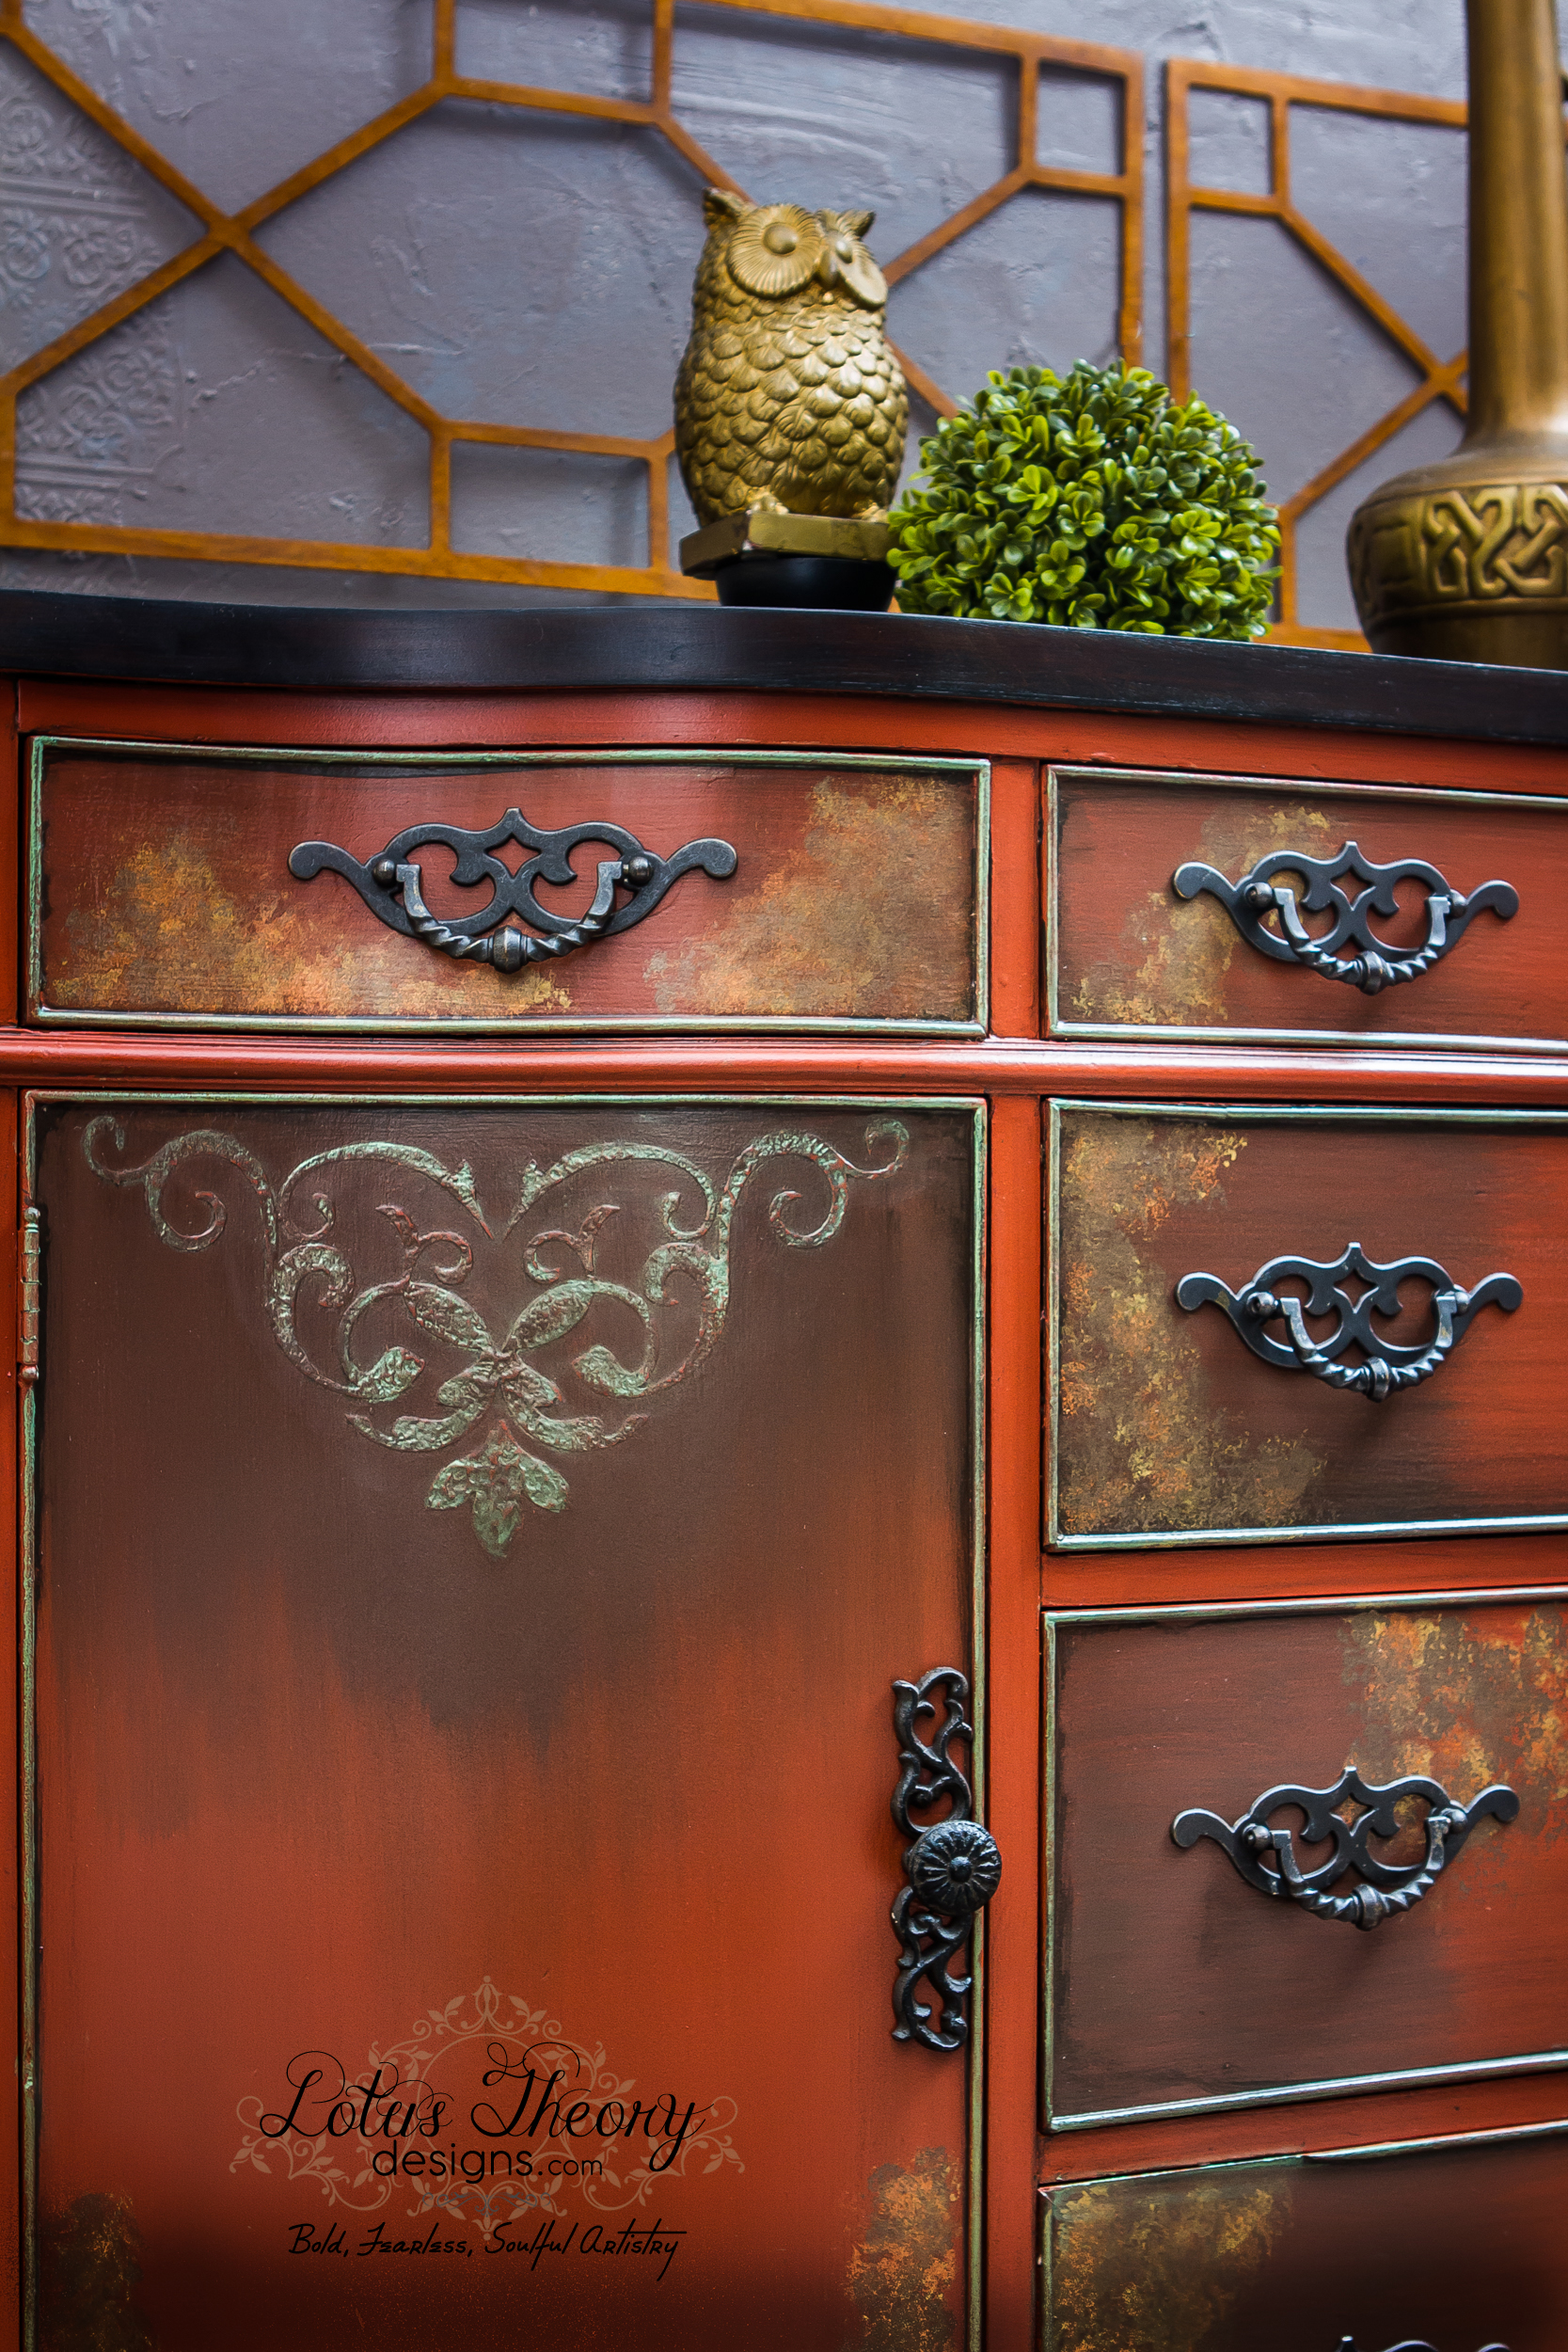
Using a few different shades of bronzes and gold (Velvet Finishes Gold Metallic), I accentuated random areas of the piece by blotting on the shimmery goodness using a sea sponge. I didn’t get a video of this, but I used the same technique as I did on Miss Anastasia here.
The finished results are stunning!!
In Conclusion:
Truth be told, I wasn’t sure where I was going to go with this piece until I dove in. This piece is one of those where I found myself unsure but plugging away anyway. I am happy I did, because my finished product is unique and shiny!
I hope you enjoyed! See you next time!
xoxo – Bianca

So there we have it, painting and highlighting with metallic paint isn’t hard, huh?
View more of our Video Tutorials and FAQ’s on the Velvet Finishes website!
Shop Velvet Finishes Captivating and our metallics, here.
Happy Painting!


comments +